Loading ...
Loading ...
Loading ...
– 55 –
Chapter 3 Preparation — Adjusting and setting the viewnder
Adjusting and setting the viewnder
This camera is equipped with a 0.39-inch organic EL viewnder. Use either the viewnder or the LCD monitor depending on your purpose and the
shooting conditions.
Using the viewnder
When the LCD monitor is difcult to use because the surroundings are bright, you can check the image using the viewnder.
Positioning your eye near the viewnder will trigger the eye sensor to automatically display the image.
f The sensitivity of the eye sensor is set in the [VIDEO OUT/LCD/VF] menu → [VF] → [EYE SENSOR] → [HIGH] or [LOW].
f The eye sensor may not work properly depending on the shape of the eyeglasses you may be wearing, how you hold the camera, or by strong light
present in the vicinity of the eyepiece. If this happens, switch the image display by assigning [VF ON/OFF] to the USER button.
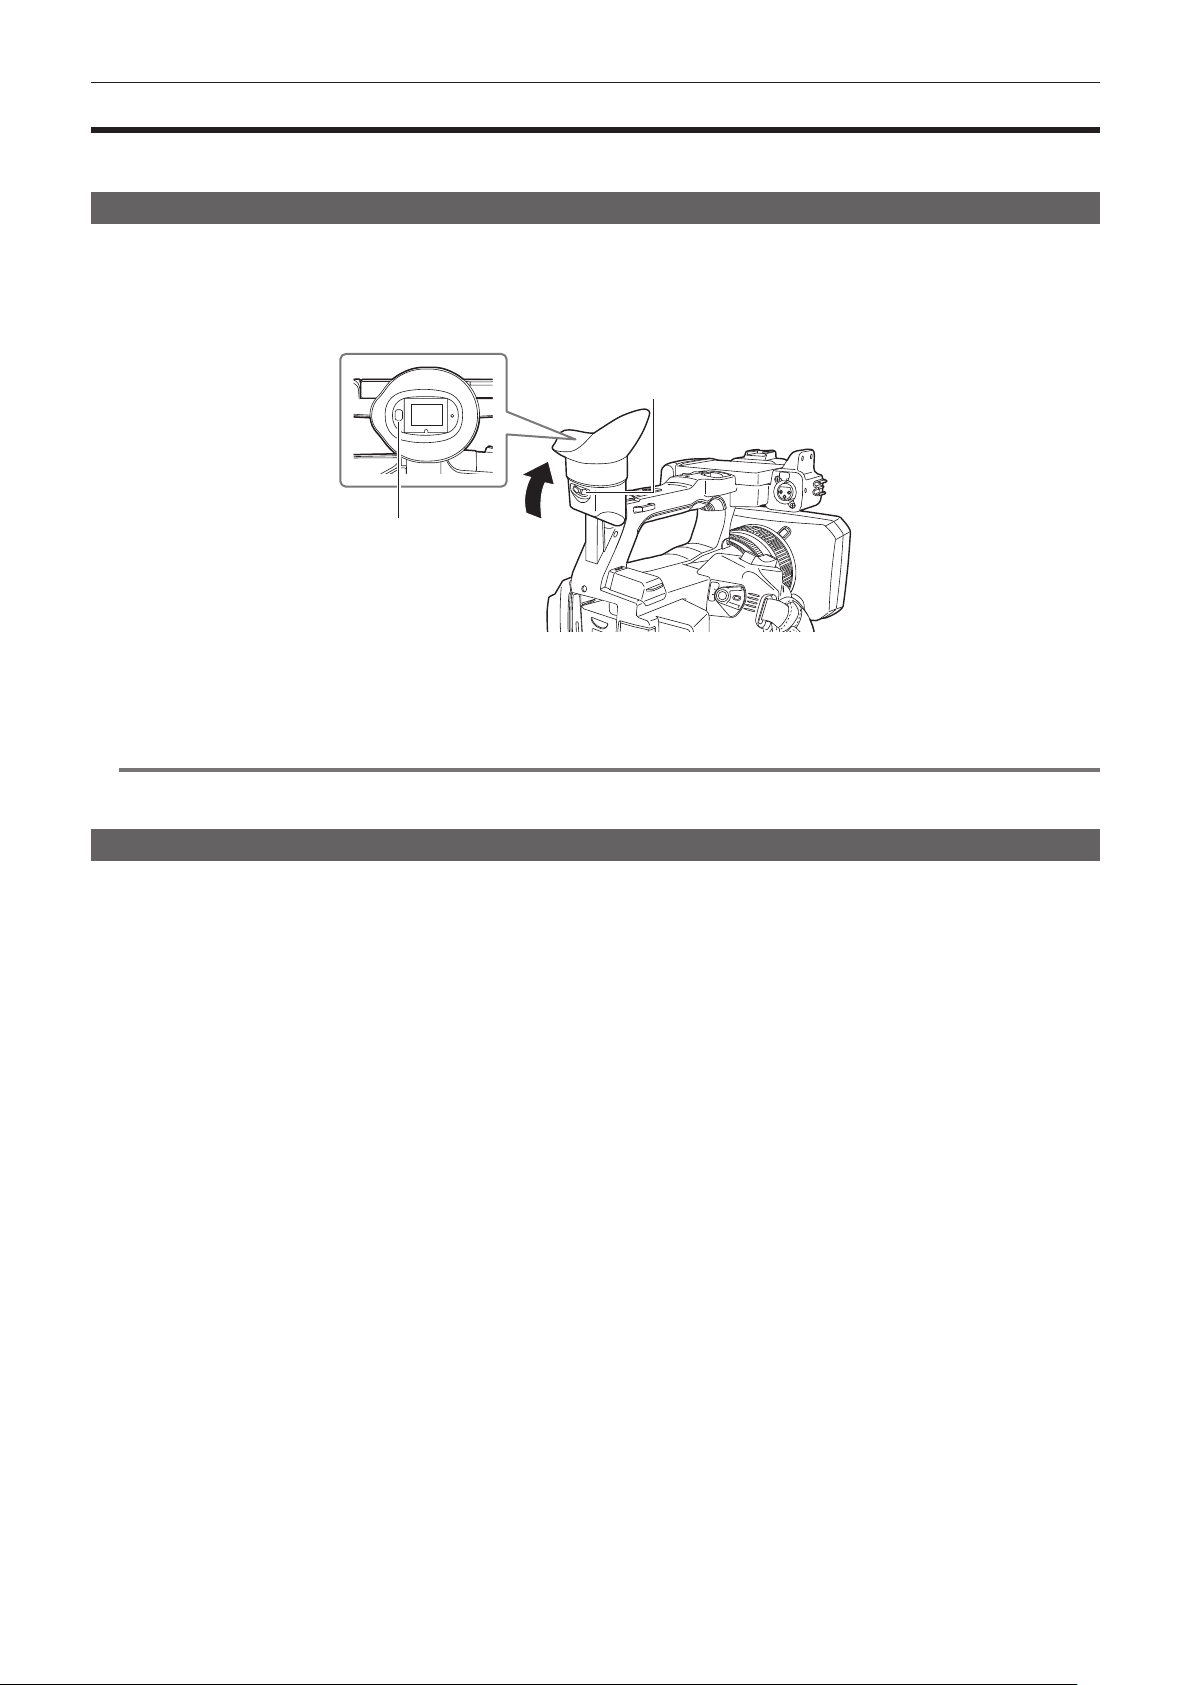
Diopter adjustment lever
Eye sensor
1
Move the viewfinder in the vertical direction to adjust the screen to a comfortable angle.
The viewnder can be lifted vertically to approximately 90 degrees.
2
Adjust the characters on the viewfinder screen so that they are clearly visible using the diopter adjustment lever.
@
NOTE
t The image brightness and color hue seen on the viewnder and LCD monitor may be different from that seen on a TV monitor. The nal check of the
image should be done on a TV monitor.
Adjusting the viewnder
r Adjusting the brightness, contrast, and color level
Adjust [BRIGHTNESS] (brightness), [CONTRAST] (contrast), and [COLOR LEVEL] (color level) in the [VIDEO OUT/LCD/VF] menu → [VF].
The adjustments for the viewnder do not affect the images output or recorded by the camera.
r Switching between color and monochrome
The viewnder screen can toggle between a color display and monochrome display. Set the display with the [VIDEO OUT/LCD/VF] menu → [VF] → [VF
COLOR].
Loading ...
Loading ...
Loading ...