
Loading ...
Loading ...
Loading ...
– 130 –
Chapter 5 Shooting — Audio input
Audio input
The camera can record four channels of audio.
(However, two channels when AVCHD is selected as the recording le format)
The audio to input to each channel can be switched to the built-in microphone, an external microphone, or a connected audio device.
Switching the audio input
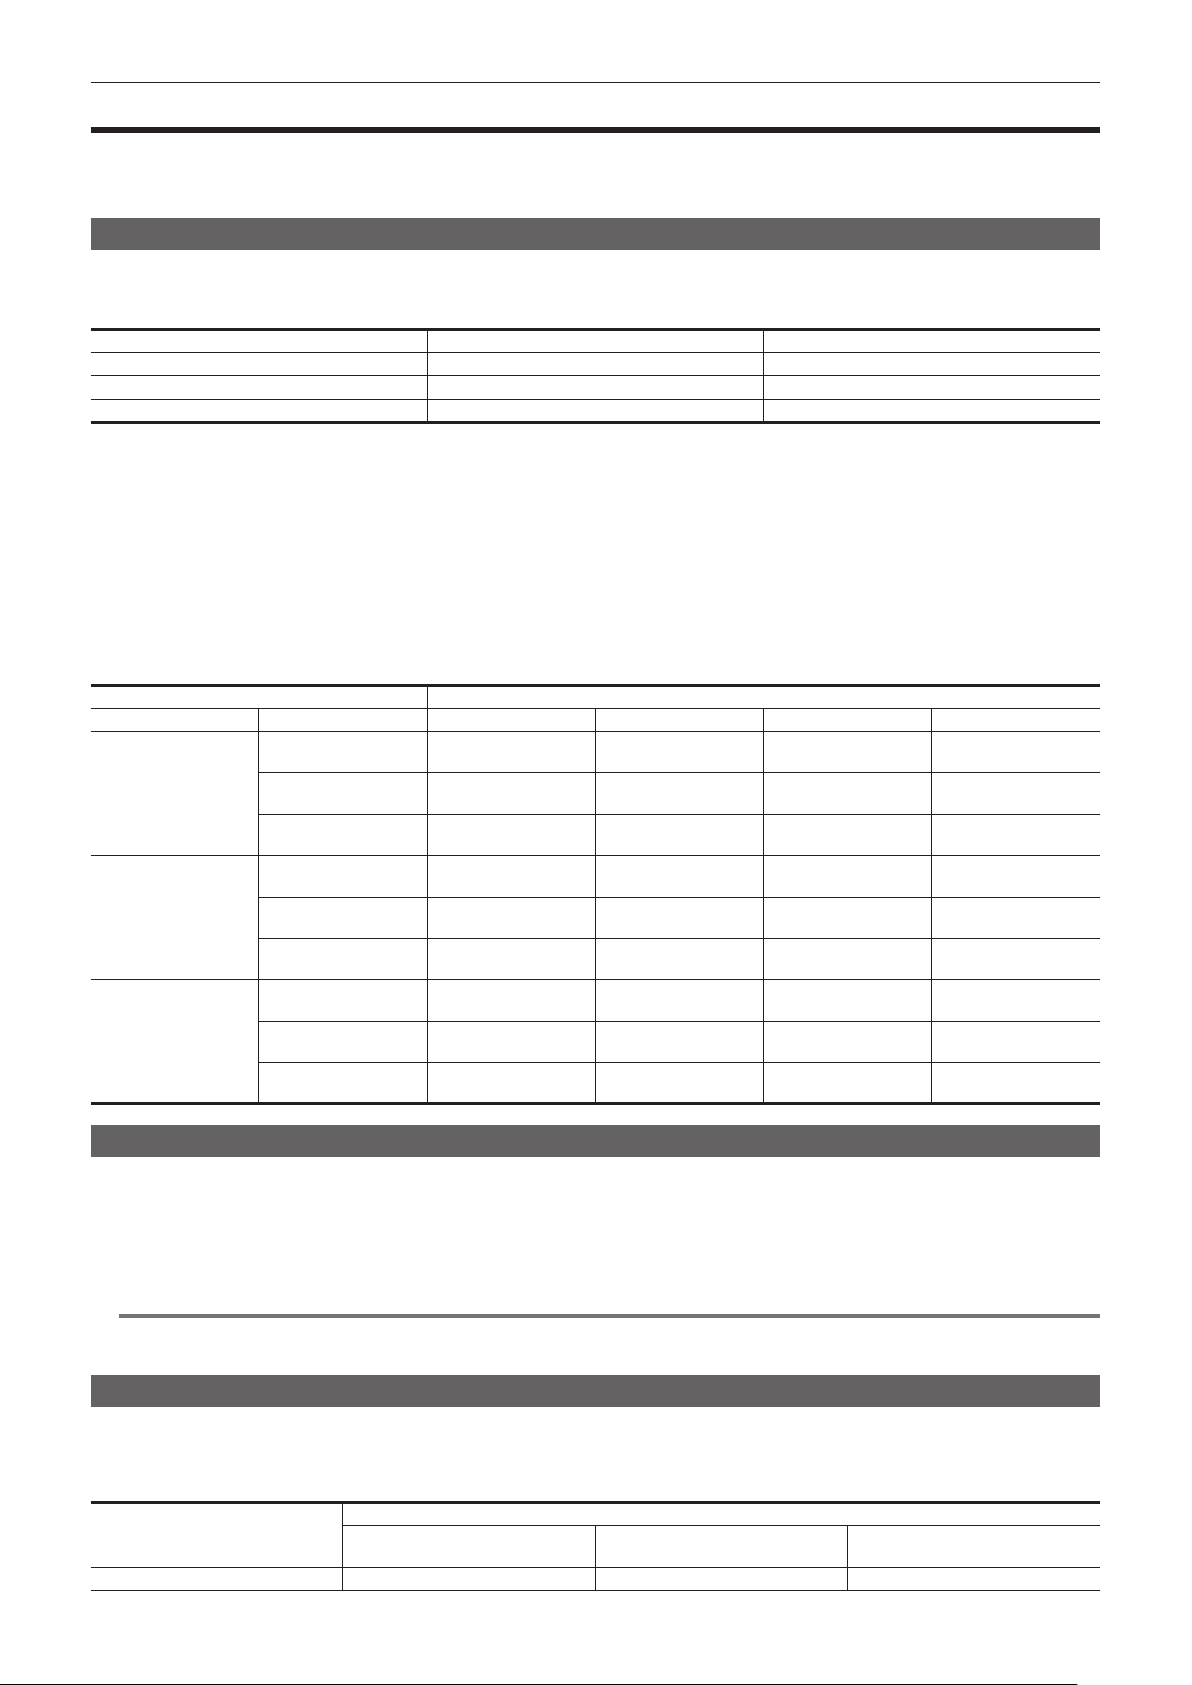
r Audio recording format
The audio recording format such as compression format varies depending on the recording mode.
Recording mode Recording format Sampling rate/bit
P2 Linear PCM (LPCM) 48 kHz/24 bit*
MOV Linear PCM (LPCM) 48 kHz/24 bit
AVCHD Dolby Audio
TM
48 kHz/16 bit
* When the [REC FORMAT] is set to following, it will be 48 kHz/16 bit.
[1080-59.94p/AVC-G12]
[1080-50.00p/AVC-G12]
[1080-59.94i/AVC-G12]
[1080-50.00i/AVC-G12]
[720-59.94p/AVC-G12]
[720-50.00p/AVC-G12]
r Selecting audio input signals
Selects the audio signal to record in the audio channel 1/audio channel 2.
Audio signal to record in the audio channel 3/audio channel 4 is automatically set with the settings of the <CH1 SELECT> switch and the <CH2
SELECT> switch.
Item Input signal to be recorded
<CH1 SELECT> <CH2 SELECT> Audio channel 1 Audio channel 2 Audio channel 3 Audio channel 4
<INT(L)> <INT(R)> Built-in microphone <L> Built-in microphone <R> <AUDIO INPUT 1>
terminal
<AUDIO INPUT 2>
terminal
<INPUT1> Built-in microphone <L> <AUDIO INPUT 1>
terminal
<AUDIO INPUT 1>
terminal
Built-in microphone <R>
<INPUT2> Built-in microphone <L> <AUDIO INPUT 2>
terminal
<AUDIO INPUT 1>
terminal
Built-in microphone <R>
<INPUT1> <INT(R)> <AUDIO INPUT 1>
terminal
Built-in microphone <R> Built-in microphone <L> <AUDIO INPUT 2>
terminal
<INPUT1> <AUDIO INPUT 1>
terminal
<AUDIO INPUT 1>
terminal
Built-in microphone <L> Built-in microphone <R>
<INPUT2> <AUDIO INPUT 1>
terminal
<AUDIO INPUT 2>
terminal
Built-in microphone <L> Built-in microphone <R>
<INPUT2> <INT(R)> <AUDIO INPUT 2>
terminal
Built-in microphone <R> Built-in microphone <L> <AUDIO INPUT 2>
terminal
<INPUT1> <AUDIO INPUT 2>
terminal
<AUDIO INPUT 1>
terminal
Built-in microphone <L> Built-in microphone <R>
<INPUT2> <AUDIO INPUT 2>
terminal
<AUDIO INPUT 2>
terminal
Built-in microphone <L> Built-in microphone <R>
When using the built-in microphone
1
Set the <CH1 SELECT> switch to the <INT(L)> position.
The audio signal of the built-in microphone <L> is recorded in the audio channel 1.
2
Set the <CH2 SELECT> switch to the <INT(R)> position.
The audio signal of the built-in microphone <R> is recorded in the audio channel 2.
@
NOTE
t To decrease the wind noise of the microphone, select the [AUDIO] menu → [REC CH SETTINGS] → [CH1 MIC LOWCUT]/[CH2 MIC LOWCUT]/[CH3
MIC LOWCUT]/[CH4 MIC LOWCUT] → [ON].
When using an audio device or an external microphone
1
Connect an audio device or an external microphone to the <AUDIO INPUT 1>/<AUDIO INPUT 2> terminal.
2
Switch the connected audio input with the <INPUT1>/<INPUT2> switch.
Connected device
Menu settings (you can set each channel individually)
<INPUT1>/<INPUT2>
[INPUT1 MIC LEVEL]/[INPUT2 MIC
LEVEL]*
1
[INPUT1 LINE LEVEL]/[INPUT2 LINE
LEVEL]*
2
Audio device <LINE> Disabled [4dB], [0dB]
Loading ...
Loading ...
Loading ...