Loading ...
Loading ...
Loading ...
196
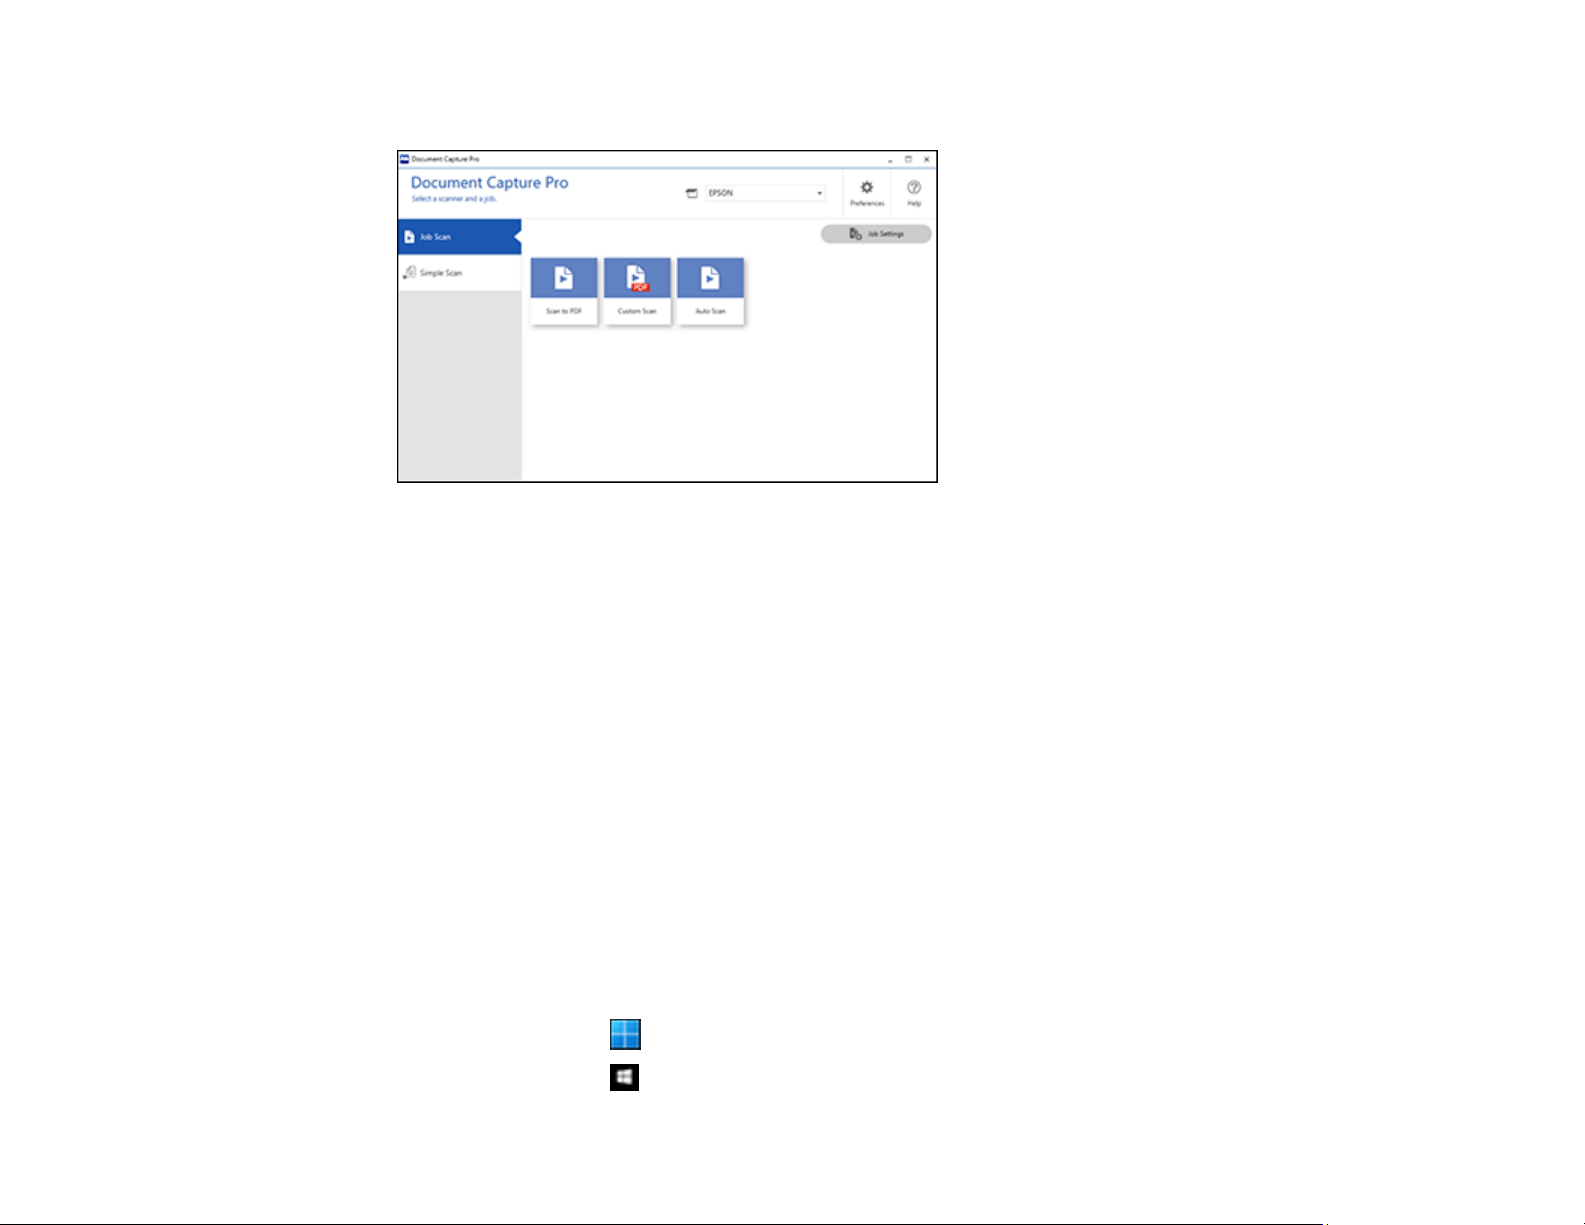
You see a window like this:
4. Select one of the scan jobs (or click Job Settings to create a new scan job).
The product scans the loaded original and saves it according to the job settings.
5. Depending on the settings for the scan job you selected, you may be able to view and edit the pages
before saving them. If so, click Complete when finished.
The scanned image is saved according to the job settings.
Adding and Assigning Scan Jobs with Document Capture Pro - Windows
Parent topic: Scanning with Document Capture Pro or Document Capture
Adding and Assigning Scan Jobs with Document Capture Pro - Windows
You can add scan jobs that contain specific scan settings and use the jobs when you scan from your
product control panel or the Job Scan option in Document Capture Pro. You can save up to 30 scan
jobs.
Note: Settings may vary depending on the software version you are using. Click the Help icon in
Document Capture Pro at any time for more information.
1. Do one of the following to start Document Capture Pro:
• Windows 11: Click , then search for Document Capture Pro and select it.
• Windows 10: Click and select Epson Software > Document Capture Pro.
Loading ...
Loading ...
Loading ...