Loading ...
Loading ...
Loading ...
Shooting Modes
64
Shooting Modes
This camcorder offers a number of shooting modes that give you varying degrees of control over the
camcorder's settings. Select the shooting mode most appropriate to your needs or creative vision and adjust
manually those settings you wish to control, letting the camcorder take care of the rest.
Shooting modes cannot be used when infrared recording is activated.
You can also change the shooting mode remotely using Browser Remote on a connected network device
(A 123, 128).
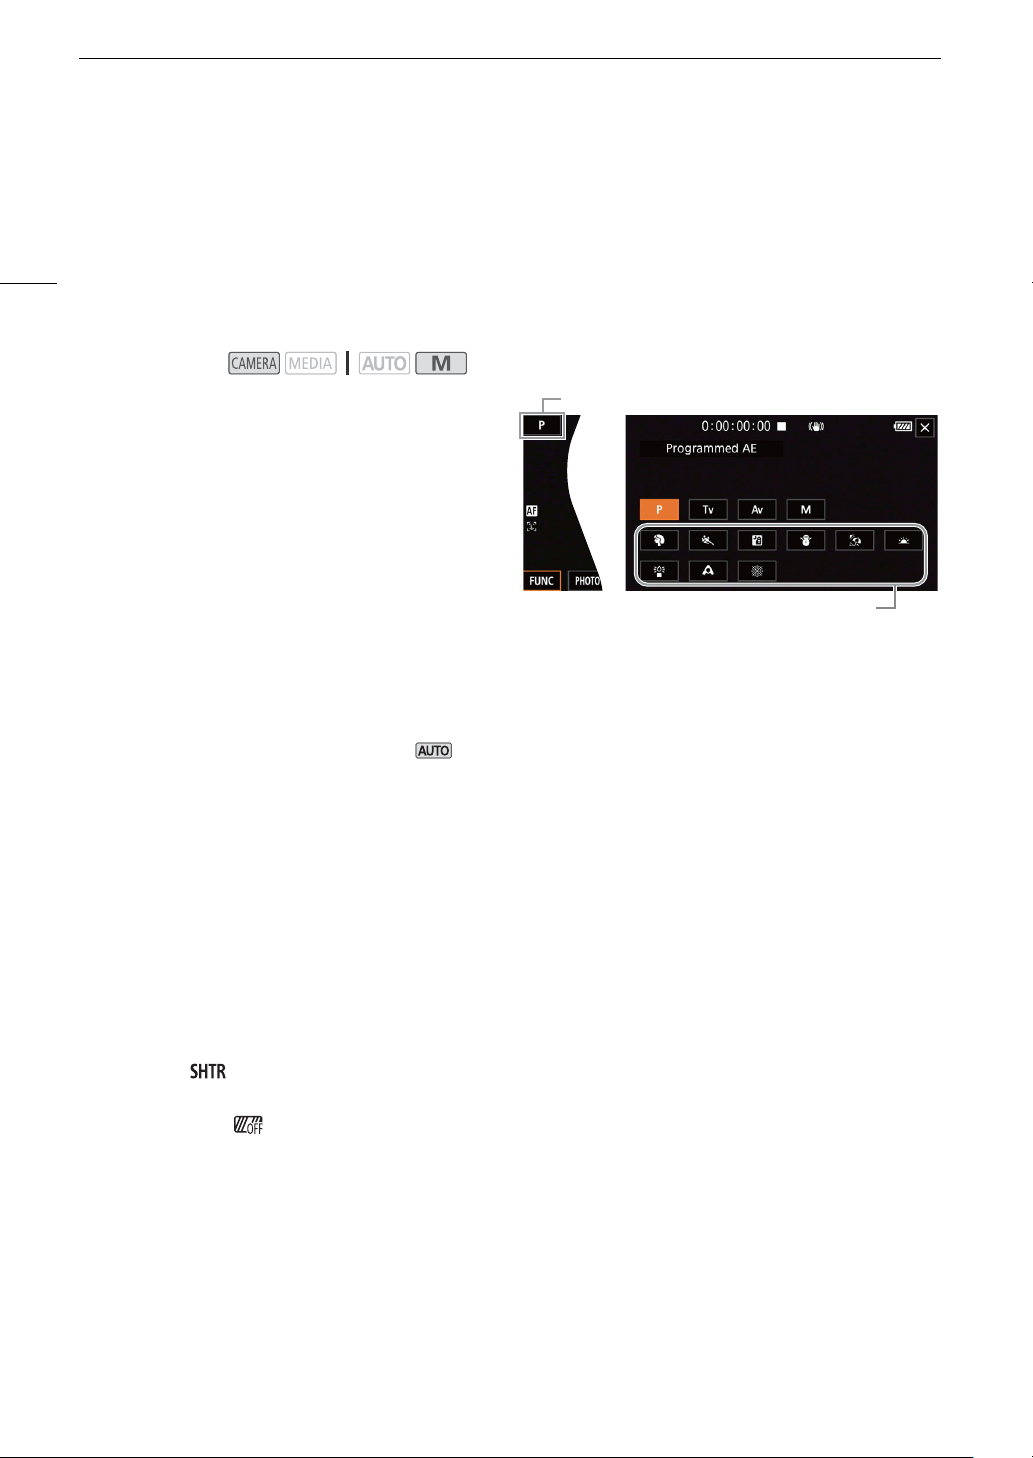
1 Touch the shooting mode button.
2 Touch the desired shooting mode and then
touch [X].
• The shooting mode button will show the selected
mode's icon.
Programmed AE (’)
The camcorder automatically sets the shutter speed, aperture and gain (for clips) but you will have the option to
use other functions that are not available in mode.
Set the shooting mode to [’ Programmed AE].
Shutter Priority AE (‚)
With this shooting mode you set the shutter speed manually, for example, to capture fast-moving subjects in
sharp focus or to obtain a brighter image in low-light situations. The camcorder will automatically adjust other
settings to obtain the best exposure.
1 Set the shooting mode to [‚ Shutter-Pri. AE] (A 64).
• The shutter speed will appear at the left of the screen.
2 Open the shutter speed screen.
[FUNC] > [ Shutter Speed]
• An adjustment dial will appear on the screen.
• You can touch [ ] to display the zebra pattern (A 69, step 2) and check for overexposed areas.
3 Touch [Ï] or [Ð], or drag your finger along the dial, to set the desired shutter speed.
• You can also adjust the shutter speed using the CUSTOM dial (A 93) or Browser Remote on a connected
network device (A 123, 128).
• For available shutter speeds, see the manual exposure table (A 65)
Operating modes:
Shooting mode button
Special Scene modes
Loading ...
Loading ...
Loading ...