Loading ...
Loading ...
Loading ...
24
Chapter
64
En
4 Touch [Time Alignment].
The “Time Alignment” screen appears.
5 Touch the following keys to select
the listening position if necessary.
Selects the listening position.
Off:
Changes the listening position setting to
off.
Front Left:
Changes the listening position setting to
front left.
Front Right:
Changes the listening position setting to
front right.
Front:
Changes the listening position setting to
front.
All:
Changes the listening position setting to
all.
p If you change the listening position
setting, the output levels of all the speak-
ers will change in conjunction with the
setting.
6 Touch the following keys to input
the distance between the selected
speaker and the listening position.
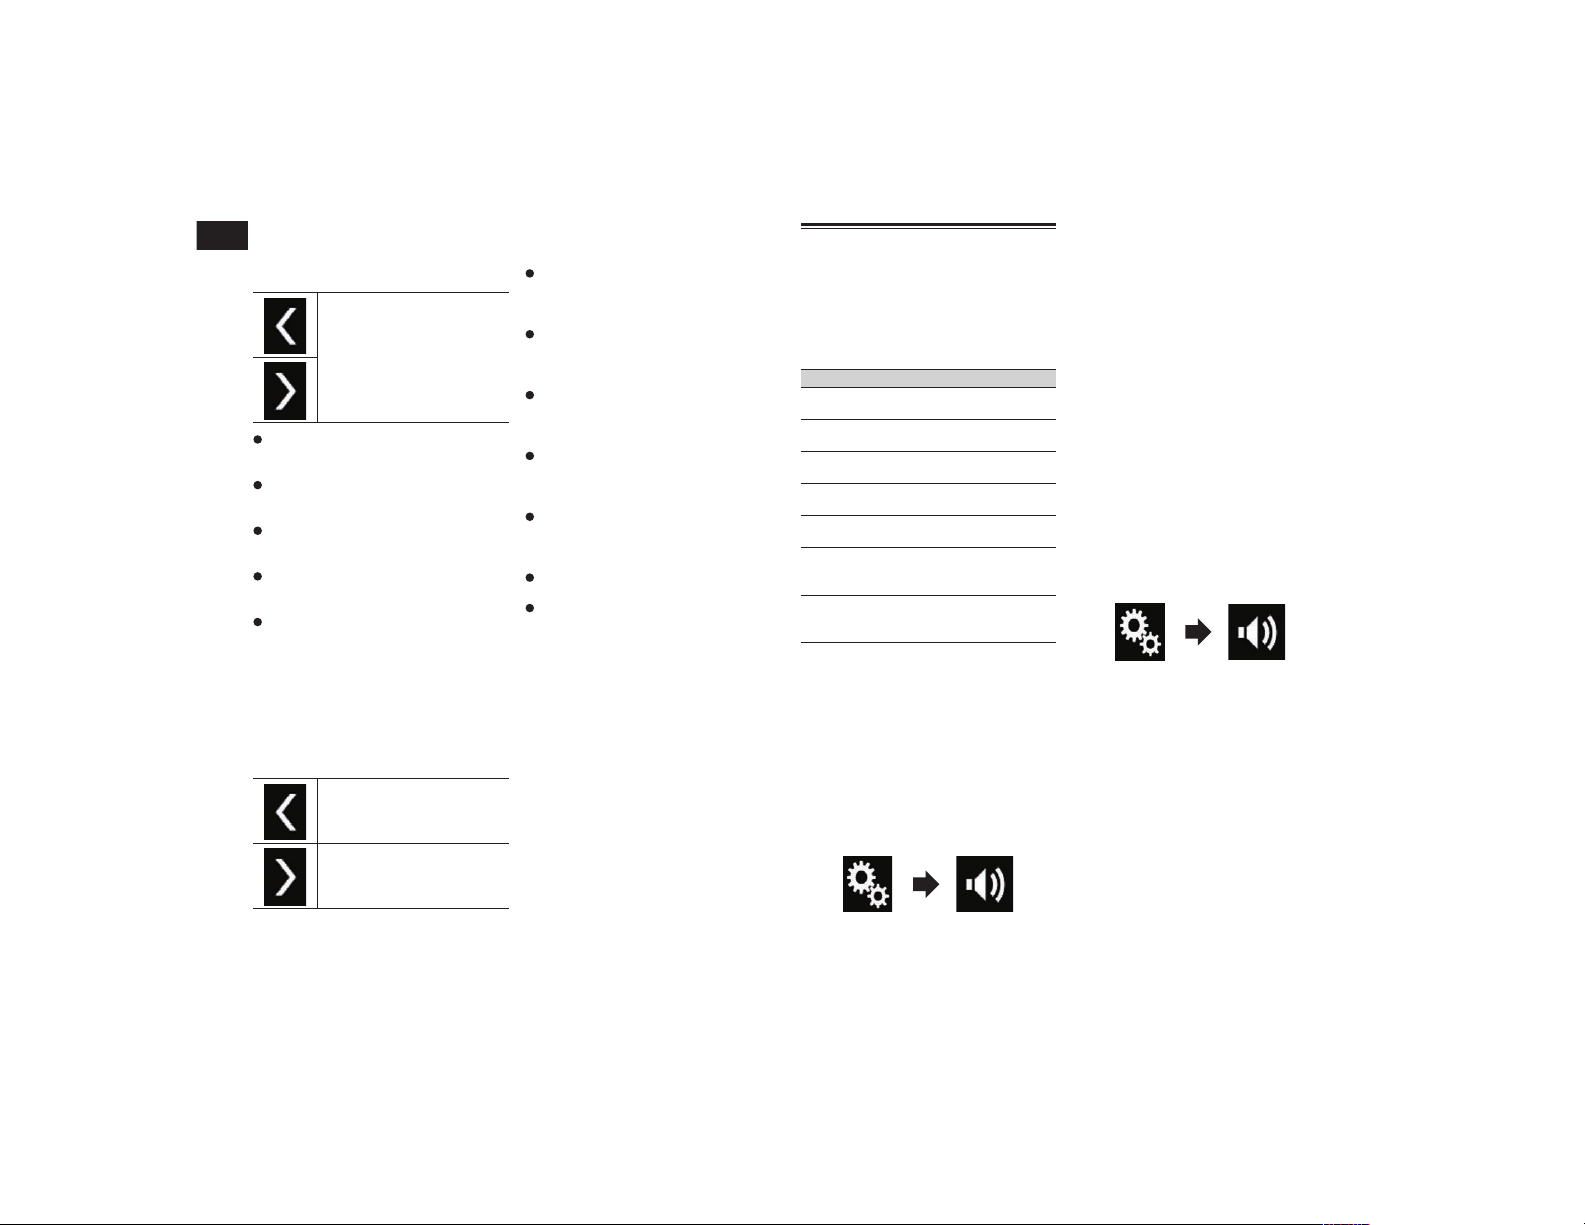
Decreases the distance between
the selected speaker and the
selected listening position.
Increases the distance between
the selected speaker and the
selected listening position.
p “0.0” inch to “200.0” inch is displayed as
the distance to be corrected is increased
or decreased.
Front Left:
Changes the distance between the front
left speaker and the selected listening
position.
Front Right:
Changes the distance between the front
right speaker and the selected listening
position.
Rear Left:
Changes the distance between the rear
left speaker and the selected listening
position.
Rear Right:
Changes the distance between the rear
right speaker and the selected listening
position.
Subwoofer:
Changes the distance between the sub-
woofer speaker and the selected listening
position.
If you touch [TA On], the time alignment
is turned off.
If you touch [Apply Auto EQ], the result
of “A-EQ&TA Measurement” will be
applied to the time alignment setting.
p To use this function, the vehicle’s acous-
tics must be measured in advance.
Using the equalizer
The equalizer lets you adjust equalization to
match the vehicle interior acoustic charac-
teristics as desired.
■ Recalling equalizer curves
There are seven stored equalizer curves that
you can easily recall at any time. Here is a
list of the equalizer curves:
Equalizer curve
S.Bass is a curve in which only low-pitched
sound is boosted.
Powerful is a curve in which low- and high-
pitched sounds are boosted.
Natural is a curve in which low- and high-
pitched sounds are slightly boosted.
Vocal is a curve in which the midrange,
which is the human vocal range, is boosted.
Flat is a flat curve in which nothing is
boosted.
Custom1 is an adjusted equalizer curve
that you create. If you select this curve, the
effect is applied to all AV sources.
Custom2 is an adjusted equalizer curve
that you create. If you select this curve, the
effect is applied to all AV sources.
p This function is available only when main
audio is available.
p The default setting is “Powerful”.
p When “Flat” is selected, no supplement
or correction is made to the sound. This is
useful to check the effect of the equalizer
curves by switching alternatively between
“Flat” and a set equalizer curve.
1 Press the HOME button to display
the Top menu screen.
2 Touch the following keys in the
following order.
The “Audio” screen appears.
3 Touch [Graphic EQ].
The “Graphic EQ” screen appears.
4 Touch the equalizer you want.
■ Customizing the equalizer
curves
You can adjust the currently selected equal-
izer curve setting as desired. Adjustments
can be made with a 13-band graphic
equalizer.
p This function is available only when main
audio is available.
p If you make adjustments when a curve
“S.Bass”, “Powerful”, “Natural”,
“Vocal”, or “Flat” is selected, the equal-
izer curve settings will be changed to
“Custom1” automatically.
p If you make adjustments when the
“Custom2” curve is selected for example,
the “Custom2” curve will be updated.
p “Custom1” and “Custom2” curves can
be created common to all sources.
1 Press the HOME button to display
the Top menu screen.
2 Touch the following keys in the
following order.
The “Audio” screen appears.
3 Touch [Graphic EQ].
The “Graphic EQ” screen appears.
4 Touch one of the keys to select a
curve that you want to use as the
basis of customizing.
5 Touch the frequency for which you
want to adjust the level.
p If you trail a finger across the bars of
multiple equalizer bands, the equalizer
curve settings will be set to the value of
the touched point on each bar.
■ Using the auto-adjusted
equalizer
You can set the auto-adjusted equalizer
to suit the vehicle’s acoustics. To use this
function, the vehicle’s acoustics must be
measured in advance.
Loading ...
Loading ...
Loading ...