Loading ...
Loading ...
Loading ...
English
16
Chapter
43
En
desired Aha Radio station to change Aha
Radio sources.
6 Displays the Phone menu screen.
For details, refer to Displaying the phone
menu on page 16.
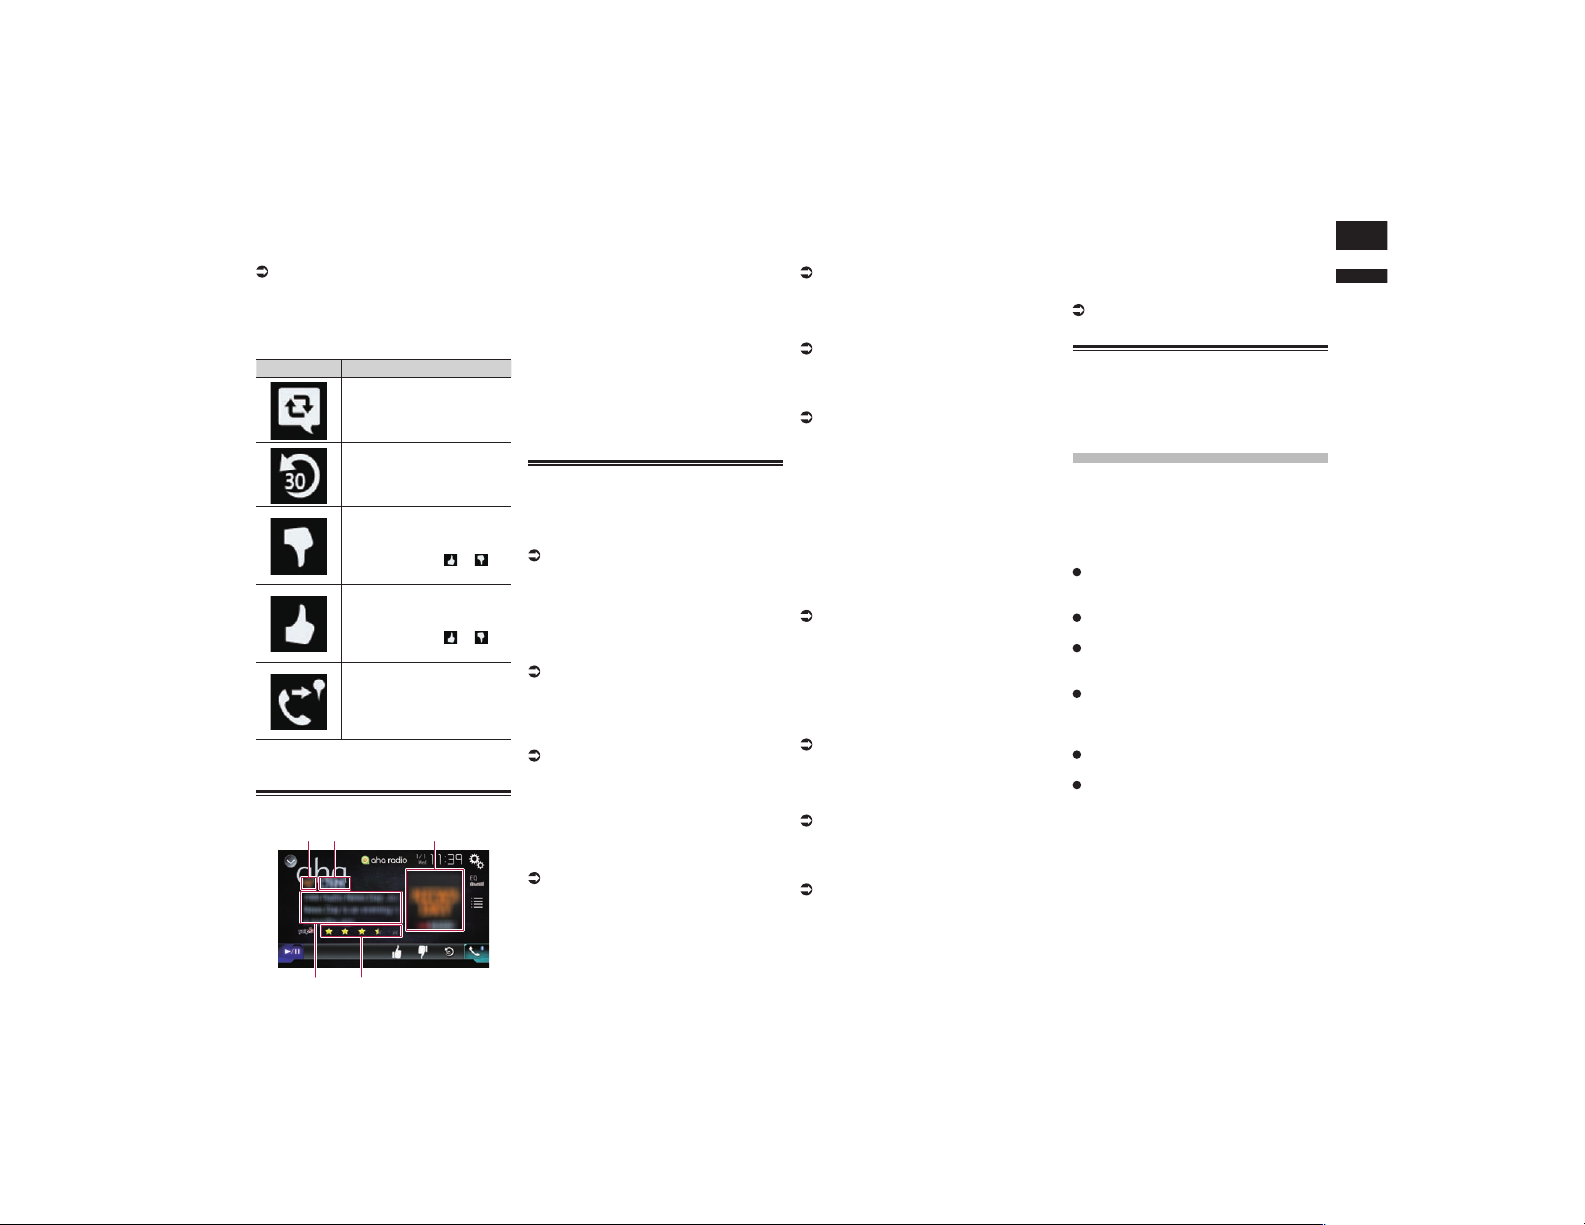
7 Performs additional functions of each
station or content currently playing.
p The icons displayed vary depending on
each station or content.
Indicator Meaning
Touching the key retweets
the selected tweets with your
Twitter account.
Touching the key performs
fast reverse of the current
content for 30 seconds.
Touching the key “dislikes”
the current content.
p Depending on the con-
tent, touching or
cancels “dislikes”.
Touching the key “likes” the
current content.
p Depending on the con-
tent, touching or
cancels “likes”.
Touching the key lets you
make a call to a phone num-
ber registered in the current
content using the hands-free
function.
8 Switches between playback and
pause.
Reading the screen
2
4
1
5
3
1 Station mark
2 Station name
Shows the name of the Aha Radio station
to which this product is currently tuned.
3 Content image
Displays an image of the current content
if available.
4 Rating information
Shows the rated value of the current
content displayed if available.
5 Current station information
Shows information on the content cur-
rently being played.
p The item is blank if there is no corre-
sponding information.
Starting procedure
When connecting an iPhone or smartphone
to this product, you must select the method
for connecting your device. Settings are
required according to the connected device.
For details, refer to Chapter 5.
■ For iPhone with a 30-pin connec-
tor users
1 Unlock your iPhone.
2 Connect your iPhone.
p Connect via USB or Bluetooth.
For details of the Bluetooth connection,
refer to Registering your Bluetooth
devices on page 14.
3 Display the AV source selection
screen.
For details of the operations, refer to
Displaying the AV operation screen on
page 12.
4 Touch [aha] on the AV source
selection screen.
5 Use the touch panel keys on the
screen to control Aha Radio.
For details, refer to Using the touch panel
keys on page 42.
■ For iPhone with a Lightning
connector users
1 Unlock your iPhone.
2 Connect your iPhone.
p Connect via USB, Bluetooth, or HDMI and
Bluetooth.
For details of the Bluetooth connection,
refer to Registering your Bluetooth
devices on page 14.
p The cable connection method varies
depending on your device.
For details, refer to Connecting an iPhone
with Lightning connector on page 76.
3 Display the AV source selection
screen.
For details of the operations, refer to
Displaying the AV operation screen on
page 12.
4 Touch [aha] on the AV source
selection screen.
When you touch [aha], this product will start
establishing a Bluetooth connection.
After the connection is successfully estab-
lished, the touch panel key on the “aha”
screen is activated.
5 Use the touch panel keys on the
screen to control Aha Radio.
For details, refer to Using the touch panel
keys on page 42.
■ For smartphone users
1 Unlock your smartphone.
2 Connect your smartphone.
p Connect via Bluetooth, or HDMI and
Bluetooth.
For details of the Bluetooth connection,
refer to Registering your Bluetooth
devices on page 14.
p The cable connection method varies
depending on your device.
For details, refer to Connecting the
Android™ device on page 77.
3 Display the AV source selection
screen.
For details of the operations, refer to
Displaying the AV operation screen on
page 12.
4 Touch [aha] on the AV source
selection screen.
When you touch [aha], this product will start
establishing a Bluetooth connection.
After the connection is successfully estab-
lished, the touch panel key on the “aha”
screen is activated.
5 Use the touch panel keys on the
screen to control Aha Radio.
For details, refer to Using the touch panel
keys on page 42.
Operating with the hardware
buttons
Press the TRK button.
You can skip contents forward or backward.
Using iDatalink
By connecting the optional iDatalink
adapter, you can access the satellite radio
source provided for the vehicle and the
vehicle information can be displayed on this
product.
Important
For information on installing the iData-
link adapter, refer to the operating man-
ual of the iDatalink adapter.
After installing the iDatalink adapter, be
sure to check the operations.
For details about vehicle models that are
compatible with the iDatalink adapter,
refer to the information on our website.
Functions and displays vary depending
on the vehicle model. For details of the
functions available for each model, refer
to the information on our website.
The iDatalink list screen can be scrolled
up or down by page.
Please note that the device number of
this product and a computer with inter-
net access are required to program your
Maestro RR module. For troubleshooting
information about “iDatalink” functions,
visit www.idatalinkmaestro.com/support
or call iDatalink Maestro Technical
Support toll-free at 877.212.6169 ext
7900.
Loading ...
Loading ...
Loading ...