
Loading ...
Loading ...
Loading ...
CHAPTER 18: Taking Photos and Videos
377
5. Start by taking your first photo. If you’re working left to right, start on the leftmost
side of your panorama and snap the photo.
6. Move your camera slowly in the direction you’ve selected. For instance, if you’re
working left to right, move the camera slowly to the right.
7. Pay attention to the preview window on the bottom left of the screen. You’ll see
an arrow and two squares that will show you where your phone is positioned in
relation to the last photo.
8. When you’ve lined up your next photo, the camera will beep and shoot the picture
by itself.
9. Proceed to the next photo. If you do not want to take the full six photos, you can
stop the series by tapping the square symbol on the upper right side of the
screen. Otherwise, continue.
10. When you’ve taken six photos or stopped the panorama, your DROID will stitch
the photos together to form your panoramic image.
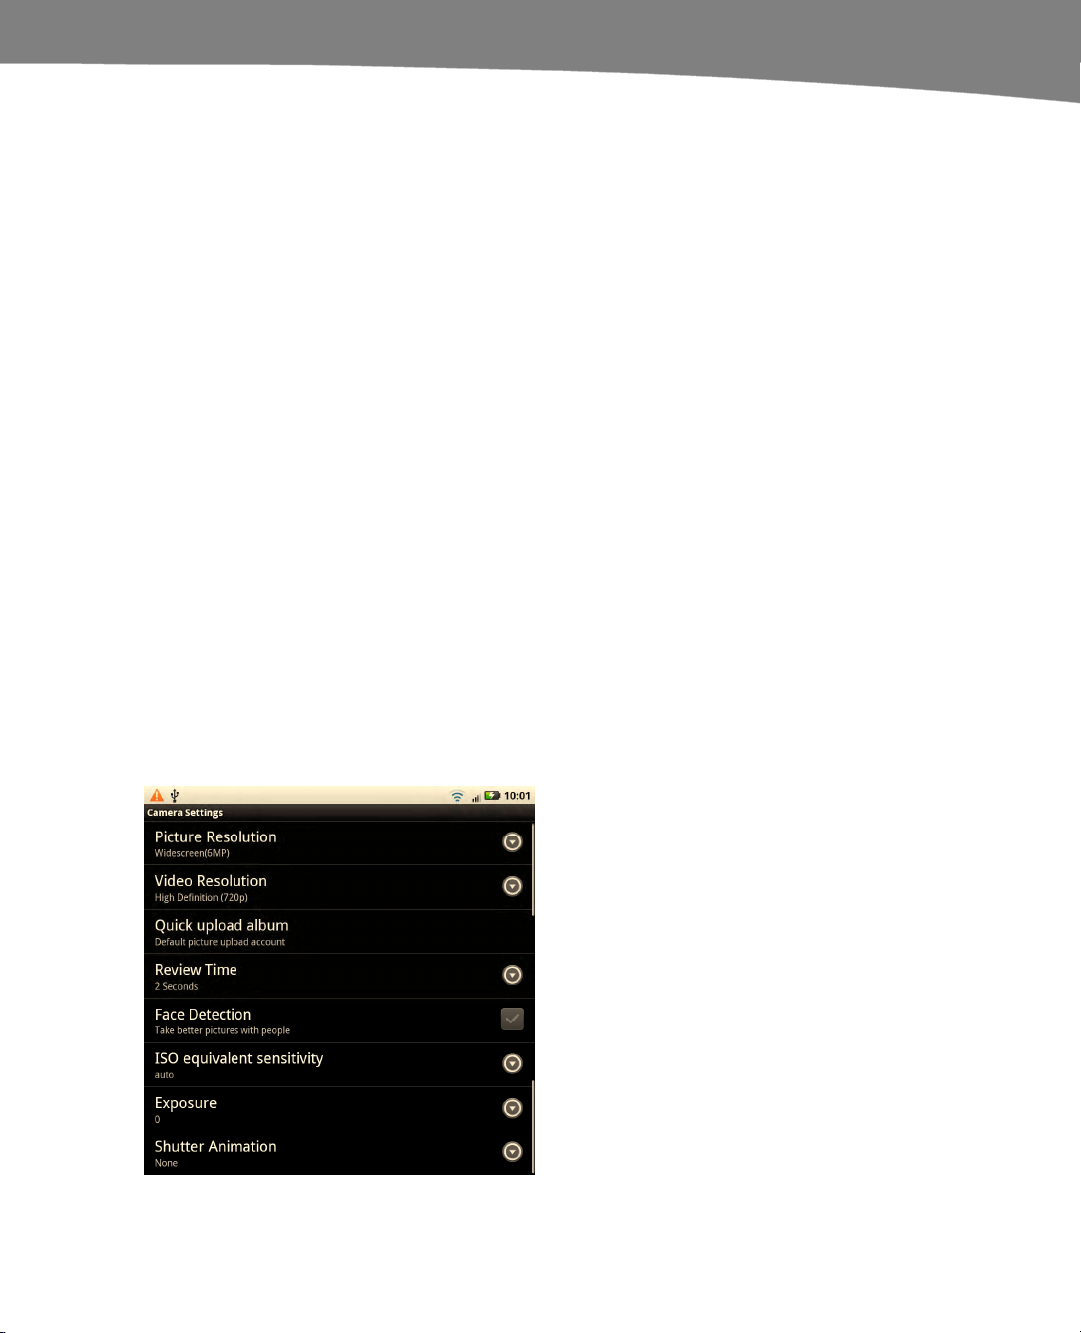
Camera Settings
The Camera Settings menu lets you change advanced features, such as the Quick
Upload album, the length of time you preview images, or even ISO settings on your
phone’s camera. To get to the Camera Settings menu, press the Menu button and then
tap Settings. On the original DROID, touch the Settings icon (farthest to the right) and
scroll down for settings to adjust.
Your choices are shown in Figure 18–5.
Figure 18–5. Camera Settings
Loading ...
Loading ...
Loading ...