Loading ...
Loading ...
Loading ...
GettingtheMostOutofYourAppliance
Recommended Settings
• Make sure that the pan is positioned so that the entire base is in contact with
the element.
• Start with water that is already warm.
• Boil the smallest amount of water necessary. Smaller volumes will boil faster
than larger volumes.
Use this chart as a guide for heat settings. A range of heat settings are listed
because the actual setting depends on:
• type and quality of pan (See "Selecting Cookware"),
• type, quantity and temperature of the food,
• element used and
• the cook's preference.
The Heat Settings recommended are based on a 240 volt power source. If your
cooktop is connected to 208 volts, the same heat settings apply but foods may
take a little longer to finish cooking.
Table 3: Cooking Guide
Bridge Element Tips (some models)
Cookware Selection
Guide
Bringing water to boil
Pan frying, sauteing, browning meat, deep fat frying
Most frying, eggs, pancakes, stow boil
Simmering, finish cooking, covered foods, steaming
Melting butter and chocolate
9 - High
6-8 - Med-High
4-5 - Med
2-3 - Med Low
1 - Low
• Use the bridge elements with only one single element for medium sized grid-
dles and oval pots.
• For even heat distribution when using all three elements, start with the back
element at a slightly higher setting than the front and bridge elements.
Observe cooking performance and adjust accordingly.
• When using a pan that spans all three elements, set the back element at a dif-
ferent heat level than the front and bridge elements to keep prepared food
warm or to prepare two different foods at one time.
Cookware Characteristics
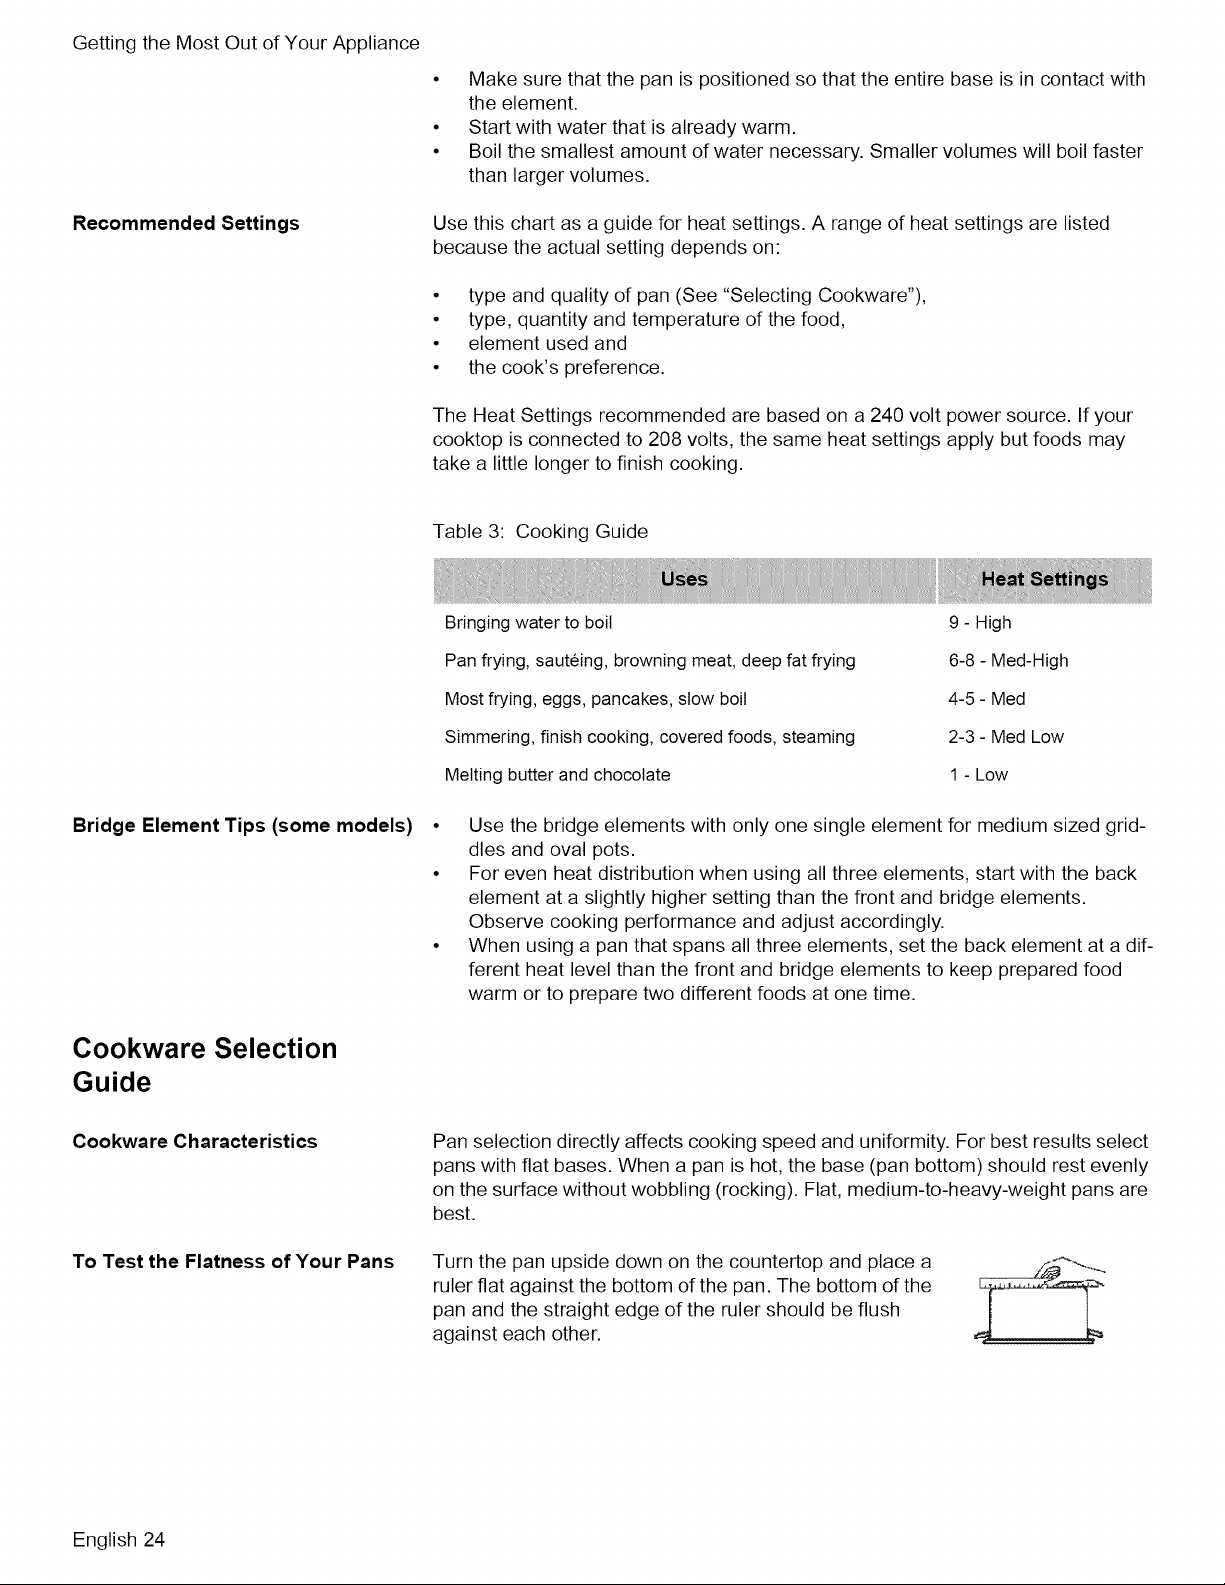
To Test the Flatness of Your Pans
Pan selection directly affects cooking speed and uniformity. For best results select
pans with flat bases. When a pan is hot, the base (pan bottom) should rest evenly
on the surface without wobbling (rocking). Flat, medium-to-heavy-weight pans are
best.
Turn the pan upside down on the countertop and place a
ruler flat against the bottom of the pan. The bottom of the
pan and the straight edge of the ruler should be flush
against each other.
English 24
Loading ...
Loading ...
Loading ...