Loading ...
Loading ...
Loading ...
GettingStarted
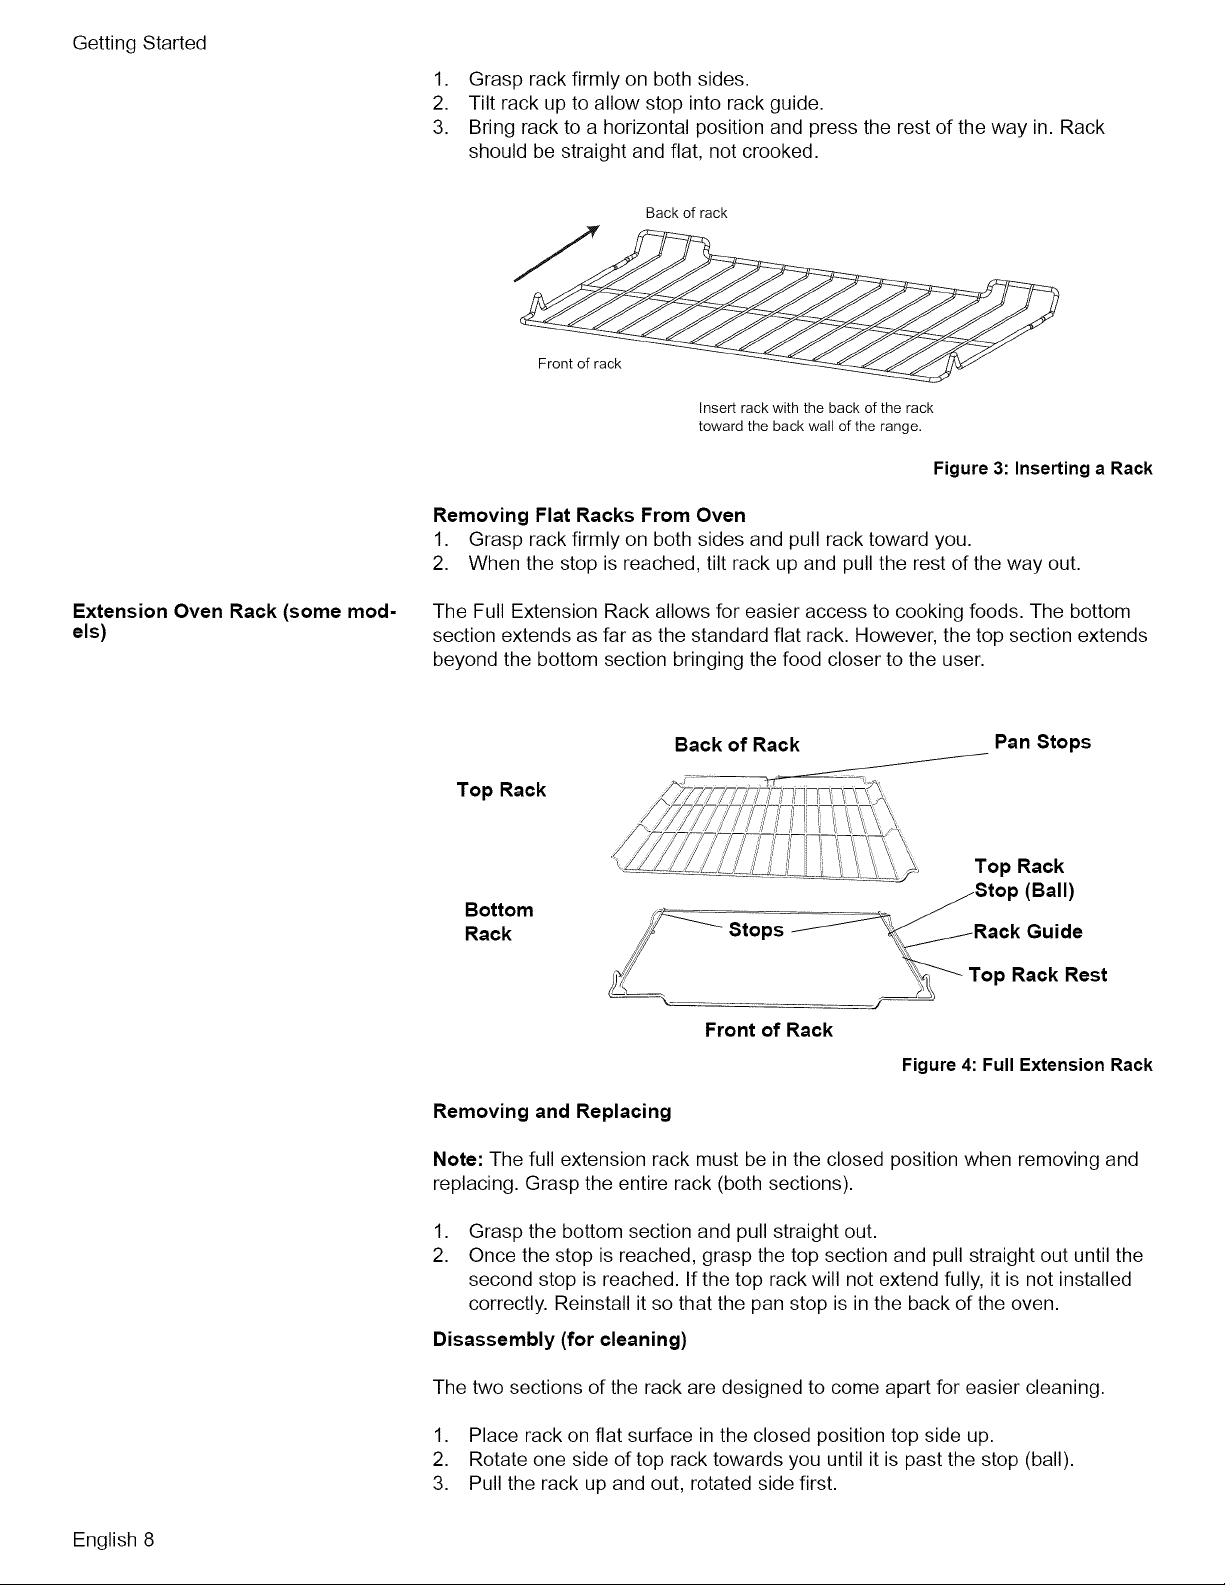
1. Grasprackfirmlyonbothsides.
2. Tiltrackupto allowstopintorackguide.
3. Bringracktoahorizontalpositionandpresstherestofthewayin.Rack
shouldbestraightandflat,notcrooked.
Back of rack
Extension Oven Rack (some mod-
els)
Front of rack
Insert rack with the back of the rack
toward the back wall of the range.
Figure 3: Inserting a Rack
Removing Flat Racks From Oven
1. Grasp rack firmly on both sides and pull rack toward you.
2. When the stop is reached, tilt rack up and pull the rest of the way out.
The Full Extension Rack allows for easier access to cooking foods. The bottom
section extends as far as the standard flat rack. However, the top section extends
beyond the bottom section bringing the food closer to the user.
Back of Rack Pan Stops
Top Rack
Bottom
Rack
Top Rack
----_ _Stop (Ball)
Stops F _/_Rack Guide
__ Top Rack Rest
_j--
Front of Rack
Figure 4: Full Extension Rack
Removing and Replacing
Note: The full extension rack must be in the closed position when removing and
replacing. Grasp the entire rack (both sections).
,
2.
Grasp the bottom section and pull straight out.
Once the stop is reached, grasp the top section and pull straight out until the
second stop is reached. If the top rack will not extend fully, it is not installed
correctly. Reinstall it so that the pan stop is in the back of the oven.
Disassembly (for cleaning)
The two sections of the rack are designed to come apart for easier cleaning.
1. Place rack on flat surface in the closed position top side up.
2. Rotate one side of top rack towards you until it is past the stop (ball).
3. Pull the rack up and out, rotated side first.
English 8
Loading ...
Loading ...
Loading ...