
Loading ...
Loading ...
Loading ...
268
■ Installing the needle plate spacer
Attach the needle plate spacer to the needle plate.
1 Needle plate spacer
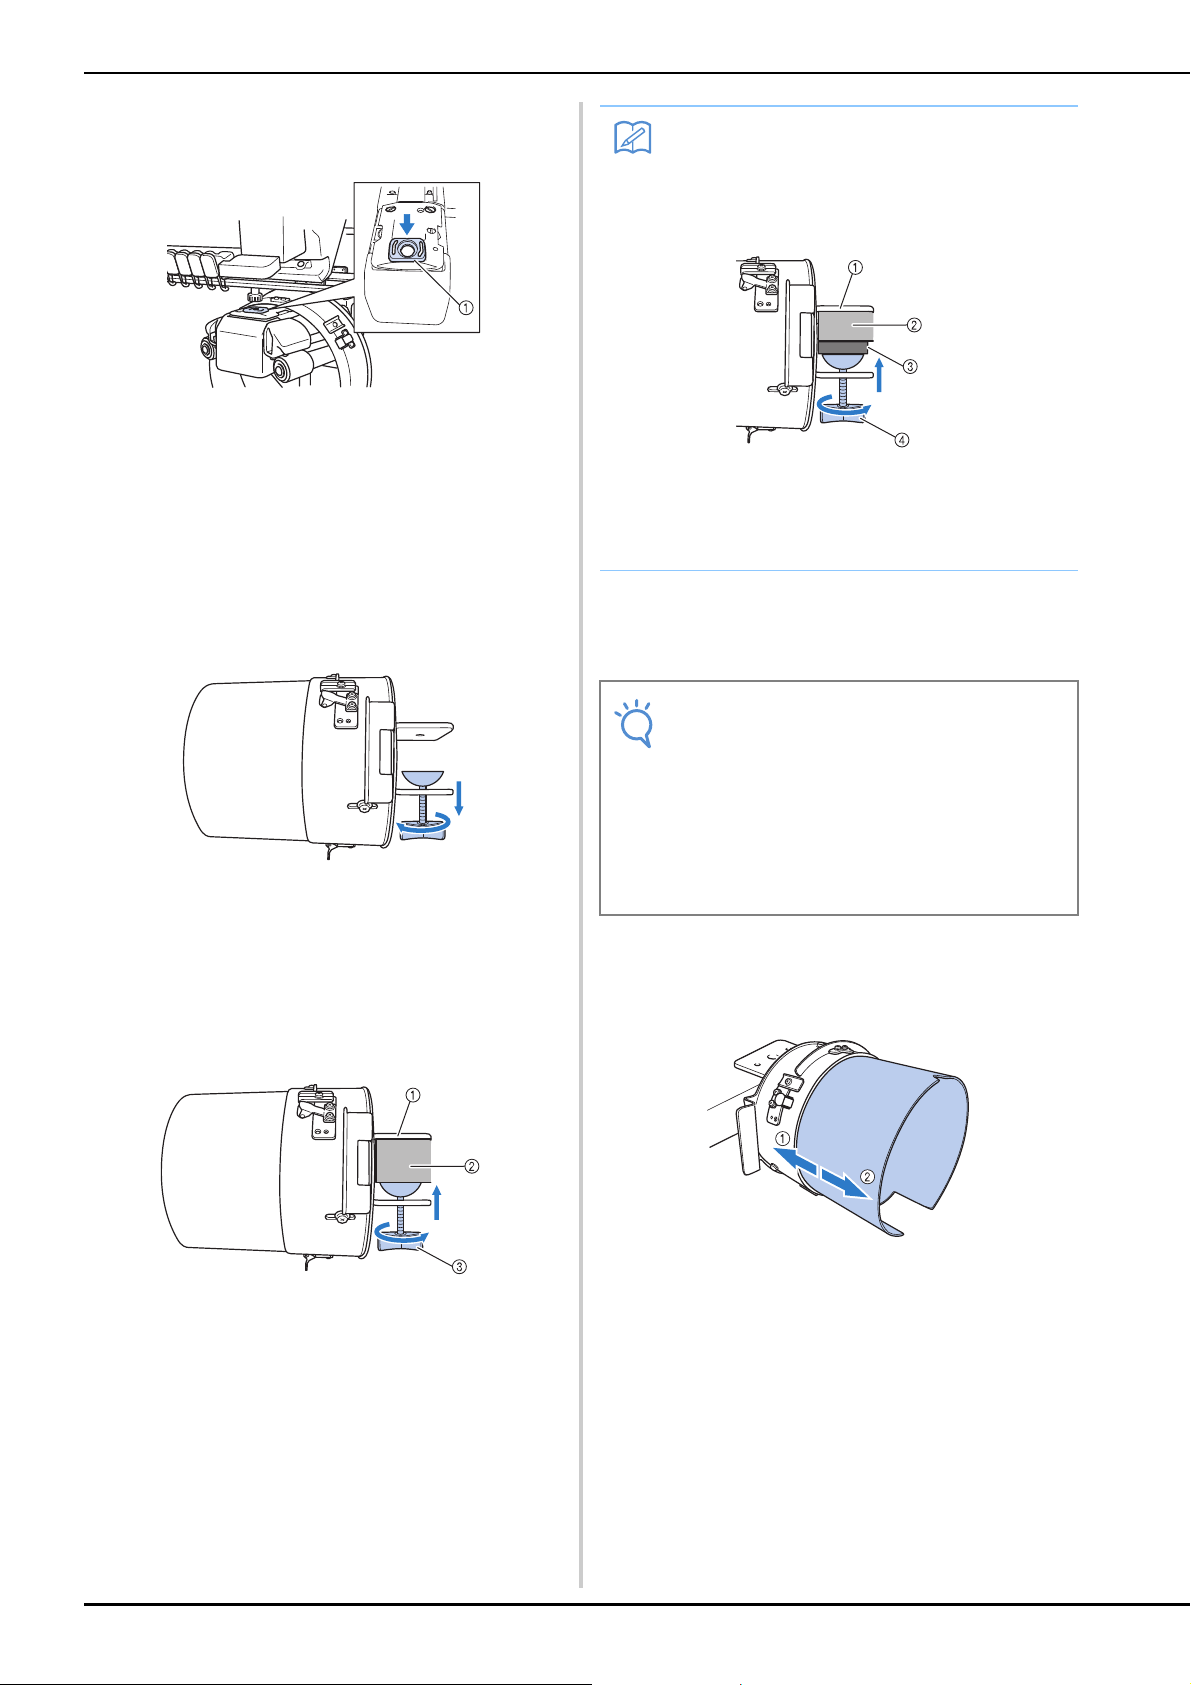
■ Preparing the mounting jig
Attach the mounting jig to a stable surface, such as a
desk.
a
Loosen the thumb screw for the mounting
jig to open the mounting bracket so that it is
wider than the thickness of the mounting
surface.
• The mounting bracket can be mounted onto a
mounting surface with a thickness from 9 mm (3/8
inch) to 38 mm (1-1/2 inches).
b
Securely clamp the mounting bracket onto
the mounting surface by tightening the
thumb screw.
1 Mounting bracket
2 Mounting surface
3 Tighten thumb screw
c
Check that there is no looseness.
If there is looseness, mount the mounting jig onto the
mounting surface again.
d
Adjust the size of the mounting jig
according to the type (size) of cap being
embroidered.
1 Low Profile (shorter caps)
2 Standard type (taller caps)
Memo
• If there is a gap between the clamp of the
thumb screw and the mounting surface,
insert the included pad as shown below.
1 Mounting bracket
2 Mounting surface (worktable, desk, etc.)
3 Pad
4 Thumb screw
Note
• Be sure that the mounting bracket is
securely clamped onto the mounting
surface and that the thumb screw is firmly
tightened.
• Do not attach the mounting jig to an
unstable surface (flexible, bent or warped).
• Be careful that the mounting jig does not fall
when it is removed.
Loading ...
Loading ...
Loading ...