Loading ...
Loading ...
Loading ...
194
a
Create the repeated pattern with the thread
mark at the center of the end of the pattern.
Refer to “Assigning thread marks” on page 193.
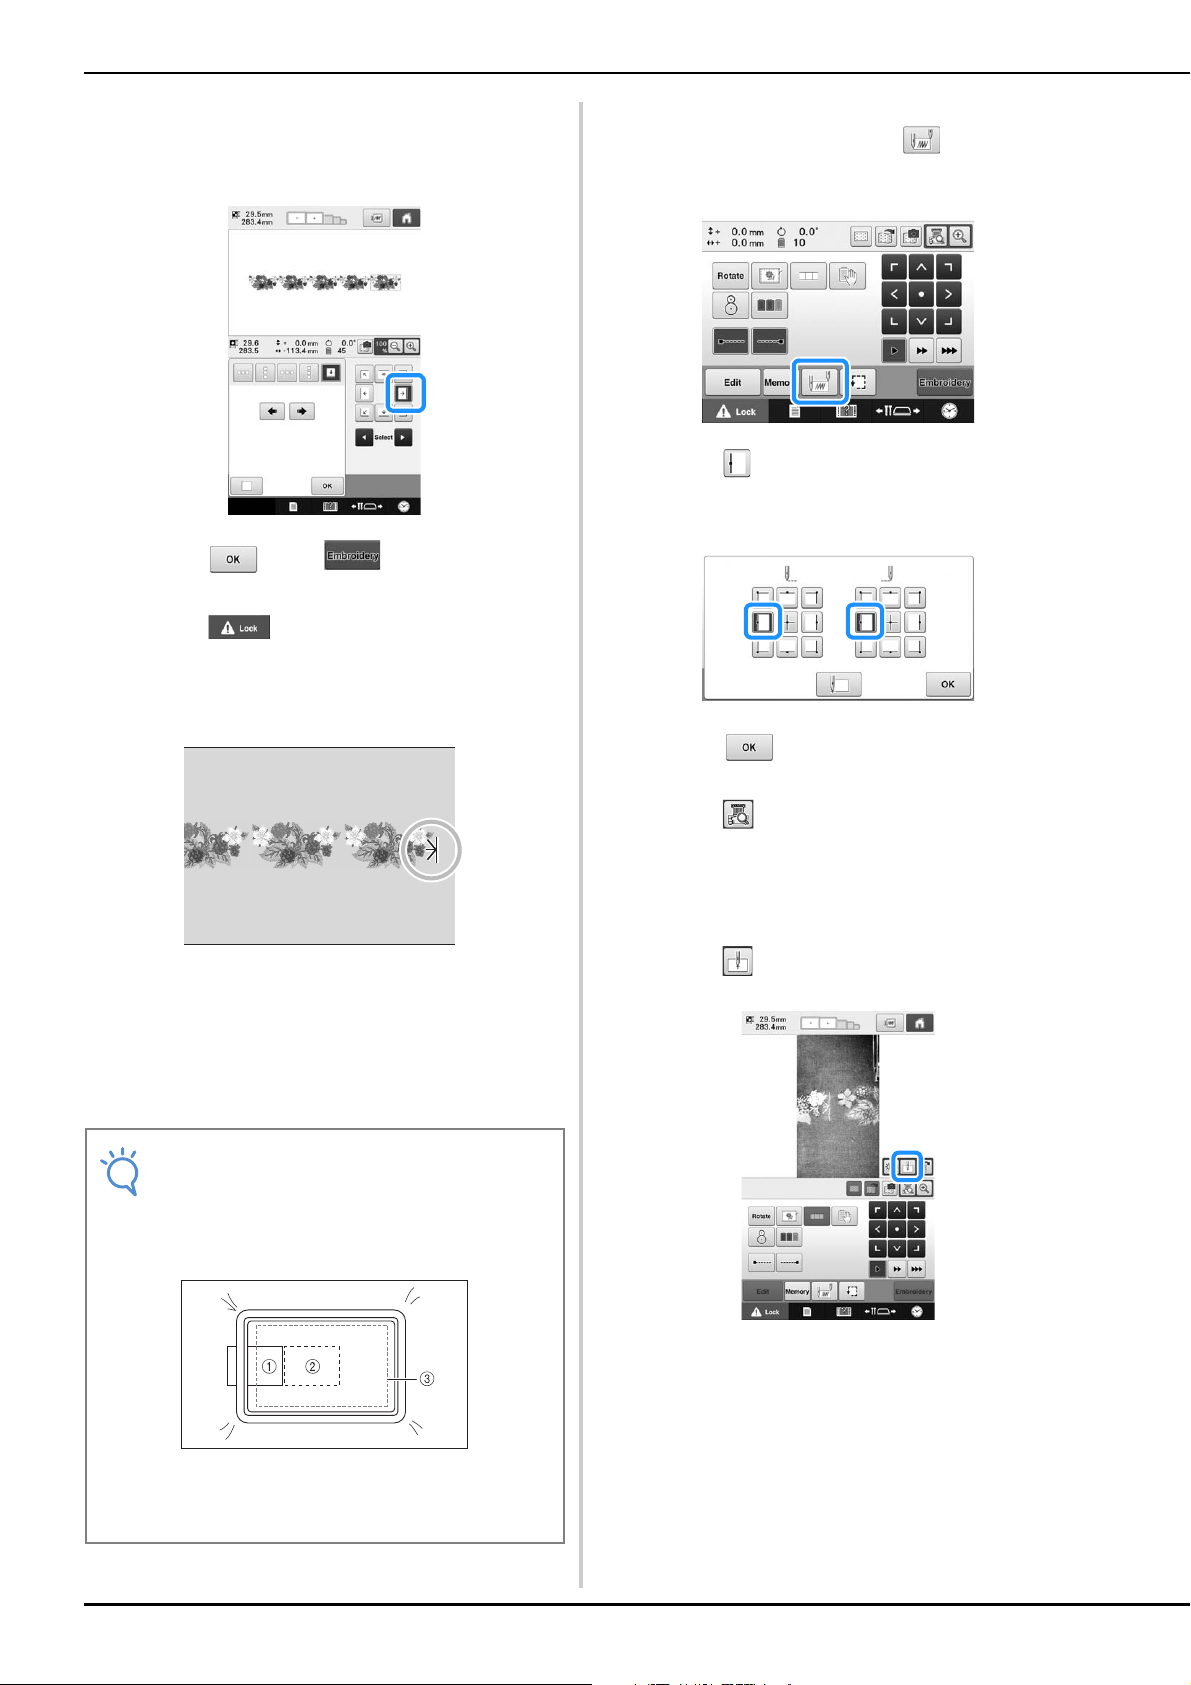
b
Touch , then .
c
Touch , and then press the start/stop
button to start embroidering.
→ When embroidering is finished, the thread mark is
sewn with the last thread color.
d
Remove the embroidery frame.
e
Rehoop the fabric in the embroidery frame.
f
Attach the embroidery frame to the
machine, and then touch in the
embroidering settings screen.
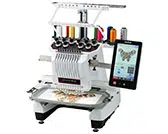
g
Touch to set the starting point to the left
side of the pattern.
h
Touch .
i
Touch .
• To adjust the embroidering position without using the
built-in-camera, refer to “Changing the Embroidering
Position” on page 98.
j
Touch to display the needle drop point.
Note
• Adjust the position of the fabric so that the
embroidering area for the next pattern is
within the embroidering area of the
embroidery sheet.
1 Pattern embroidered first
2 Position of pattern to be embroidered next
3 Embroidering area of embroidery sheet
Loading ...
Loading ...
Loading ...