Loading ...
Loading ...
Loading ...
OTHER BASIC PROCEDURES
105
3
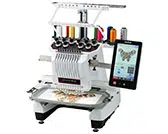
Using the built-in camera
The camera built into this machine can be used to
easily align the embroidering position. This is
useful for patterns which need to be embroidered
in particular position as shown below.
a
Use a chalk pencil to mark the desired
embroidering position.
1 Chalk pencil mark
b
Hoop the fabric.
c
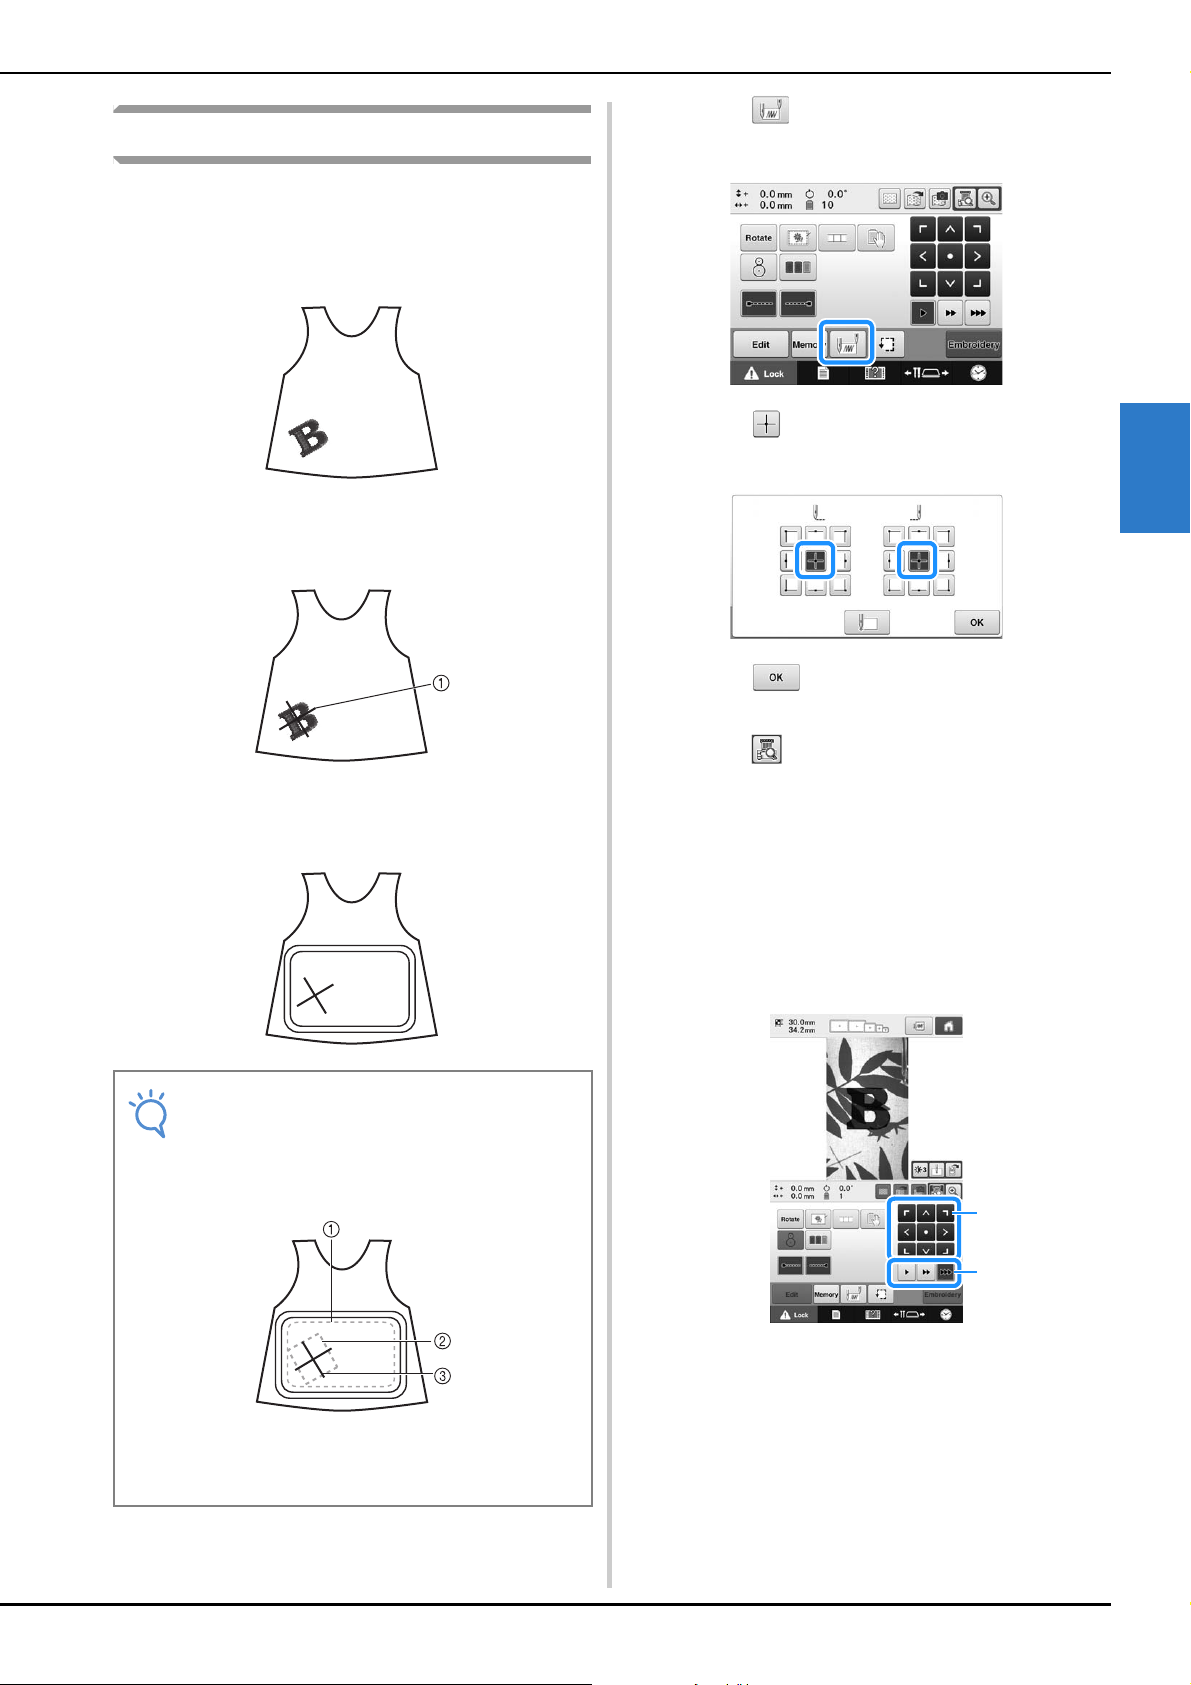
Select the pattern.
d
Touch in the embroidering settings
screen.
e
Touch to set the starting point to the
center of the pattern.
f
Touch .
g
Touch .
h
Touch the positioning keys to move the
embroidery frame until the chalk mark
drawn on the fabric is displayed in the
camera view window.
Touch the frame movement speed keys to select the
speed to move the frame. (Refer to “Changing the
Embroidering Position” on page 98.)
1 Positioning keys
2 Frame movement speed keys
Note
• When hooping the fabric in the embroidery
frame, make sure that the embroidery
pattern will fit within the embroidering area
of the frame being used.
1 Embroidering area
2 Embroidery pattern size
3 Chalk pencil mark
1
2
Loading ...
Loading ...
Loading ...