Loading ...
Loading ...
Loading ...
WHEELS AND TIRES
474
temperature drop causes a corresponding drop
of 1 psi (7 kPa) in inflation pressure. Check your
tire pressures frequently and adjust them to the
proper pressure, which can be found on the vehi-
cle's tire information placard or certification label.
If checking tire pressure when the tire is hot,
never "bleed" or reduce air pressure. The tires
are hot from driving and it is normal for pressures
to increase above recommended cold pressures.
A hot tire at or below recommended cold inflation
pressure could be significantly under-inflated.
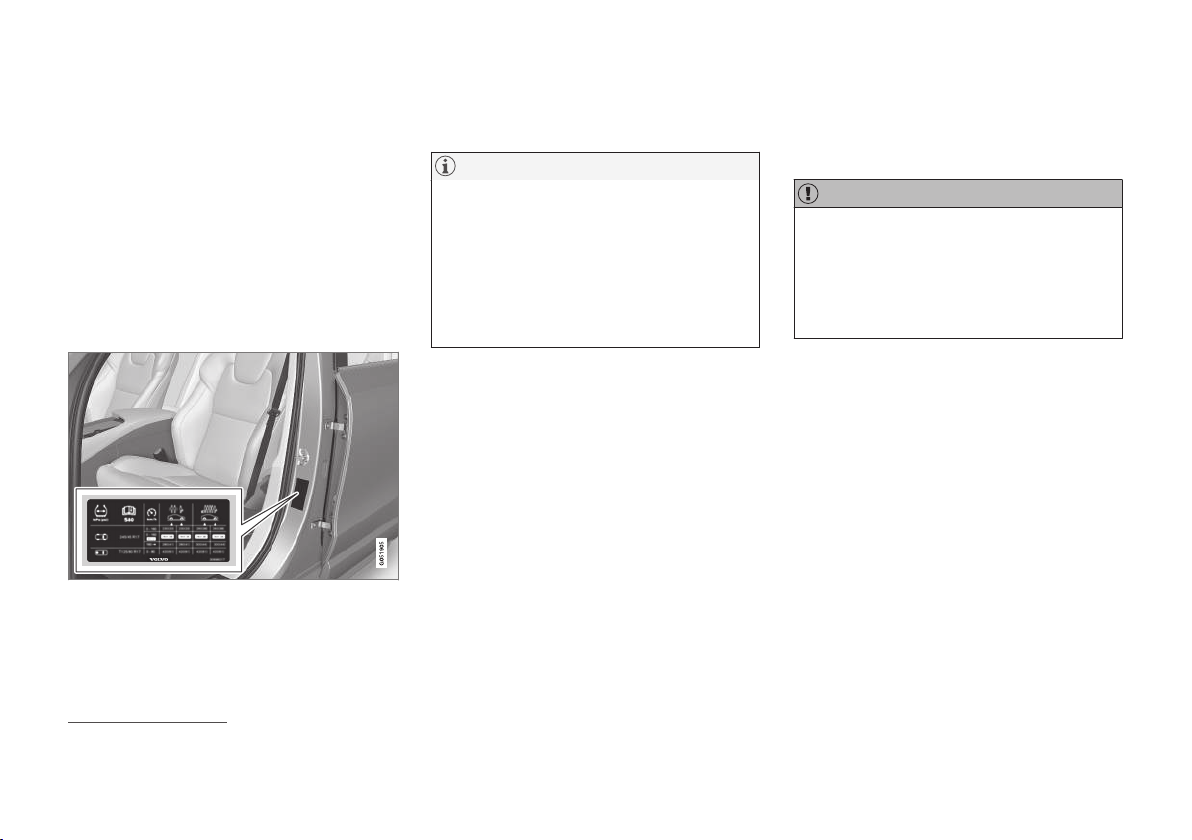
Recommended inflation pressures
Tire inflation placard
A tire inflation pressure placard is located on the
driver's side B-pillar (the structural member at the
side of the vehicle, at the rear of the driver's door
opening). This placard indicates the designation
of the factory-mounted tires on your vehicle, as
well as load limits and inflation pressure.
NOTE
•
The placard shown indicates inflation
pressure for the tires installed on the
vehicle at the factory only.
•
A certain amount of air seepage from the
tires occurs naturally and tire pressure
fluctuates with seasonal changes in tem-
perature. Always check tire pressure reg-
ularly.
•
Use a tire gauge to check the tire inflation
pressure, including the spare
3
, at least once
a month and before long trips. You are
strongly urged to buy a reliable tire pressure
gauge, as automatic service station gauges
may be inaccurate.
•
Use the recommended cold inflation pres-
sure for optimum tire performance and wear.
•
Under-inflation or over-inflation may cause
uneven treadwear patterns.
Checking tire pressure
1. Remove the cap from the valve on one tire,
then firmly press the tire gauge onto the
valve.
2. Add air to reach the recommended air pres-
sure.
3. Replace the valve cap.
CAUTION
•
After inflating the tires, always reinstall the
valve cap to help avoid damage to the
valve from dirt, gravel, etc.
•
Use plastic valve caps only. Metal caps
could corrode and become difficult to
remove.
4. Visually inspect the tires to make sure there
are no nails or other objects embedded that
could puncture the tire and cause an air leak.
5. Check the sidewalls to make sure there are
no gouges, cuts, bulges or other irregulari-
ties.
6. Repeat this procedure for each tire, including
the spare.
3
Not available in all models.
Loading ...
Loading ...
Loading ...