Loading ...
Loading ...
Loading ...
63
Arranging Embroidery Designs (Layout & Editing)
Arranging Embroidery Designs (Layout & Editing)
■ Moving stitch points
1. Drag the selected stitch points to the new
location.
■ Inserting stitch points and jump
stitches
1. Click a line between two stitch points to add a
new point at that position.
■ Deleting stitch points
1. Press the key to delete the selected
stitch point.
Converting a stitch pattern
to blocks
Imported stitch data or patterns converted to stitch
pattern can be converted into blocks (manual
punching data), allowing you to change some of their
sewing attributes and to scale individual colors while
keeping their stitching quality.
1. Select the stitch pattern.
2. Click Sew, then Stitch to Block.
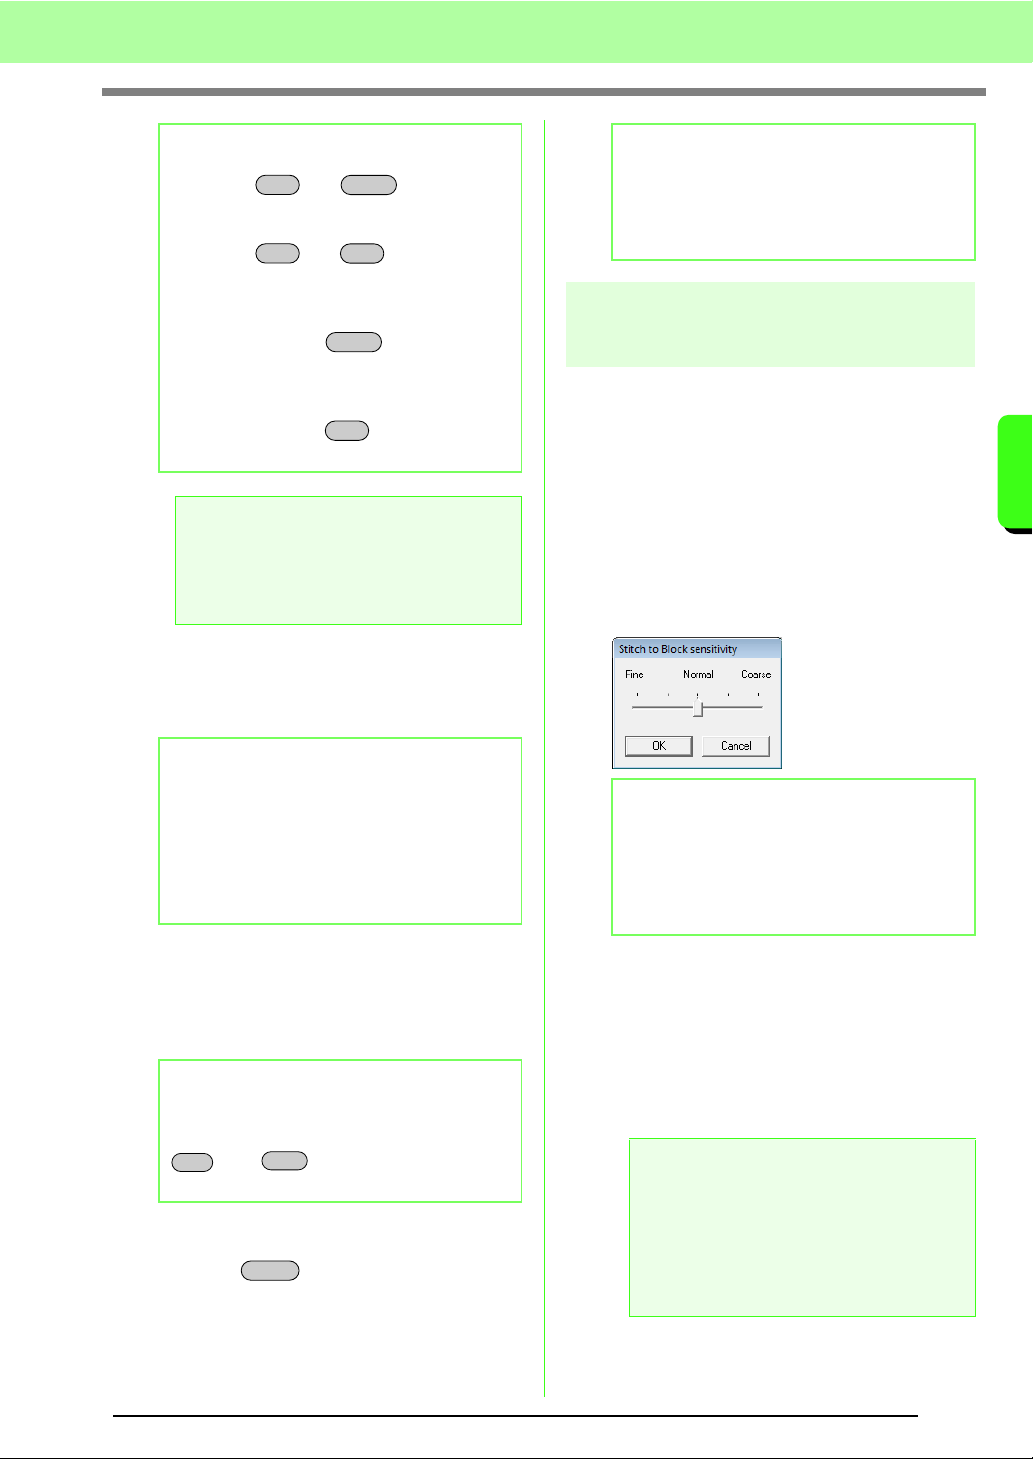
3. Move the slider to select the desired
sensitivity.
4. Click OK.
→ The stitch pattern is converted to grouped
manual punching data.
For details on grouping or ungrouping manual
punching data or editing a part of grouped
manual punching data, refer to “Grouping/
Ungrouping embroidery patterns” on page 55.
b Memo:
• Press the and keys.
→
The entry point of the first thread color
is selected.
• Press the and keys.
→
The exit point of the last thread color
is selected.
• Select at least one point in a given color,
and then press the key.
→
The entry point of the color is
selected.
• Select at least one point in a given color,
and then press the key.
→
The exit point of the color is selected.
a Note
When selecting stitch points, be sure to click
the stitch point (do not click a blank area of
the Design Page), otherwise all of the
selected points will be deselected.
b Memo:
Stitch points are moved in the same way that
embroidery pattern points are moved.
However, if the arrow keys are used, each
press moves the stitch point 0.1 mm
(0.004 inch).
c
“Moving points” on page 57.
b Memo:
To insert a stitch point and change the
previous line into a jump stitch, hold down the
and keys while clicking on the
line.
Ctrl
Home
Ctrl
End
Home
End
Ctrl
Shift
Delete
b Memo:
If the end point of a jump stitch is deleted, that
jump stitch segment is deleted and the
stitches before and after the jump stitch are
connected.
b Memo:
The
Normal
setting should provide
satisfactory results in most cases, but
depending on the complexity of the pattern,
you may need to select a setting more
towards
Coarse
or
Fine
.
a Note:
The
Stitch to Block
command cannot be
used with some stitch pattern imported from
embroidery cards.
c
“Enlarging/Reducing Stitch
Patterns” on page 237 in the
Instruction Manual (PDF format).
Loading ...
Loading ...
Loading ...