Loading ...
Loading ...
Loading ...
35
Tutoria l
Tutorial
4. Entering Text
In this example, we will create an embroidery pattern for text.
From Layout & Editing, various embroidery patterns can be created for text.
Built-in fonts: This software is provided with 35 built-in fonts.
TrueType fonts: TrueType fonts installed on your computer can be used to create embroidery
patterns.
Small fonts: These small fonts have sizes between 3 and 6 mm (0.12 and 0.24 inch).
Because of their size, these fonts are useful for beautifully sewing small text.
Monograms: Design custom monograms by combining text and decorative patterns.
Custom fonts: User-defined fonts can be created by using the Font Creator.
Text arrangement: The text can be arranged along an outline or an arc.
Transforming: Text can be transformed into any of the 26 Transform styles.
c
For details, refer to “Adding Text” on page 80.
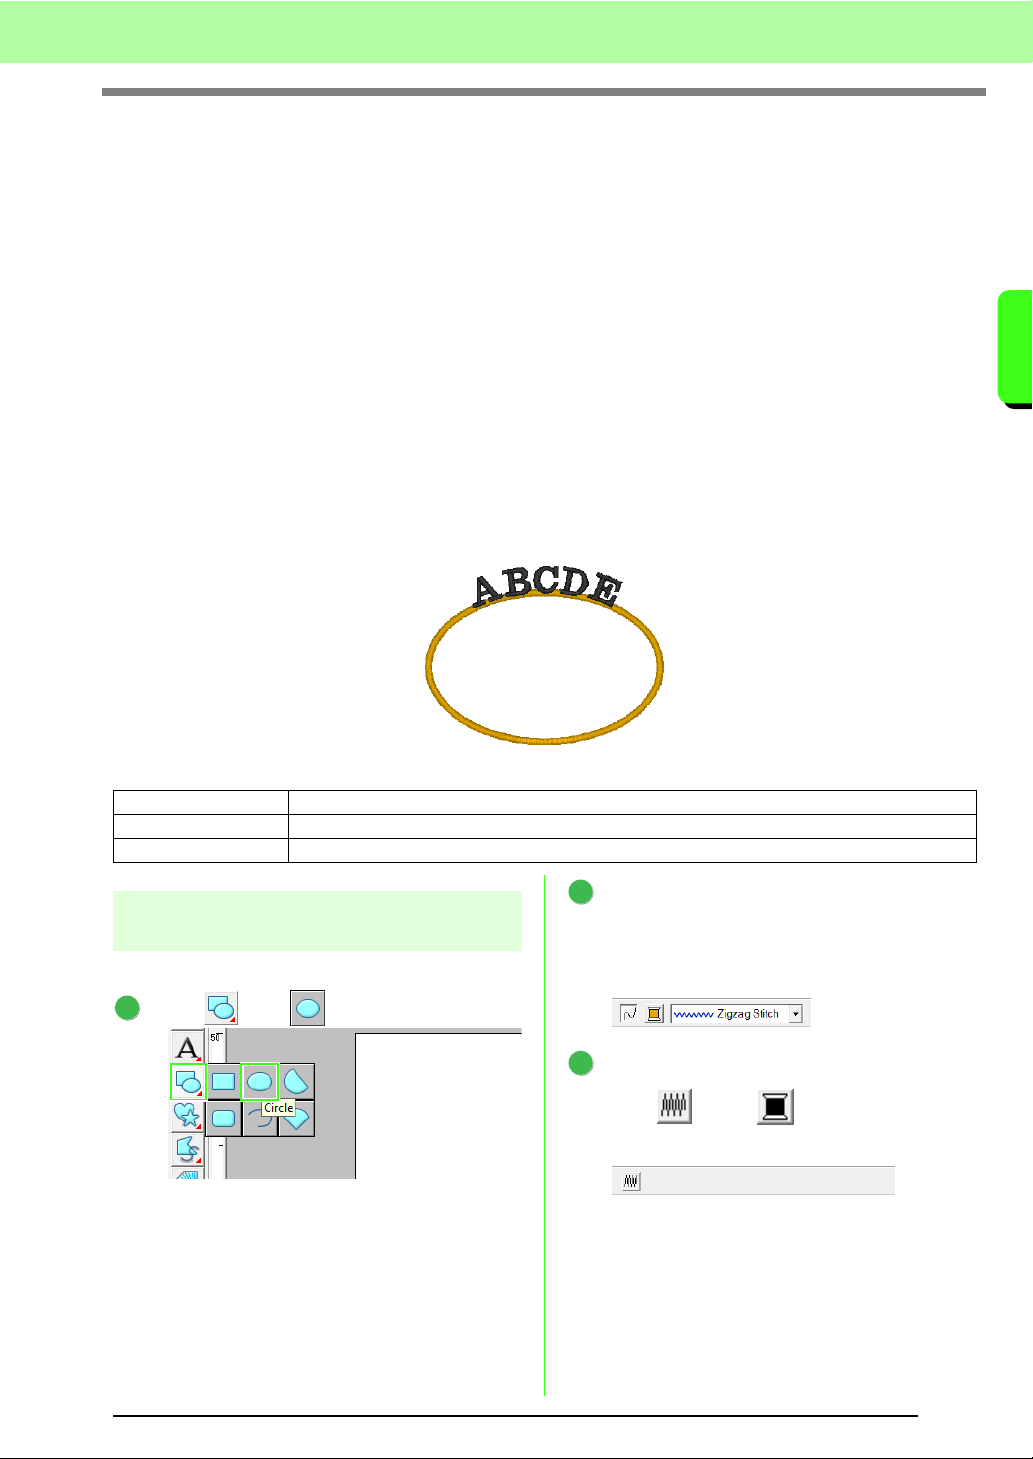
This section describes the procedures for entering text and arranging it on a circle.
Step 1
Drawing a circle
Draw the circle that the text will be arranged on.
Click , then .
Select YELLOW as the line color and Zigzag
Stitch as the line sew type.
Refer to “Drawing and moving shapes” on
page 29.
Turn off region sewing.
Click so that and the Region sew
type selector are no longer displayed.
Step 1 Drawing a circle
Step 2 Entering text
Step 3 Arranging text on a shape
1
2
3
Loading ...
Loading ...
Loading ...