Loading ...
Loading ...
Loading ...
231
Creating Custom Fonts (Font Creator)
Creating Custom Fonts (Font Creator)
Editing the Points of a Font Character
Pattern
Editing points and
reshaping patterns
1. Click on the Tool Box.
2. Click the pattern that you want to edit.
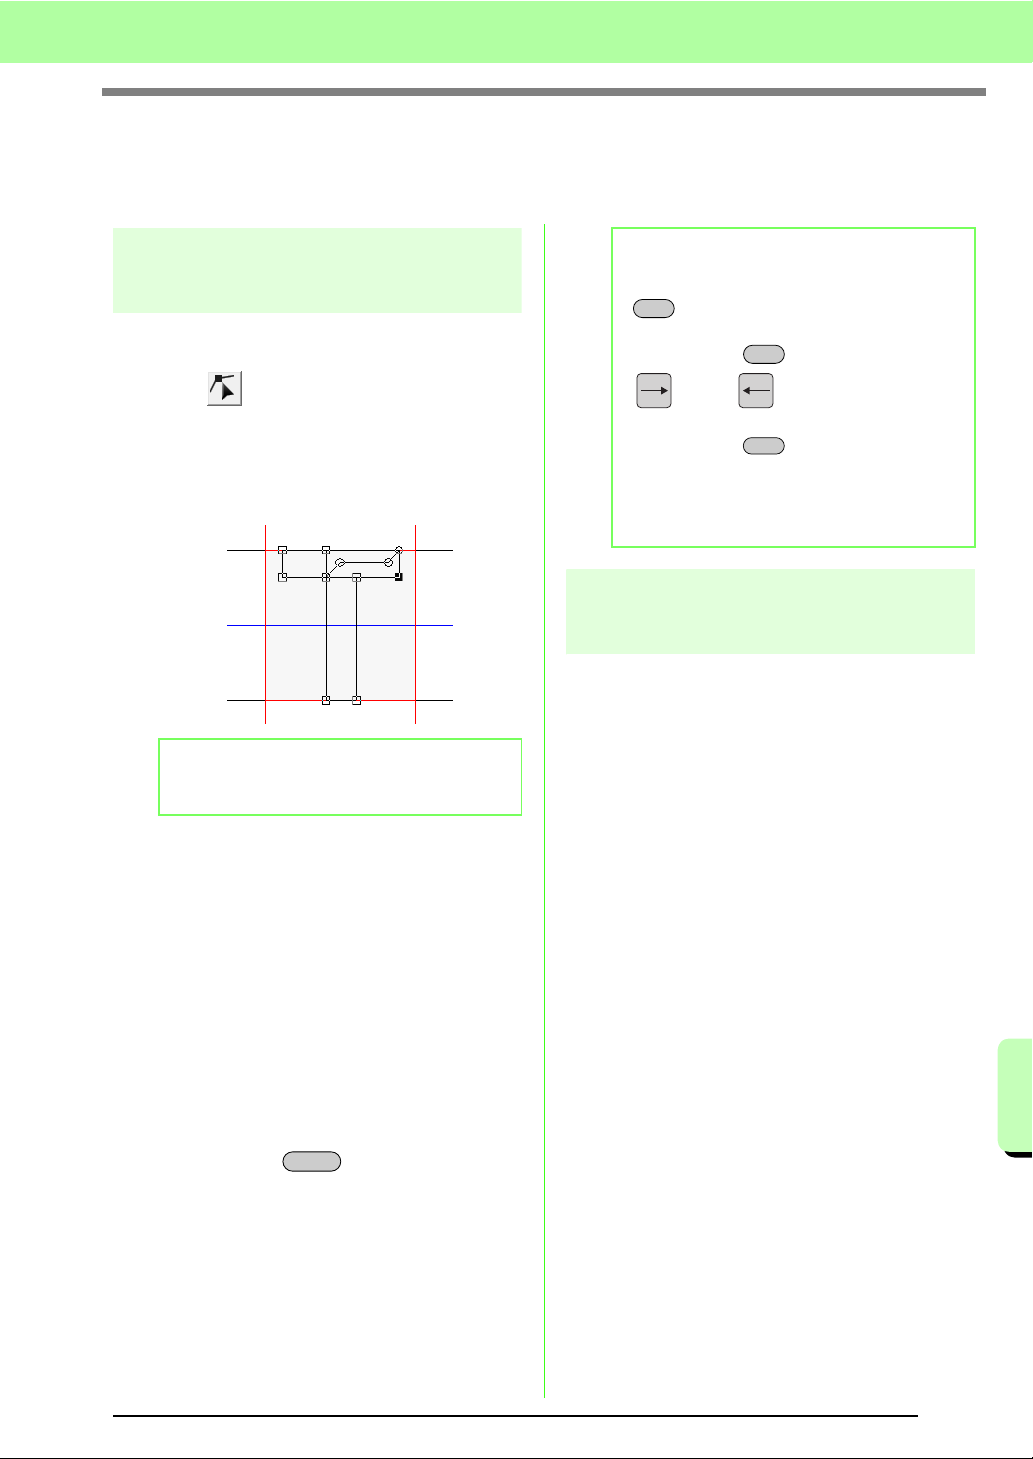
→ The points in the pattern appear as small
white squares or circles.
3. To edit a point, click the point to select it.
→ The selected point appears as a small
black square or circle.
• To move the point, drag it to the new
location.
→ All of the selected points move in the
same direction.
• To insert a point, click the line to add a new
point.
→ A new point appears selected (as a small
black square).
• To delete the point, click Edit, then Delete,
or press the key to remove the
point.
Editing points
The lines connected to a point can be changed to
either straight lines or curves. In addition, the lines
at a point can be smoothed out or straightened.
1. Select a point in the same way that a point is
selected in “Moving points”.
2. Click Edit, then Point.
3. Click the desired command.
•Click To Straight to transform the lines at the
selected point to straight lines.
•Click To Curve to transform the lines at the
selected point to curves.
•Click To Smooth to smooth out the lines at the
selected point on a curve.
•Click To Symmetry to symmetrically transform
the lines at the selected point on a curve.
•Click To Cusp to transform the selected curve to
a pointed path.
b Memo:
You can only select one pattern at a time.
Delete
b Memo:
• To select multiple points, hold down the
key while clicking the points, or
dragging the pointer over the points.
• Hold down the key while pressing the
key or key. The selection
direction changes to the end start point.
• Hold down the key while dragging the
points. The points are moved horizontally or
vertically.
• Press an arrow key. The points move in the
direction of the arrow on the key.
Ctrl
Ctrl
Shift
Loading ...
Loading ...
Loading ...