Loading ...
Loading ...
Loading ...

229
Creating Custom Fonts (Font Creator)
Creating Custom Fonts (Font Creator)
Creating a Font Character Pattern
Creating patterns using the
Manual Punch tools
Using the Manual Punch tools, create the font
character pattern.
A background image can be displayed so that the
font character pattern can be created more easily.
c
“Opening an image in the background” on
page 227.
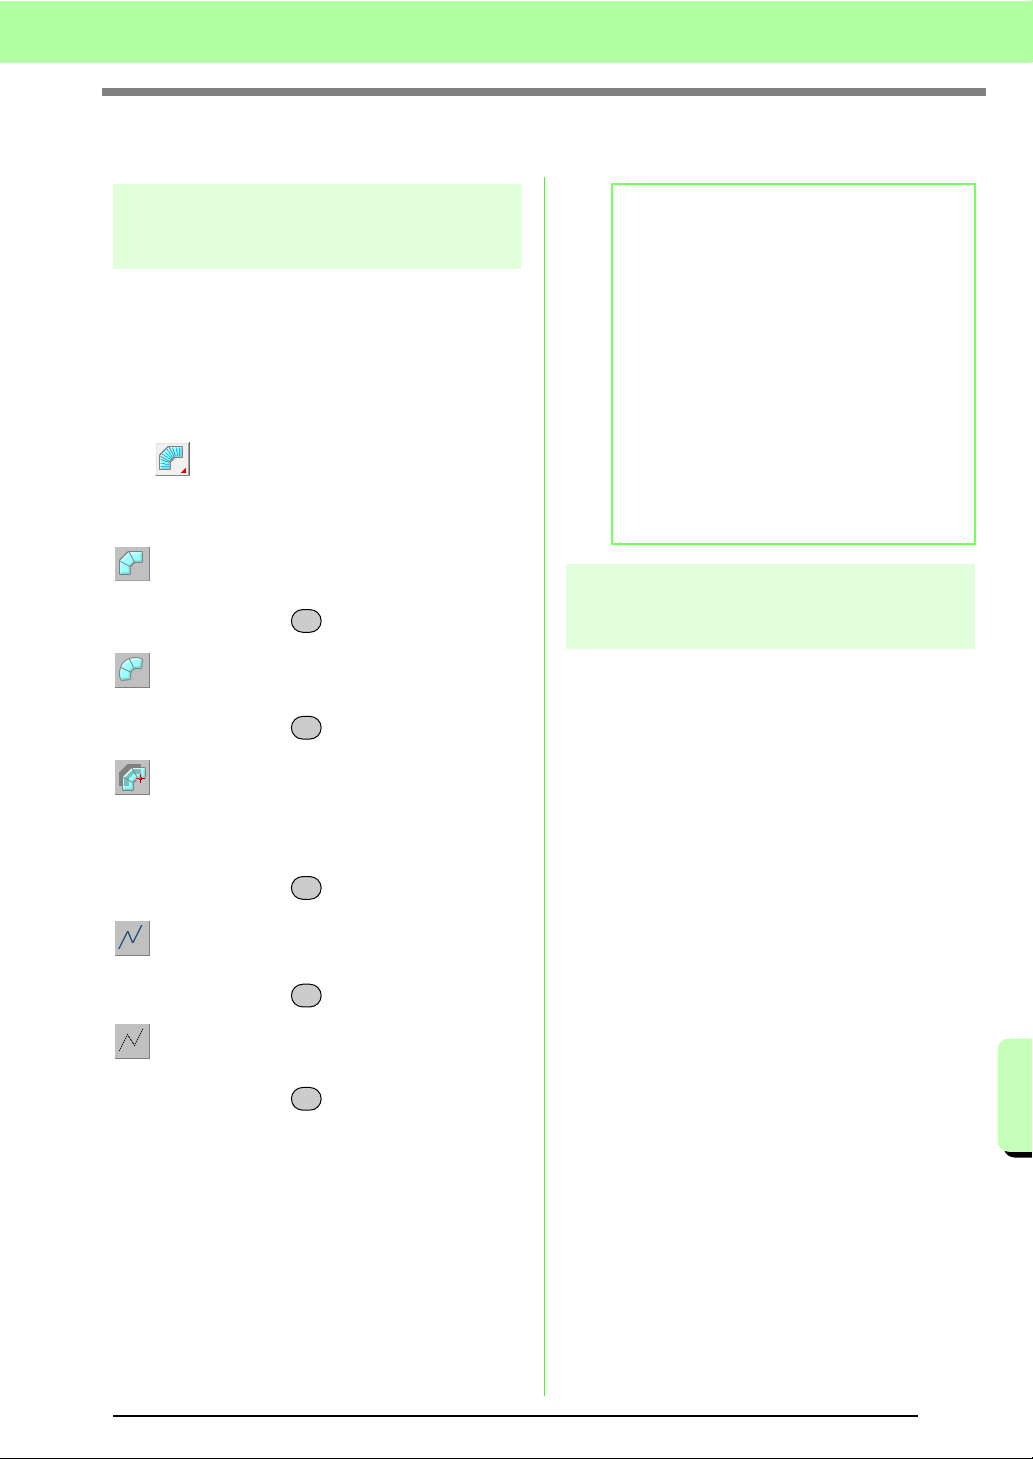
Use on the Tool Box to create the patterns.
When this button is clicked, the following five
buttons appear.
: This is used for creating straight block-type
punching patterns (region sewing).
(Shortcut key: )
: This is used for creating curved block-type
punching patterns (region sewing).
(Shortcut key: )
: This is used for semi-automatically creating
straight block-type punching patterns.
By semi-automatically tracing, points can be
specified along the lines of a template.
(Shortcut key: )
: This is used for creating running-type
punching patterns (line sewing).
(Shortcut key: )
: This is used for creating feed-type punching
patterns (jump stitches).
(Shortcut key: )
c
“Manually Creating Custom Font” on
page 219.
Automatically converting
TrueType fonts
If a TrueType font is used as a template, it can
simply be converted into font character patterns.
1. Open the TrueType font to be used as a
template.
c
“Opening a template (TrueType font)” on
page 227.
2. Click Sew, then Convert TrueType Font to
Data.
→ A font character pattern is created from
the background image.
Z
X
C
V
B
b Memo:
• When entering points, you can switch
between the various tools. This is very easy
if the shortcut keys are used.
• A template image is needed in order to use
the semi-automatic block-type punch tool. If
there is no image, this tool will create a
punching pattern like the straight block-type
punch tool. In addition, this tool cannot be
used if a TrueType font is used as the
template.
• Once the pattern is drawn, you can still
transform straight block-type patterns into
curved block-type patterns and vice versa.
For details, refer to “Editing points” on
page 231.
Loading ...
Loading ...
Loading ...