Loading ...
Loading ...
Loading ...
159
Manually Creating Embroidery Patterns From Images (Design Center)
Manually Creating Embroidery Patterns From Images (Design Center)
5. Click OK.
Changing the background
image
■ Changing the display of the
background image
1. Click Display, then Display Template, and
then select the desired setting.
• To display the line image, click On.
• To display a faded copy of the line image,
click Faded.
• To hide the line image, click Off.
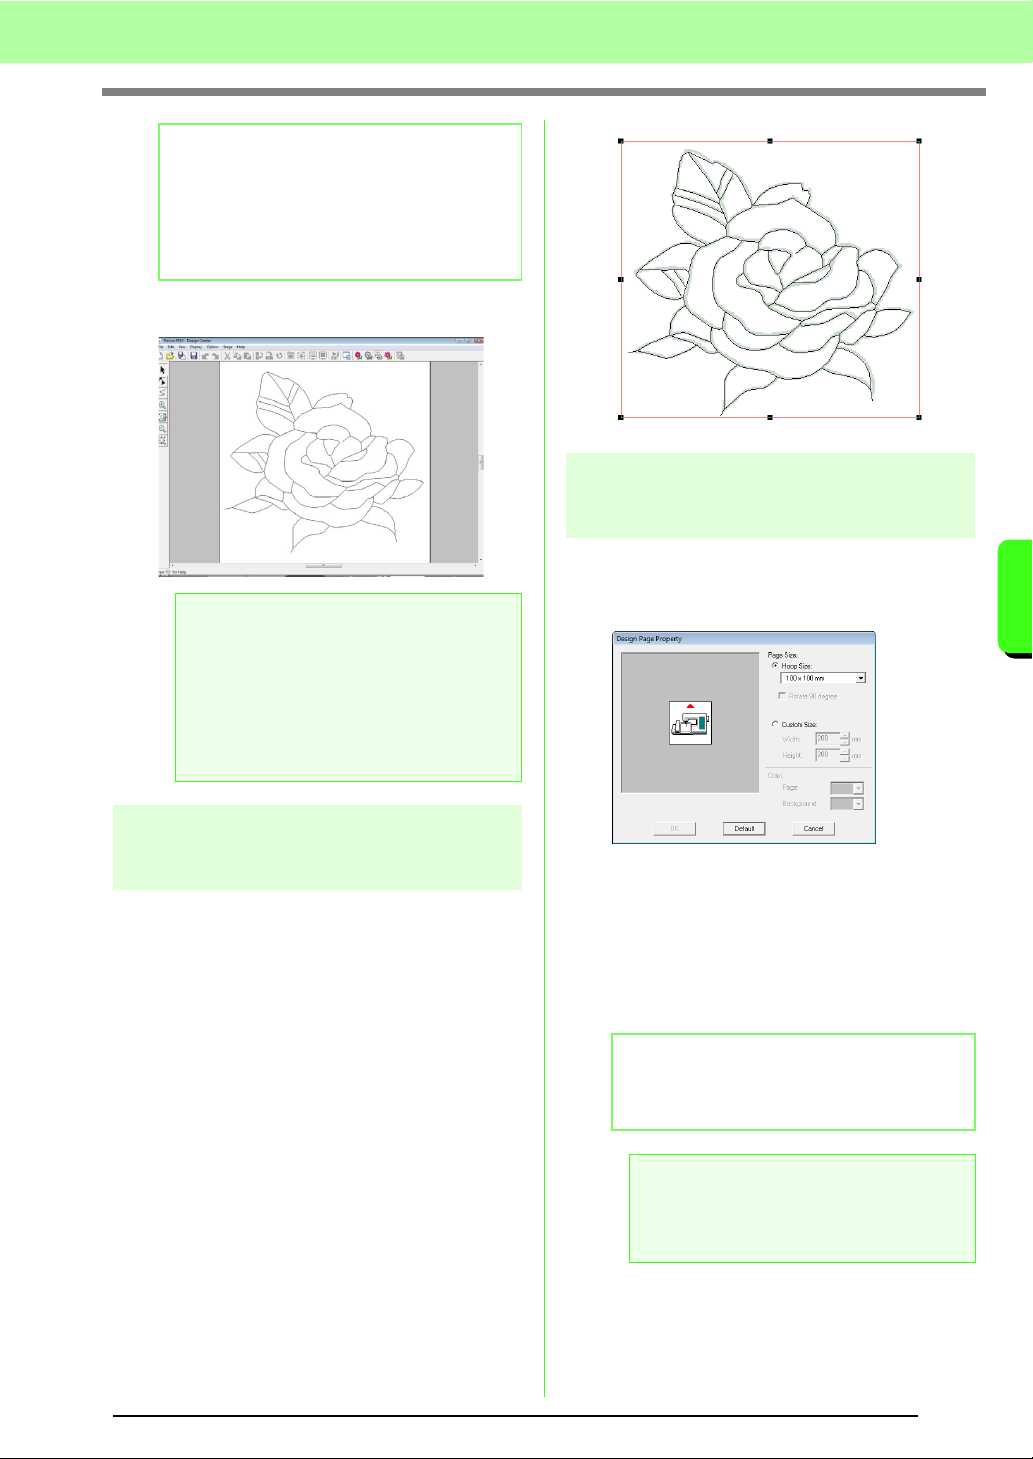
■ Changing the size and position of
the background image
1. Click Display, then Modify Template.
2. Drag the template image to move it to the
desired location.
Drag a handle to enlarge or reduce the size of
the template image.
Specifying the Design Page
size
1. Click Option, then Design Page Property.
2. Select the Design Page size.
To adjust the Design Page size according to
the hoop size, select Hoop Size, and then
select the desired hoop size from the selector.
To specify a custom Design Page size, select
Custom Size, and then type or select the
desired width and height for the Design Page.
3. Click OK.
b Memo:
To create outline data from a part of the
image, select the specific area by clicking
Pick Area
, then dragging the pointer (+) to
draw a selection frame around the area to be
selected.
a Note:
If the outline data cannot be created from the
image when moving from the Line Image
Stage to the Figure Handle Stage, even after
various outline conversion settings are
specified, return to the Line Image Stage, and
correct the outlines in the line image or apply
corrections to the image.
b Memo:
To return to the default settings (
100
×
100
mm
(
4"
×
4"
) of
Hoop Size
), click
Default
.
a Note:
Do not select a hoop size larger than the
embroidery hoop that can be used with your
machine.
Loading ...
Loading ...
Loading ...