Loading ...
Loading ...
Loading ...
47
Arranging Embroidery Designs (Layout & Editing)
Arranging Embroidery Designs (Layout & Editing)
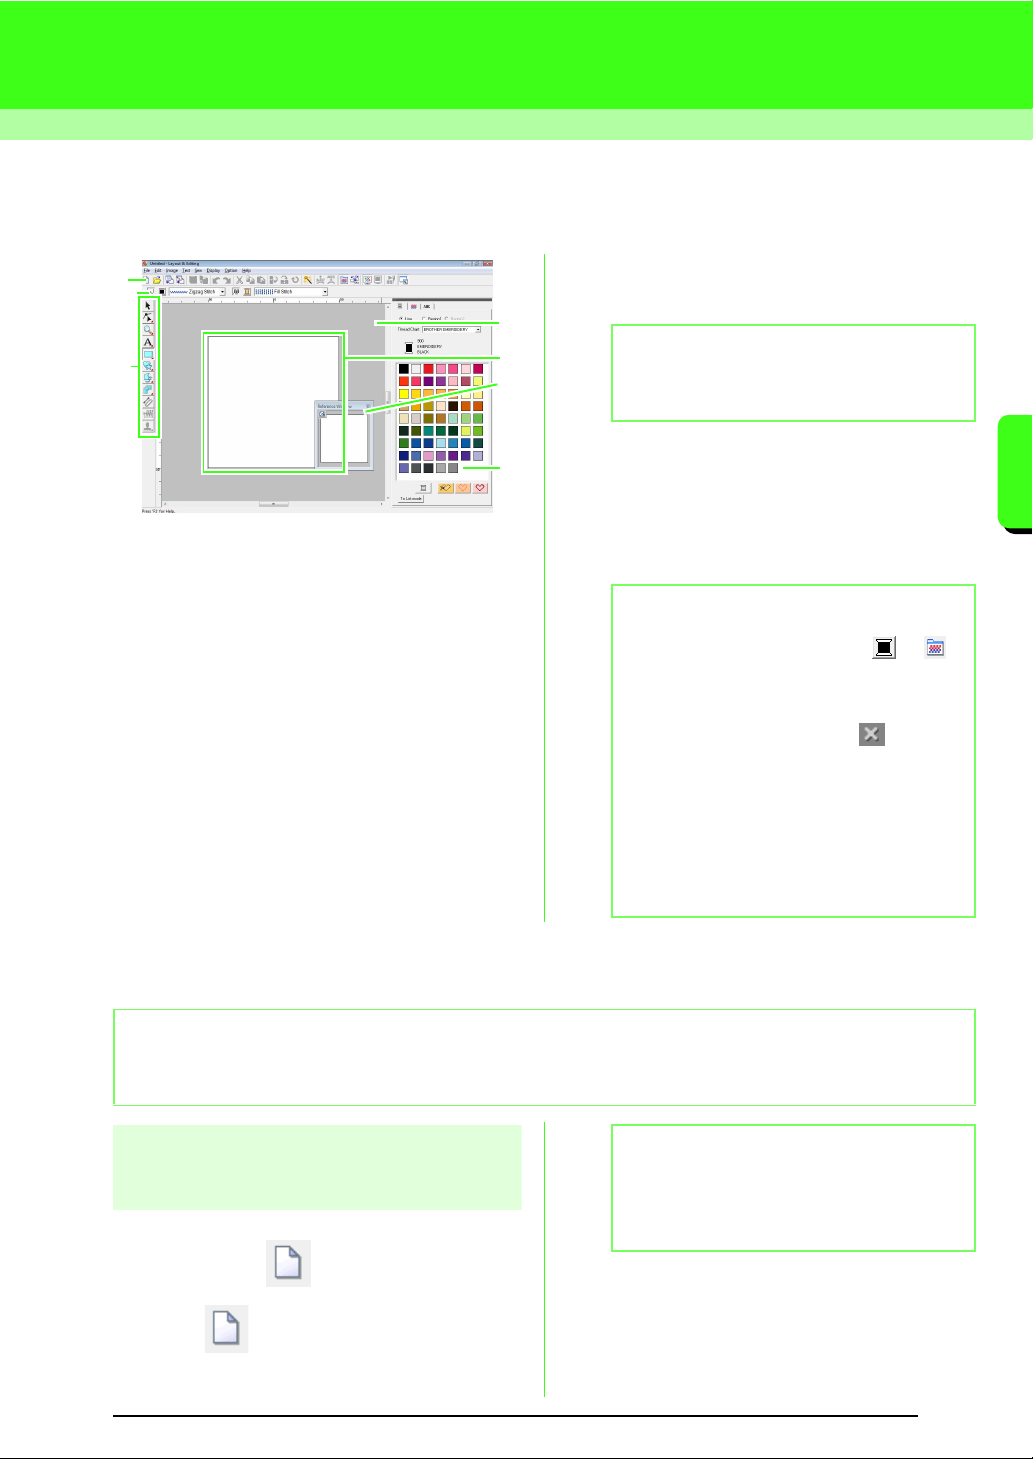
Layout & Editing Window
1 Toolbar
Provides shortcuts for the menu commands.
2 Sewing Attributes bar
Sets the sewing attributes (color and sew type)
of lines and regions in the pattern.
3 Tool Box
Used to create, select and edit patterns.
4 Reference Window
Displays all patterns in the work area, giving you
an overview while you work on a detailed area.
c
“Viewing design in the reference window”
on page 66.
5 Design Page
The actual part of the work area that can be
saved and sewn.
6 Work area
7 Thread colors, sewing attributes and text
attributes
This dialog box combines tabs for specifying
thread colors, sewing attributes and text
attributes. Click a tab to display the parameters.
Opening/Importing Embroidery Designs
Creating a new embroidery
design
Toolbar button:
1. Click , or click File, then New.
→ A new Design Page appears.
5
3
6
4
2
1
7
b Memo:
The default value for the design page size in
this example is 100 ×100 mm (4 × 4 inches).
b Memo:
• To display this dialog box, click or ,
or select the menu command
Sew
-
Sewing
Attribute Setting
or
Text
-
Text Attribute
Setting
.
To close this dialog box, click .
• When the application is first started, this
combined dialog box is attached at the right
side of the window. This dialog box can be
moved by dragging it or double-clicking its
title bar (bar at the top of the dialog box). To
return the dialog box to its original attached
position, drag it to the right side of the
window or double-click its title bar.
b Memo:
Multiple files can be opened in Layout & Editing. In addition, data can be copied and pasted between files that
are open at the same time.
b Memo:
The size of the Design Page can be changed.
c
“Specifying the Design Page Size
and Color” on page 68.
Loading ...
Loading ...
Loading ...