Loading ...
Loading ...
Loading ...
168
Manually Creating Embroidery Patterns From Images (Design Center)
Preventing overlapping stitching
of regions (hole sewing)
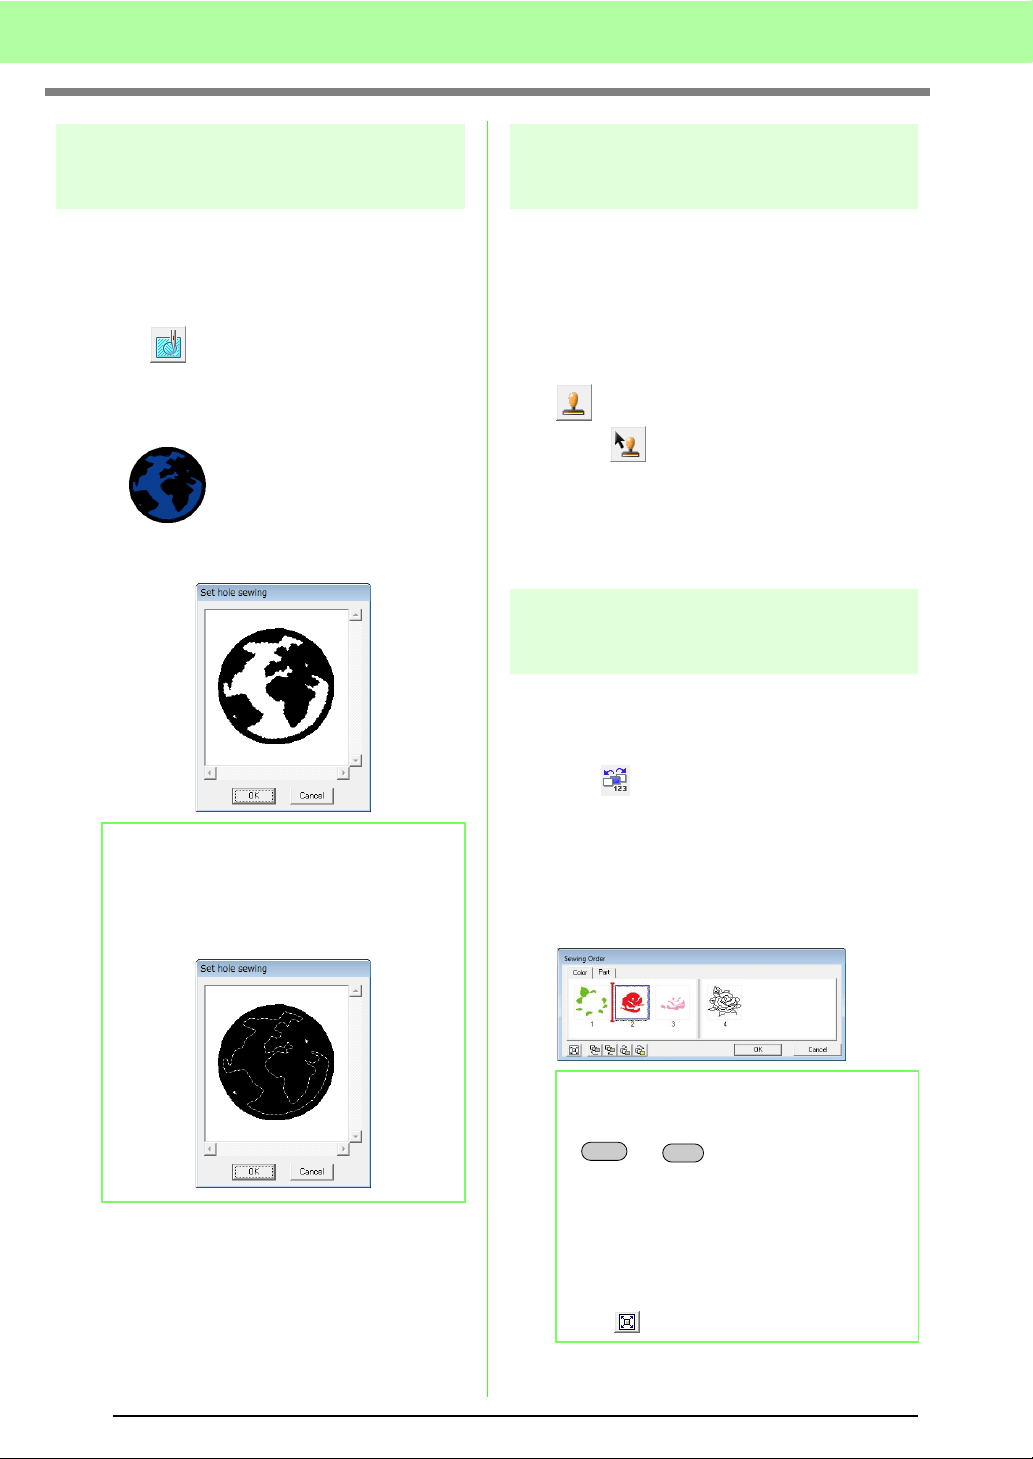
By specifying hole sewing, the stitching in
overlapping regions will not be sewn twice. Hole
sewing can be set only when one region completely
encloses another.
1. Click on the Tool Box.
2. Click the region that completely encloses
another region.
3. Click OK to set hole sewing.
Applying stamps
Stamps created with Programmable Stitch Creator
can be applied to regions in the Sew Setting Stage
of Design Center. Some stamp patterns are
provided with this application; however, by using
Programmable Stitch Creator, you can edit the
patterns that are provided or you can create your
own.
Click to apply a stamp. To edit the applied
stamp, click .
Settings for stamps are specified in the same way
that they are in Layout & Editing.
c
“Applying and editing Stamps” on
page 114.
Checking and editing the
sewing order
The sewing order of pattern colors as well as the
sewing order of pattern objects of the same color can
be checked and modified as necessary.
1. Click , or click Sew, then Sewing Order.
2.
To change the sewing order of a color, select
the frame for the color, and then drag the frame
to the desired position.
→ A red line appears, indicating the position
where the frame is being moved.
b Memo:
To cancel hole sewing, click the white inner
region. The inner region will be sewn twice
when it appears in the same color as the outer
region.
b Memo:
• To select additional frames, hold down the
or key and select each
frame.
• The frames containing regions are
separated from the frames containing
outlines with a thick vertical line. Frames
from one side of the line cannot be moved
to the other side.
• To enlarge the pattern for better viewing,
click .
Shift
Ctrl
Loading ...
Loading ...
Loading ...