Loading ...
Loading ...
Loading ...
26
Tutorial
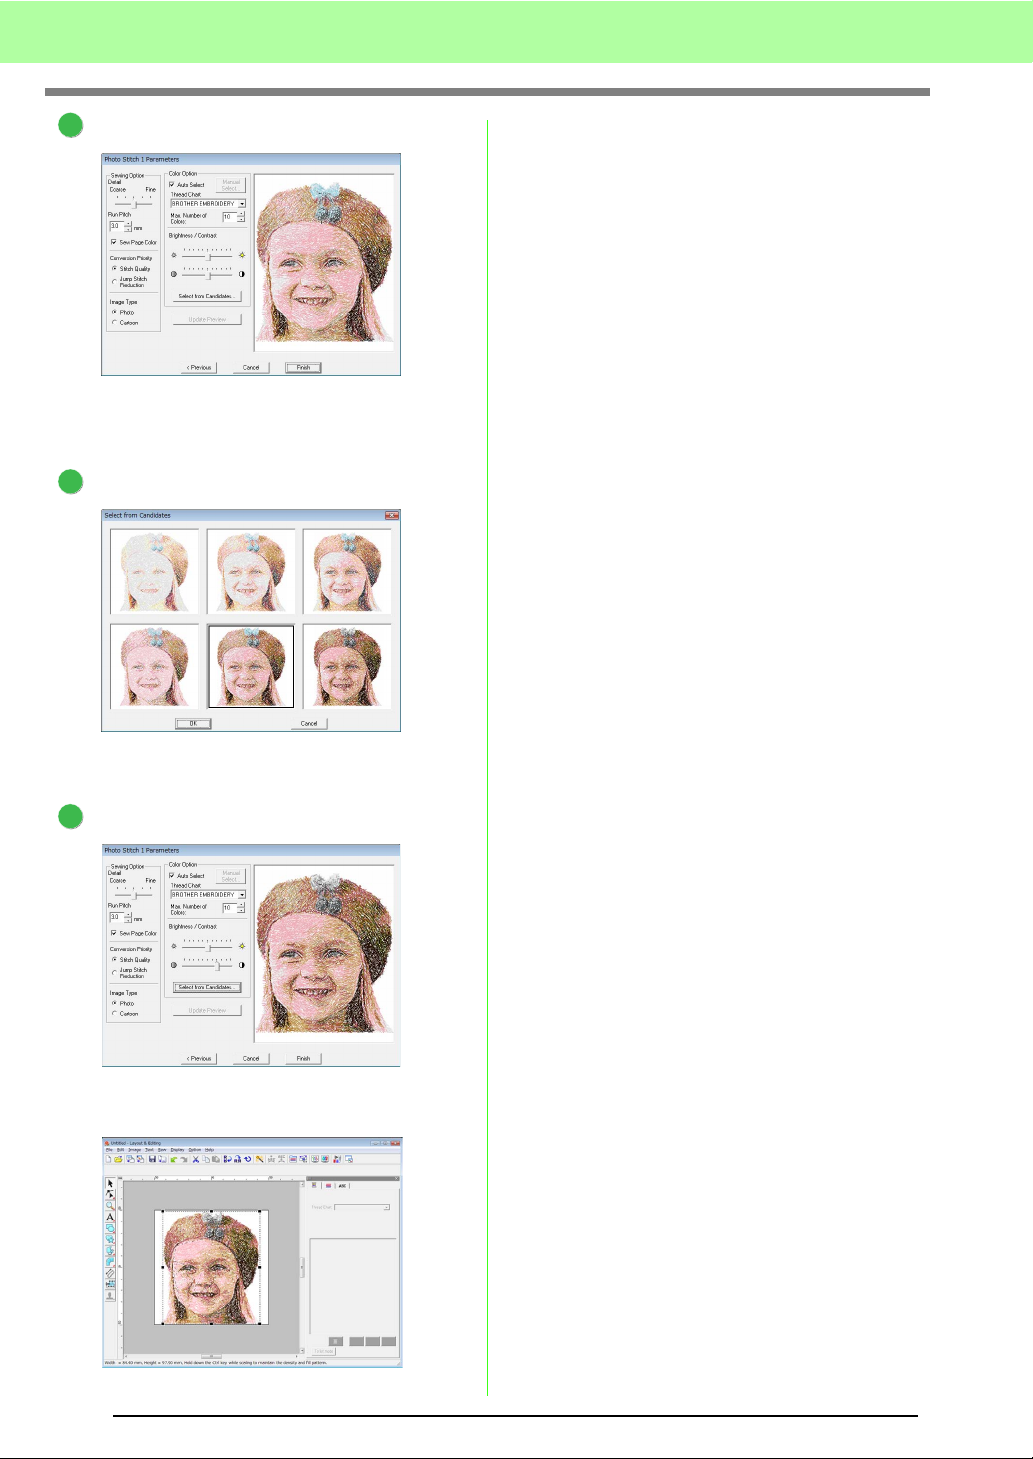
Click Select from Candidates.
→ There are six patterns with different
brightness and contrasts based on the
original image.
Select one of the candidates and click OK.
→ This preview changes to the selected
image.
Click Finish.
→ The generated embroidery pattern is
displayed.
c
For details on saving embroidery
patterns, refer to “Saving the embroidery
design” on page 22. For details on
transferring designs to original cards,
refer to “Transferring the design to an
original card” on page 17.
■ Creating Beautiful Photo
Embroidery
• Select a photograph that shows a large image.
(A photograph with an intricate image, for
example, one that contains many objects, is not
suitable.)
• Increase the contrast.
• An image with a width and height between 300
and 500 dots is suitable.
• Check the photo.
The following types of photos are not
appropriate for creating embroidery patterns.
• Photos where the subject is small, such as
in photos of gatherings
• Photos where the subject appears dark,
such as photos taken in a room or taken
with backlighting
• If the embroidery pattern is not created as
expected, change the settings in the Photo
Stitch 1 Parameters dialog box.
Brightness: Increase the brightness of the
image.
Max. Number of Colors: Increase the number
of colors that are used.
c
“Color Option” on page 131.
• If the created embroidery pattern contains colors
that you do not wish to emphasize (for example,
grays in the face), change the sewing order in
the Sewing Order/Lock dialog box so that the
undesirable color is sewn before all other colors.
c
“Editing the sewing order” on page 118.
7
8
9
Loading ...
Loading ...
Loading ...