Loading ...
Loading ...
Loading ...
45
Tutorial
Tutorial
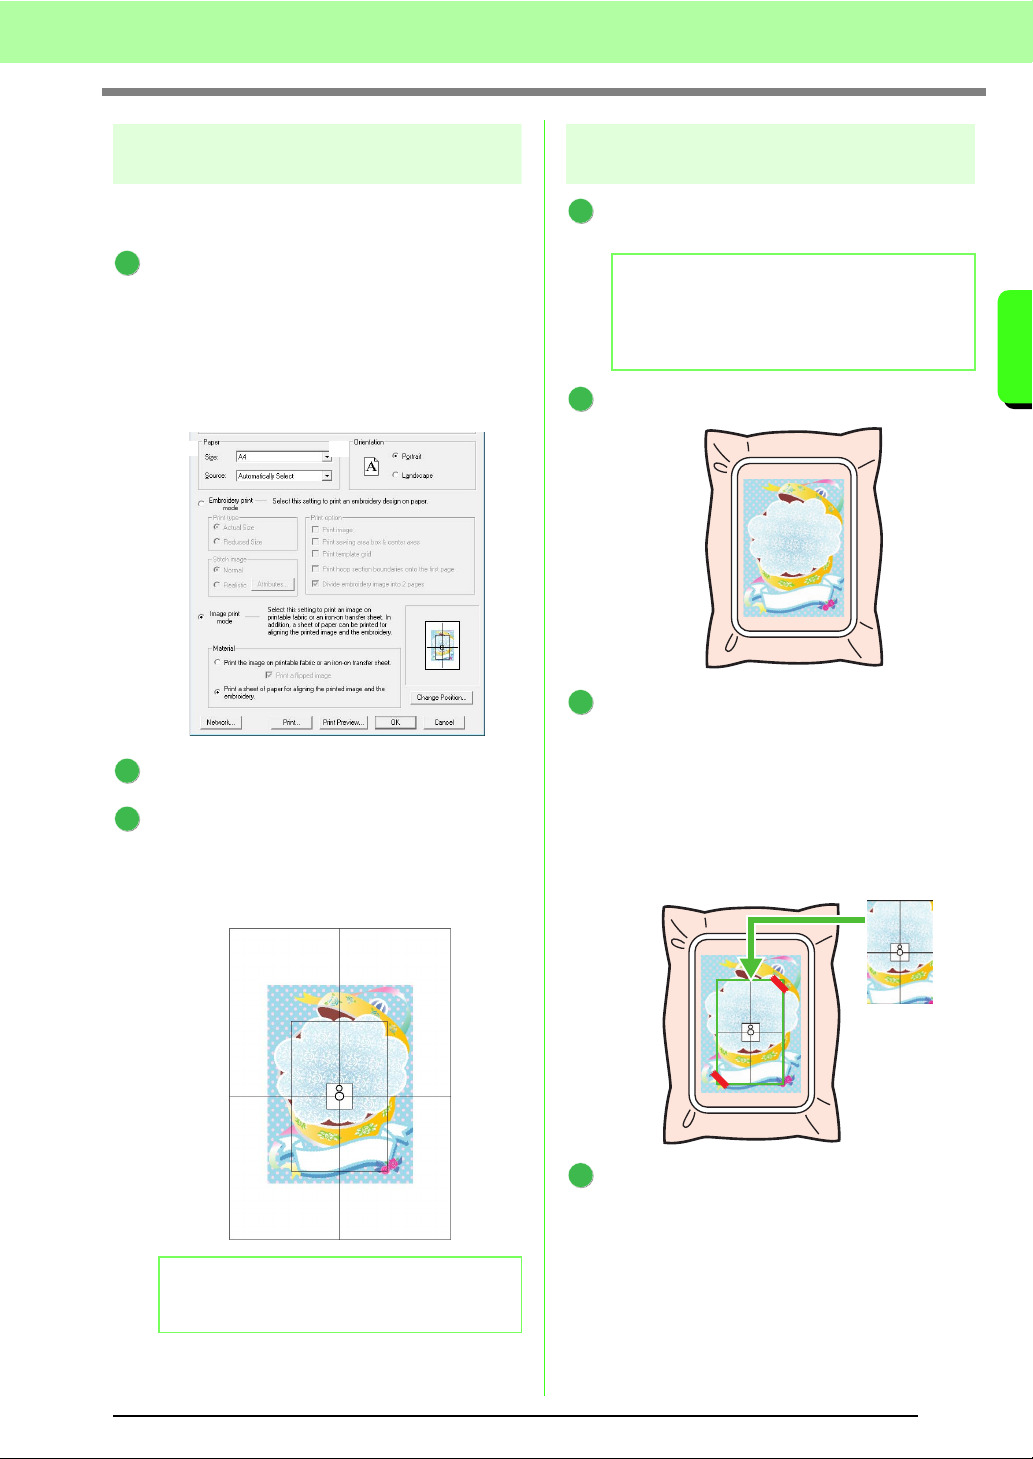
Step 3 Printing the positioning
sheet
Print a sheet for aligning the image and the
embroidery.
Specify the print settings.
(1) Under Paper and Orientation, select the
appropriate settings for the paper to be
printed on.
(2) Select Print a sheet of paper for
aligning the printed image and the
embroidery.
Click Print.
Specify the appropriate settings in the Print
dialog box, and then click OK.
c
“Printing” on page 143.
→ Printing begins.
Step 4 Embroidering
If an iron-on transfer sheet is used, transfer
the image onto fabric.
Hoop the fabric in the embroidery frame.
Place the positioning sheet on the fabric to be
embroidered so that it is aligned with the
printed image.
• If the positioning sheet is too large, cut it to
an appropriate size so it can easily be used
for aligning the positions.
• Tape the positioning sheet to the fabric to
secure it in place.
Attach the embroidery frame to the
embroidery machine.
Be sure that the positioning sheet does not
move out of place.
b Memo:
To check the print image, click
Print Preview
.
1
(1) (1)
(2)
2
3
b Memo:
For details on transferring from iron-on
transfer sheets, refer to the instructions for the
iron-on transfer sheets.
1
2
3
4
Loading ...
Loading ...
Loading ...