Loading ...
Loading ...
Loading ...
150
Basic Design Center Operations
While holding down the key, drag the
selected point to the other point that you want
to connect to it.
→ The shape of the pointer changes to ,
and a red square appears when the two
points are overlapping.
Release the mouse button to connect the two
points.
■ Continuing to the Sew Setting
Stage
When the figure handle image is finished, continue
to stage 4.
Click , or click
Stage
, then
To Sew Setting
.
Step 4 Sew Setting Stage
We are now going to apply sewing attributes to the
different parts of the outline to create the embroidery
pattern.
■ Using the Reference Window
This allows you to select colors while checking the
colors in the original image.
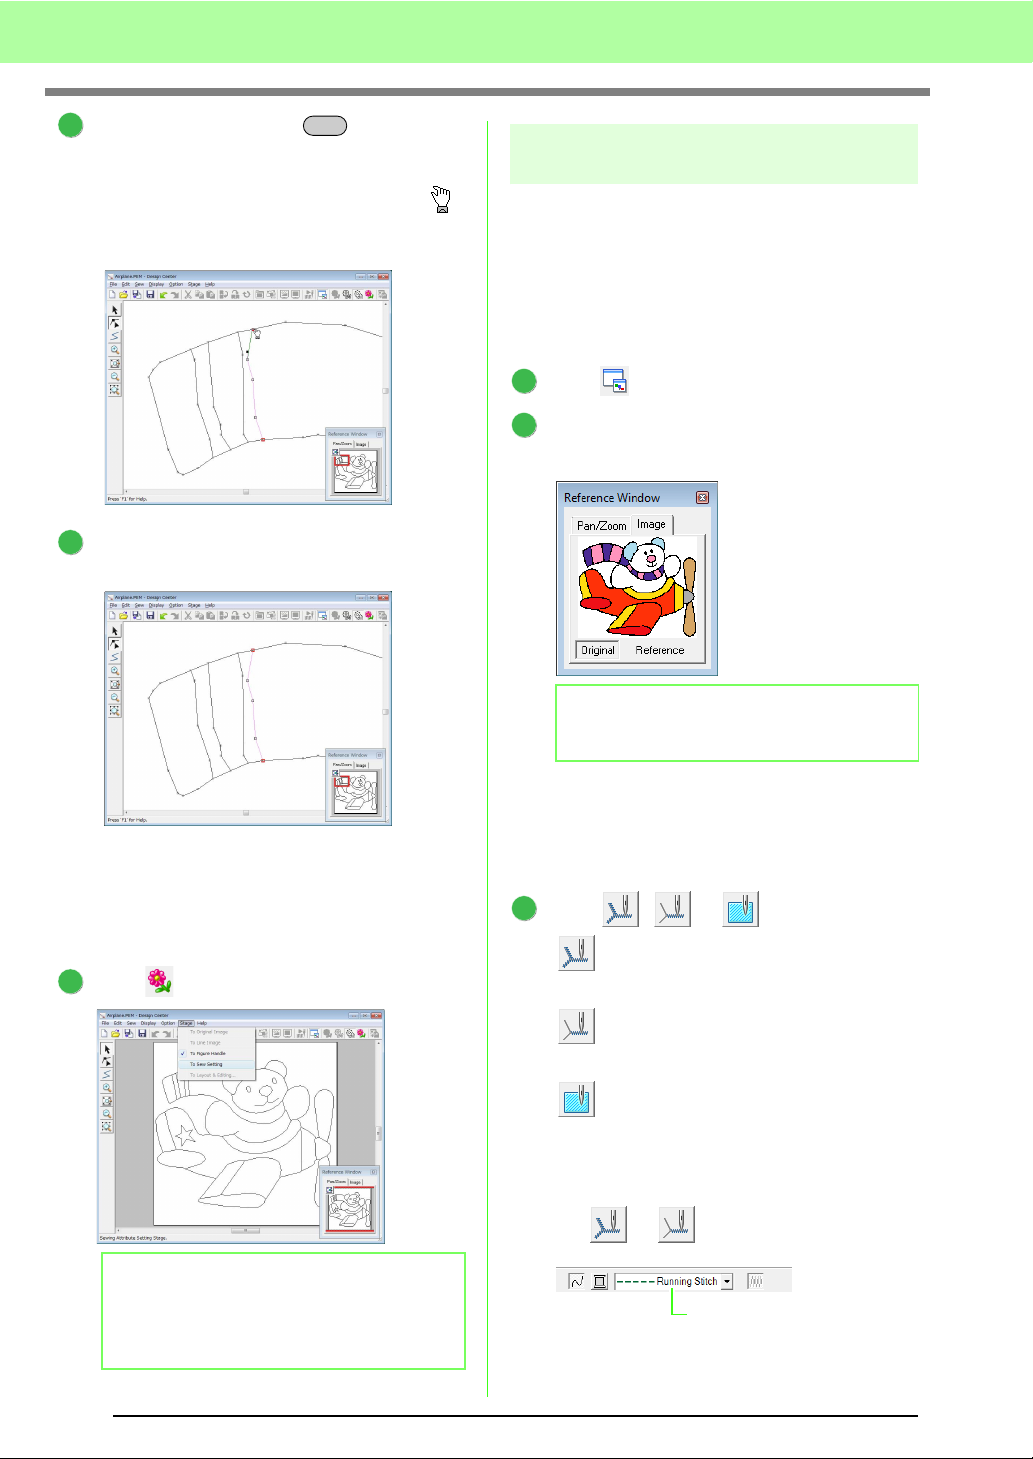
Click .
Click the Image tab.
→ The image opened in stage 1 appears.
■ Specifying sewing attributes
To specify sewing attributes, first select the color
and sew type, and then click the line or region where
the sewing attributes are to be applied.
Click , or .
: Click this button to apply sewing
attributes to the entire outline.
: Click this button to apply sewing
attributes to a portion of the outline.
: Click this button to apply sewing
attributes to a region.
→ The Sewing Attributes bar appears as
shown below.
For or
b Memo:
Even after continuing to the Sew Setting
Stage, you can return to the Figure Handle
Stage to edit the figure handle image.
2
Alt
3
1
b Memo:
If
Reference
has been clicked, click
Original
.
1
2
1
Line sew type selector
Loading ...
Loading ...
Loading ...