Loading ...
Loading ...
Loading ...
181
Tutorial (Advanced)
Tutorial (Advanced)
Continue hooping the fabric and embroidering
until the entire embroidery design is sewn.
b Memo:
When an embroidery design created in a
custom Design Page is saved or transferred to
an original card, alignment stitching (single
lines of running stitches with the color
NOT
DEFINED
, with a pitch of 7.0 mm, and starting
with fixed stitches with a pitch of 0.3 mm) is
added at the edges of the design sections.
(The alignment stitching appears in the print
preview and is printed in red.)
Example for hooping fabric using the
alignment stitching with Largelace.pes
(Largelace.pes can be found in the
Documents (My Documents)\
PE-DESIGN8\Sample\
Layout & Editing
folder.):
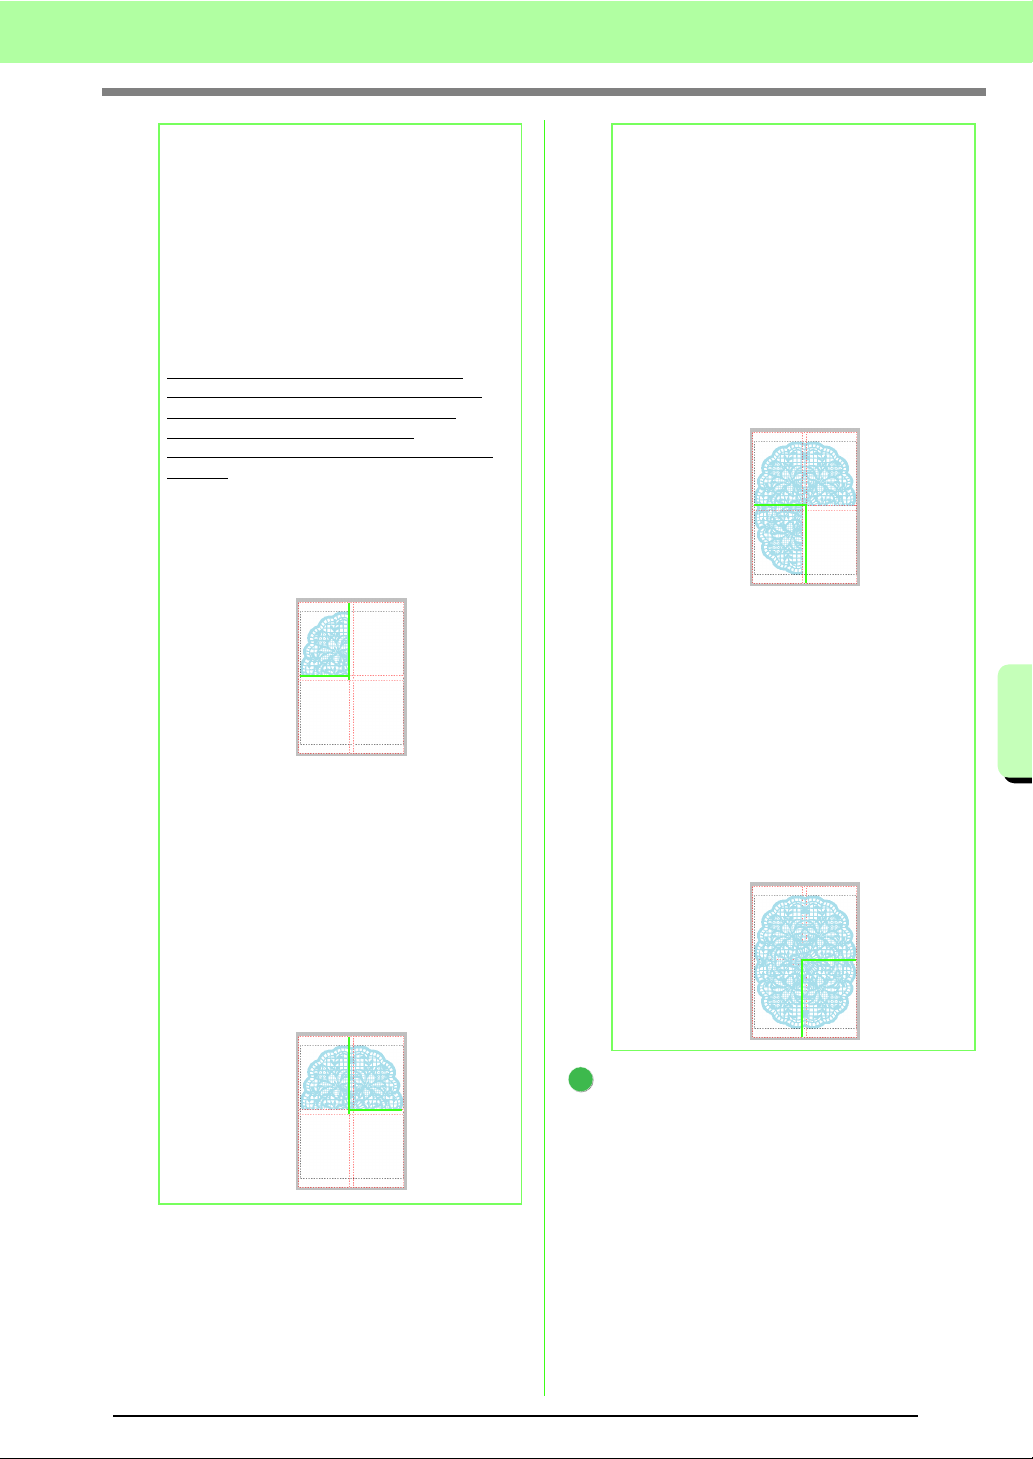
1) Embroider the upper-left design section.
→
Alignment stitching is sewn below and
on the right side of the embroidered
design section.
2) Hoop the fabric for the upper-right design
section with the left side of the hoop
aligned on the alignment stitching on the
right side of the design section sewn in
step 1, and then embroider the design.
→
Before the design section is
embroidered, alignment stitching is
sewn on the left side. Make sure that
this alignment stitching aligns with the
alignment stitching sewn in step 1.
After the design section is
embroidered, alignment stitching is
sewn below the design section.
3) Hoop the fabric for the lower-left design
section with the top of the hoop aligned
on the alignment stitching at the bottom
of the design section sewn in step 1, and
then embroider the design.
→
Before the design section is
embroidered, alignment stitching is
sewn at the top. Make sure that this
alignment stitching aligns with the
alignment stitching sewn in step 1.
After the design section is
embroidered, alignment stitching is
sewn on the right side of the design
section.
4) Hoop the fabric for the lower-right design
section with the left side of the hoop
aligned on the alignment stitching on the
right side of the design section sewn in
step 3 and with the top of the hoop
aligned on the alignment stitching at the
bottom of the design section sewn in
step 2, and then embroider the design.
→
Before the design section is
embroidered, alignment stitching is
sewn on the left side and at the top.
Make sure that this alignment
stitching aligns with the alignment
stitching sewn in step 3 and in step 2.
6
Loading ...
Loading ...
Loading ...