Loading ...
Loading ...
Loading ...
213
Creating Custom Stitch Patterns (Programmable Stitch Creator)
Creating Custom Stitch Patterns (Programmable Stitch Creator)
Editing a Pattern in Motif Mode
After creating a pattern, or after opening an existing motif file, you may want to change its shape or position.
To do so, you can proceed in the same way as described above, but in addition, you can select and move or
delete several points at the same time.
Moving and deleting
several points at a time
1. Click on the Tool Box.
2. Click the point.
→ The selected point appears as a small
black square. The start point and end
point appear as filled squares in their
corresponding colors.
To select multiple points, hold down the
key while clicking the points, or dragging the
pointer over the points.
3. Edit the points.
• To move the points, drag them to the
desired location.
→ All of the selected points move in the
same direction.
• To delete the selected points, press the
key.
→ All of the selected points are deleted.
Scaling patterns
1. Click on the Tool Box.
→ The motif stitch is selected.
2. Move the pointer over one of the handles of
the pattern.
3. Drag the handle to adjust the selected
pattern(s) to the desired size.
b Memo:
Hold down the key while pressing the
key or key. The selection
direction changes to the end or start point.
a Note:
The start point (blue square) and end point
(red square) can not be deleted.
Ctrl
Ctrl
Delete
b Memo:
If the key is held down while a handle is
dragged, the pattern is enlarged or reduced
from the center of the pattern.
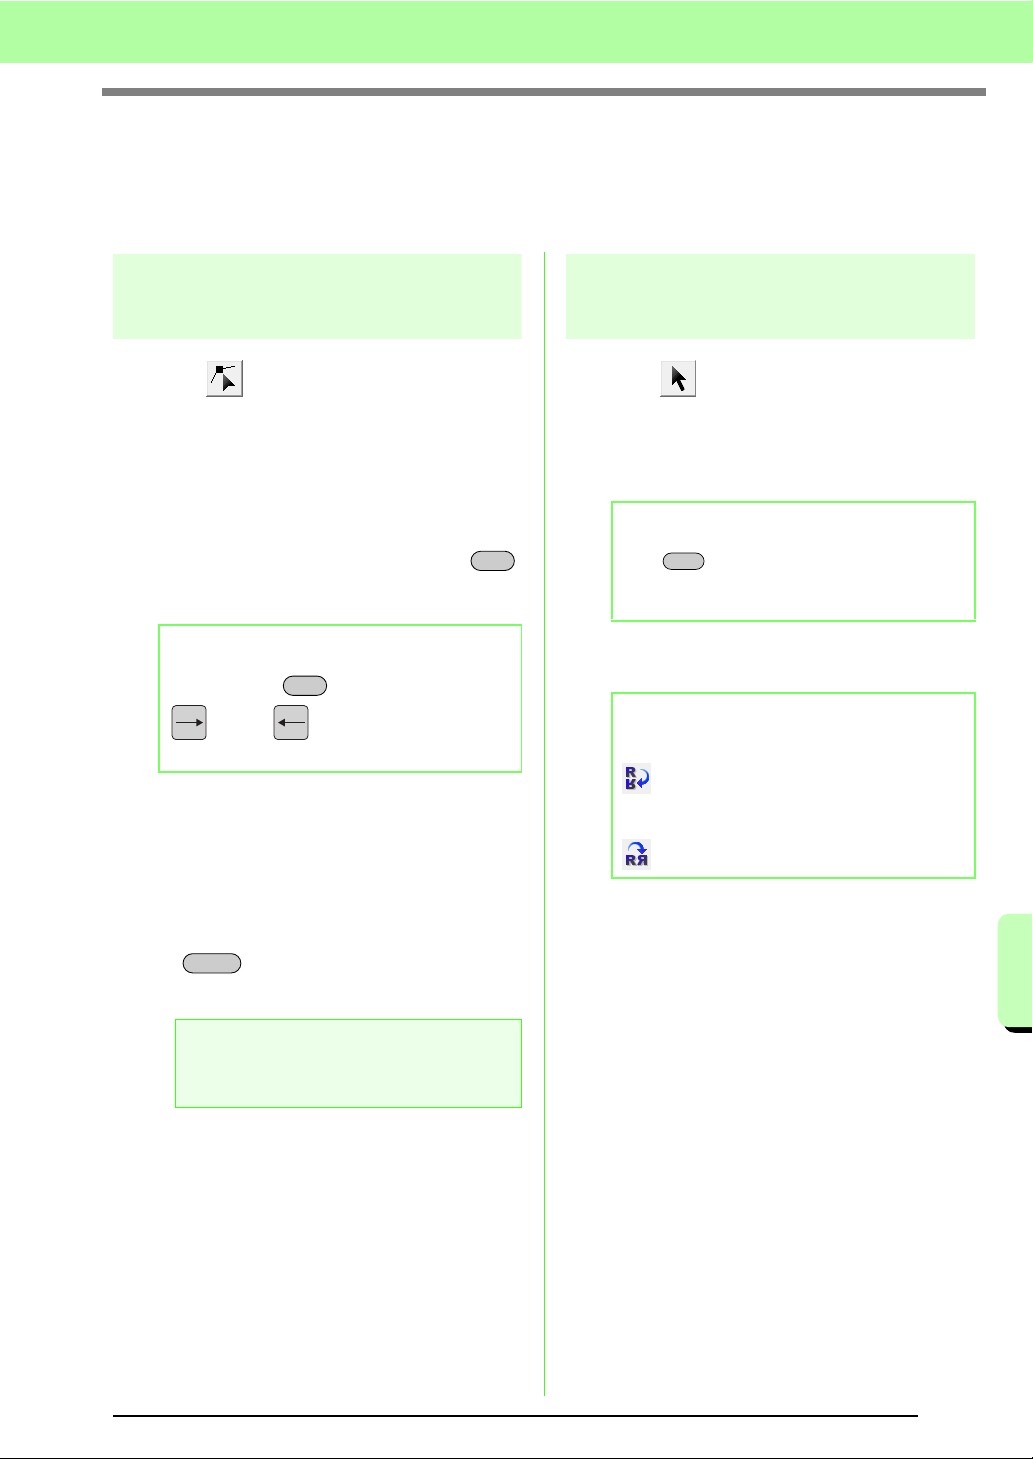
b Memo:
To flip the pattern along a horizontal axis, click
, or click
Edit
, then
Mirror
, then
Horizontal
.
To flip the pattern along a vertical axis, click
, or click
Edit
, then
Mirror
, then
Vertical
.
Shift
Loading ...
Loading ...
Loading ...