Loading ...
Loading ...
Loading ...
Infotainment System
Starting recording
●
In the Offroad Navigation menu, in the pop-
up windo
w pr
ess the RECORD pop-up button.
●
In the pop-up window, the user is able to
pl
ot the t
our with a giv
en destination or start
plotting the route without giving a final desti-
nation.
●
Starts plotting the route.
The offroad markers can be recorded by in-
dicating a manual waypoint.
●
In the Offroad Navigation menu, press the
ADD WAYPOINT
function button. The tour way-
points defined manually ar
e sho
wn on the
map by a mark
er.
Ending recording
●
Press the STOP RECORDING
function button
in the main Offr
oad Navigation menu.
Managing st
or
ed Offroad tours
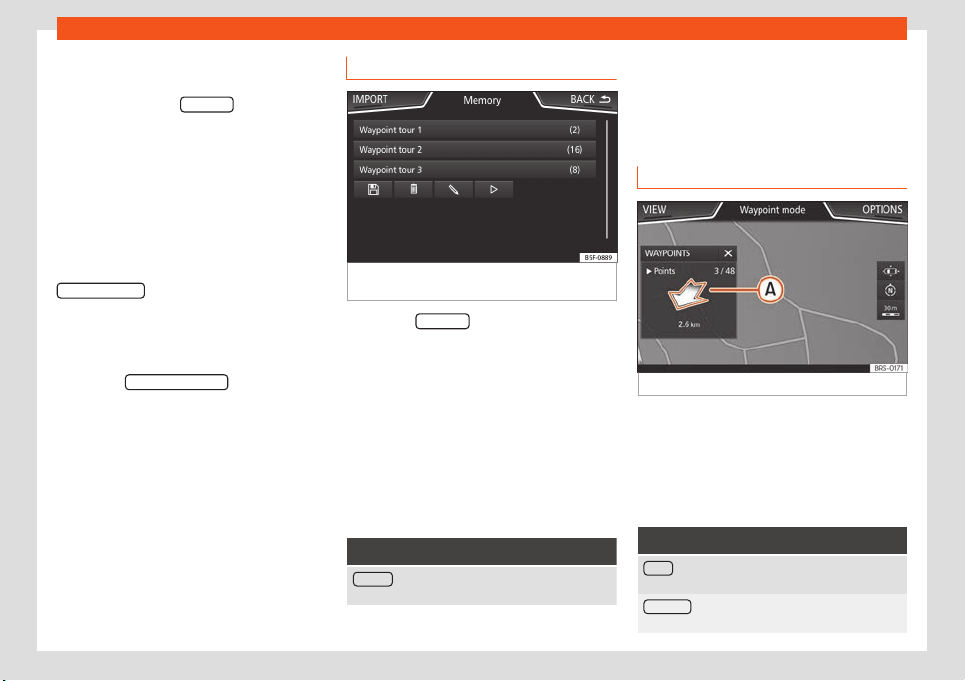
Fig. 241
Offroad Navigation menu, stored
t
ours
●
Press the MEMORY function button in the
Offr
oad Navigation menu.
●
A list of st
or
ed Offroad tours opens, if there
are any.
When a tour is selected, the following icons
will appear
›››
Fig. 241:
Export the tour to an SD card.
Edit the name of the tour.
Delete the tour.
Load tour
Function button: function
IMPORT : allows the import of an Offroad route in
“.GPX” format.
Loading an Offroad tour
When the Offr
oad t
our is sel
ected, press Play
and the selected tour will be loaded onto
the Navigation system.
Creating an Offroad tour
Fig. 242
Offroad route guidance mode
Start route guidance
●
Loads the stored Offroad tour.
●
Starting off in a stored route is not detected
by the syst
em aut
omatically.
Set
up
Function button: function
Invert : Reverses the direction of the stored Offroad
tour.
Ne
xt point
: Starts the Offroad tour from the nearest
point.
224
Loading ...
Loading ...
Loading ...