
Loading ...
Loading ...
Loading ...
Infotainment system
Station logos can be manually assigned to
st
ations that ar
e stored on preset buttons,
which will then be displayed on the preset
buttons.
Images in standard formats (e.g. jpg, bmp or
even png) with a maximum size of 400 x 240
pixels, may be used as station logos.
In some countries, station logos can be
downloaded from the Internet through a link
on the “SEAT Senderlogos” website (SEAT
logos).
Copy the logos to a compatible data medium
(e.g. a SD card or USB memory) to import
them into the infotainment system.
Automatically saving station logos on the
preset buttons (FM and DAB)
●
Press the function button Settings
on the
RADIO main menu (FM and D
AB fr
equency
band).
●
Press the Advanced settings
function button.
●
Activate the Aut
omatic st
orage (station logos)
by pressing .
Manually st
oring the st
ation logos on the
preset buttons
●
Copy the logos to a compatible data medi-
um (e.g. a SD card or USB memory) to import
them into the infotainment system.
●
Select the desired frequency band in the
RADIO main menu.
●
Press the function button Settings
and
then St
ation l
ogos
.
●
Press the preset button to which a logo is to
be assigned.
●
Select the source in which the logo has
been st
or
ed (e.g. SD 1
).
●
Select the logo. Repeat this process to as-
sign other l
ogos.
●
Pr
ess the infotainment button to return
to the RADIO main menu.
Deleting the station logos from the preset
buttons
●
Select the desired frequency band in the
RADIO main menu.
●
Press the function button Settings
and
then St
ation l
ogos
.
●
Press the preset button from which the sta-
tion l
ogo is t
o be deleted.
●
OR: Press the Delete all
function button to
er
ase the st
ation logos of all the presets.
Selecting, tuning and saving a sta-
tion
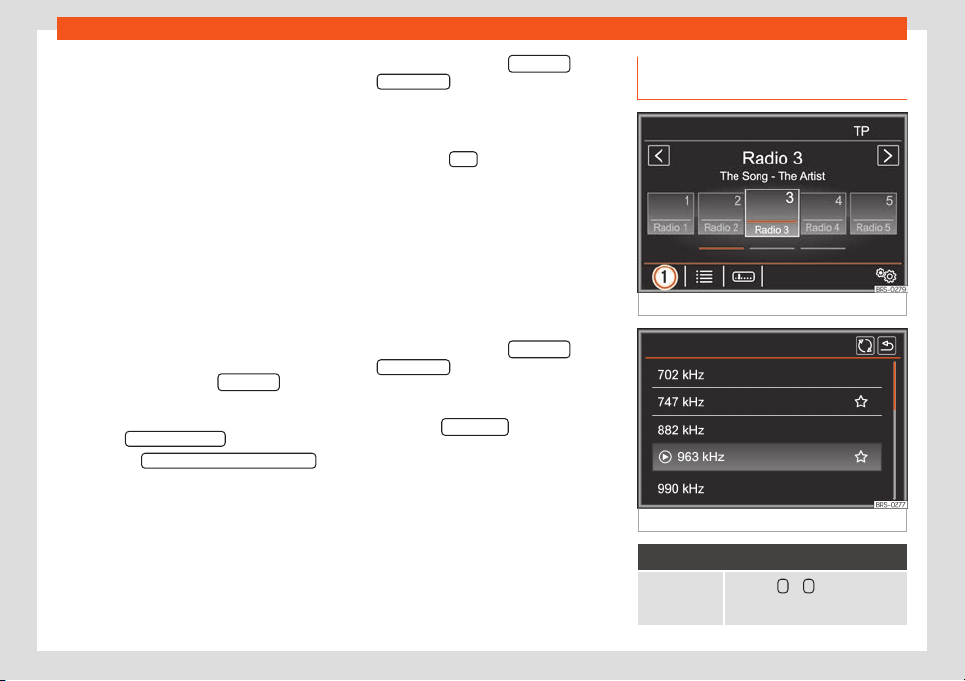
Fig. 198
RADIO main menu.
Fig. 199
Radio mode: station list (AM).
Selecting stations
Select the sta-
tion using the
arro
w keys
Press the <
or >
››
›
Fig. 198func-
tion button.
198
Loading ...
Loading ...
Loading ...