Loading ...
Loading ...
Loading ...
79
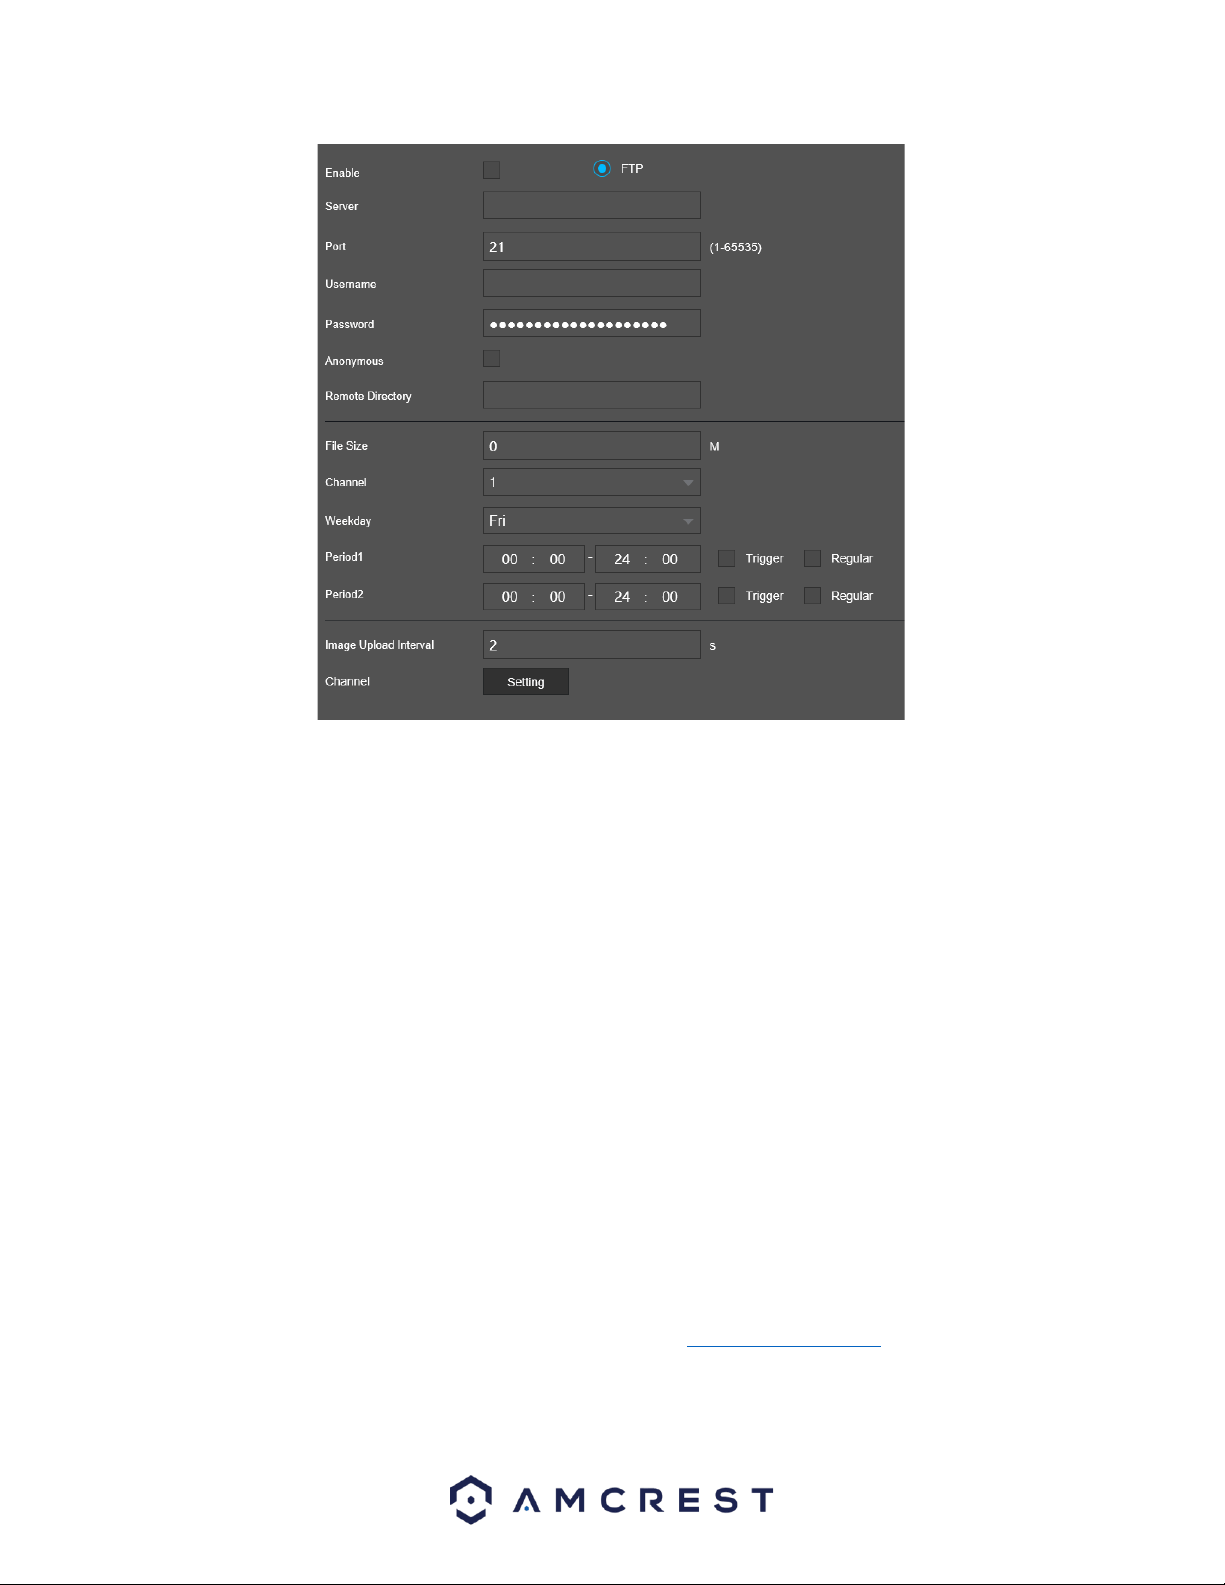
Below is an explanation of the fields on the FTP settings screen:
Enable: This checkbox allows the user to enable the FTP feature for the NVR.
Server: This field allows the user to enter the FTP server IP address and port.
Port: The port number of the FTP server. The default port number is 21.
Username: This field allows the user to enter the FTP username.
Password: This field allows the user to enter the FTP server password. The checkbox next to this field
enables anonymous access to the FTP.
Remote Directory: This field allows the user to designate which folder the NVR will upload files to.
File Length: This field allows the user to dictate how large upload files can be.
Channel: This field allows the user to pick a channel to set FTP settings for.
Week Day: This field allows the user to pick a day of the week to set FTP settings for.
Period 1: This field allows the user to specify a time period and what types of files to upload (Alarm,
Motion, Regular).
Period 2: This field allows the user to specify a time period and what types of files to upload (Alarm,
Motion, Regular).
Image Upload Interval: This field allows the user to define, in seconds, how often images can be
uploaded to the FTP server.
Channel: This settings button allows the user to select a channel in which the FTP will apply.
For more information how to setup FTP settings, please visit amcrest.com/support
To revert to default settings, click the Default button near the bottom left hand corner. To test the
current settings, click Test near the bottom left hand corner. To confirm settings, click the Save button.
Loading ...
Loading ...
Loading ...