Loading ...
Loading ...
Loading ...
84
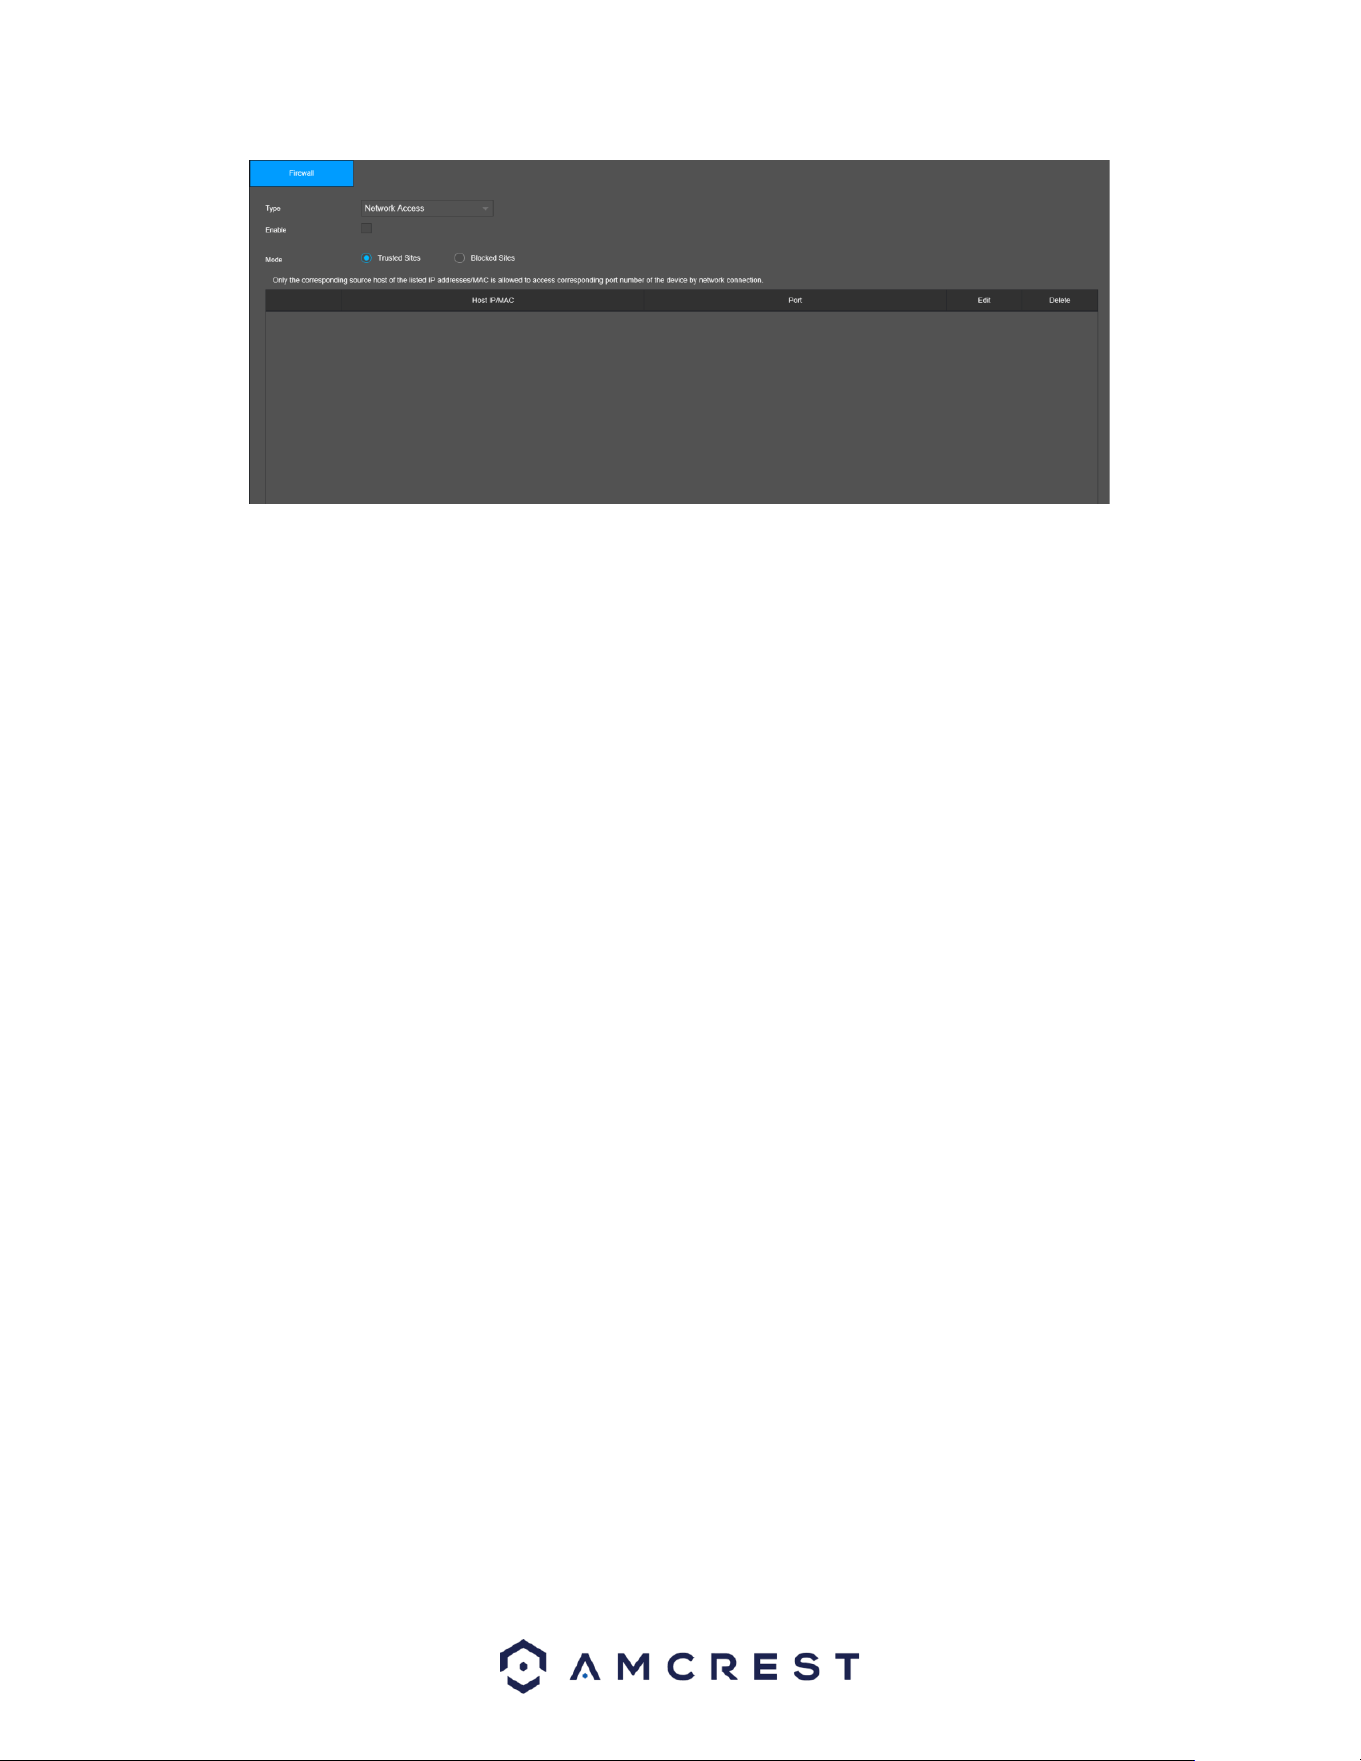
Below is a description of the fields in the security settings screen:
Type: This dropdown menu allows the user to select which type of firewall will be included. There are 3
types of firewall settings.
Network Access: Prevents a set IP address from network access.
Ping Prohibited: Prevents the device from pinging a set IP address.
Anti-Half Connection: Prevents the device from partial connection to a set IP address.
Enable: This option allows the user to enable the firewall feature.
Mode: Allows the user to choose which sites will be trusted (whitelisted) or blocked (blacklisted.
Host IP/Mac: The host IP/Mac address of the applied IP address.
Port: The port number of the whitelisted or blacklisted IP address.
Edit: Allows the user to edit an IP or port number of a whitelisted or blacklisted IP address.
Delete: Delete an added whitelisted or blacklisted IP address
Add: Click this button to add a trusted or blocked site into the system.
To confirm settings, click the Apply button. To exit the interface, click on the Back button.
Account
This menu is used to manage user accounts, user account passwords, and user groups. Below are a few
considerations to keep in mind when editing this information:
The NVR comes with 2 usernames by default:
Username: admin Password: admin
Username: default Password: default
It is highly recommended to change the passwords for the admin and default accounts.
Each Username and user group name can only contain letters, numbers, underline marks, dashes, or
dots. No empty spaces are allowed.
The maximum number of users is 64, and the maximum number of users that can be in one group is 20.
There are two levels for user management: administrator and user. Administrator has more rights than a
normal user and can modify key NVR settings. Each user can belong to only one group, and user rights
cannot exceed group rights.
Loading ...
Loading ...
Loading ...