Loading ...
Loading ...
Loading ...
Engine Servicing
4-33
4-33
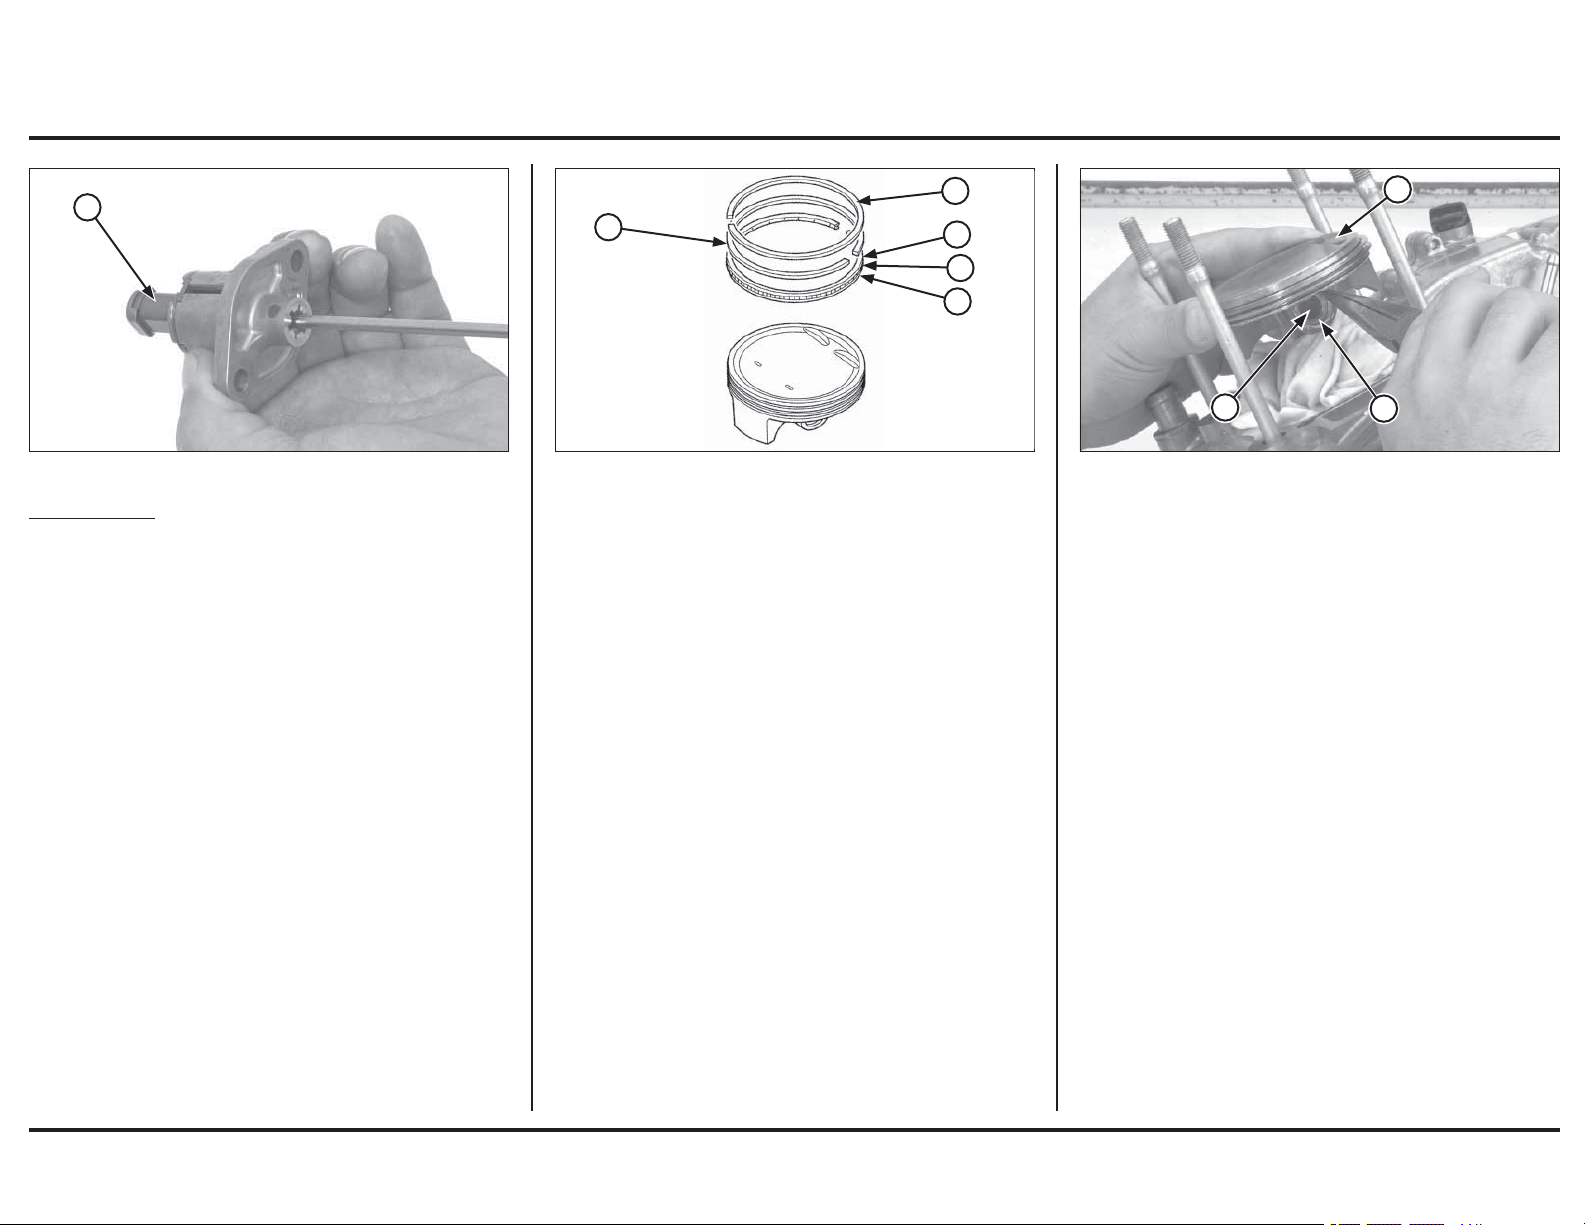
(1) TENSIONER LIFTER (1) TOP RING
(2) SECOND RING
(3) OIL RINGS
(4) SPACER
Piston Ring Installation
Clean the piston ring grooves thoroughly.
Apply engine oil to the piston rings and piston ring
grooves.
Install the piston ring into the grooves with their marking
facing up.
y Do not damage the piston ring by spreading the ends
too far.
y Be careful not to damage the piston during piston ring
installation.
y Do not align the oil ring (side rail) gaps.
y Space the piston ring end 120 degrees apart.
After installation, the rings should rotate freely in the ring
grooves.
(1) “IN” MARK
(2) PISTON PIN
(3) NEW PISTON PIN CLIP
Tensioner lifter
Check the tensioner lifter operation as follows:
– The tensioner shaft should not go into the body when
it is pushed.
– When it is turned clockwise with a screwdriver, the
tensioner shaft should be pulled into the body. The
shaft should spring out of the body as soon as the
screwdriver is released.
Piston Installation
Place a shop towel over the cylinder opening to prevent
dust or dirt from entering the engine.
Clean any gasket material from the cylinder mating
surfaces of the crankcase.
Apply molybdenum oil solution to the connecting rod
small end.
Place a shop towel around the piston skirt and in the
crankcase to prevent the piston pin clips from falling into
the crankcase.
Apply engine oil to the piston pin outer surface and piston
pin bore of the piston.
Install the piston with the “IN” mark facing intake side.
Install the piston pin and new piston pin clips.
Be careful not to drop the piston pin clip into the crankcase.
Always use new piston pin clips. Reinstalling used piston
pin clips may lead to serious engine damage.
Do not align the piston pin clip end gap with the piston
cut-out.
1
4
3
3
2
1
3
2
1
Loading ...
Loading ...
Loading ...