Loading ...
Loading ...
Loading ...
Customize IGMP snooping
By default, IGMP snooping is enabled. You can customize the settings for your network.
To customize IGMP snooping:
1. Connect your computer to the same network as the switch.
You can use a WiFi or wired network connection, or connect directly to a switch that
is off-network using an Ethernet cable.
2. Launch a web browser.
3.
In the address field of your web browser, enter the IP address of the switch.
If you do not know the IP address of the switch, see Access the switch using a web
browser on page 17.
The login window opens.
4. Enter the switch password.
The password is the one that you specified the first time that you logged in. The
password is case-sensitive.
The Switch Information page displays.
5. Select System > Multicast.
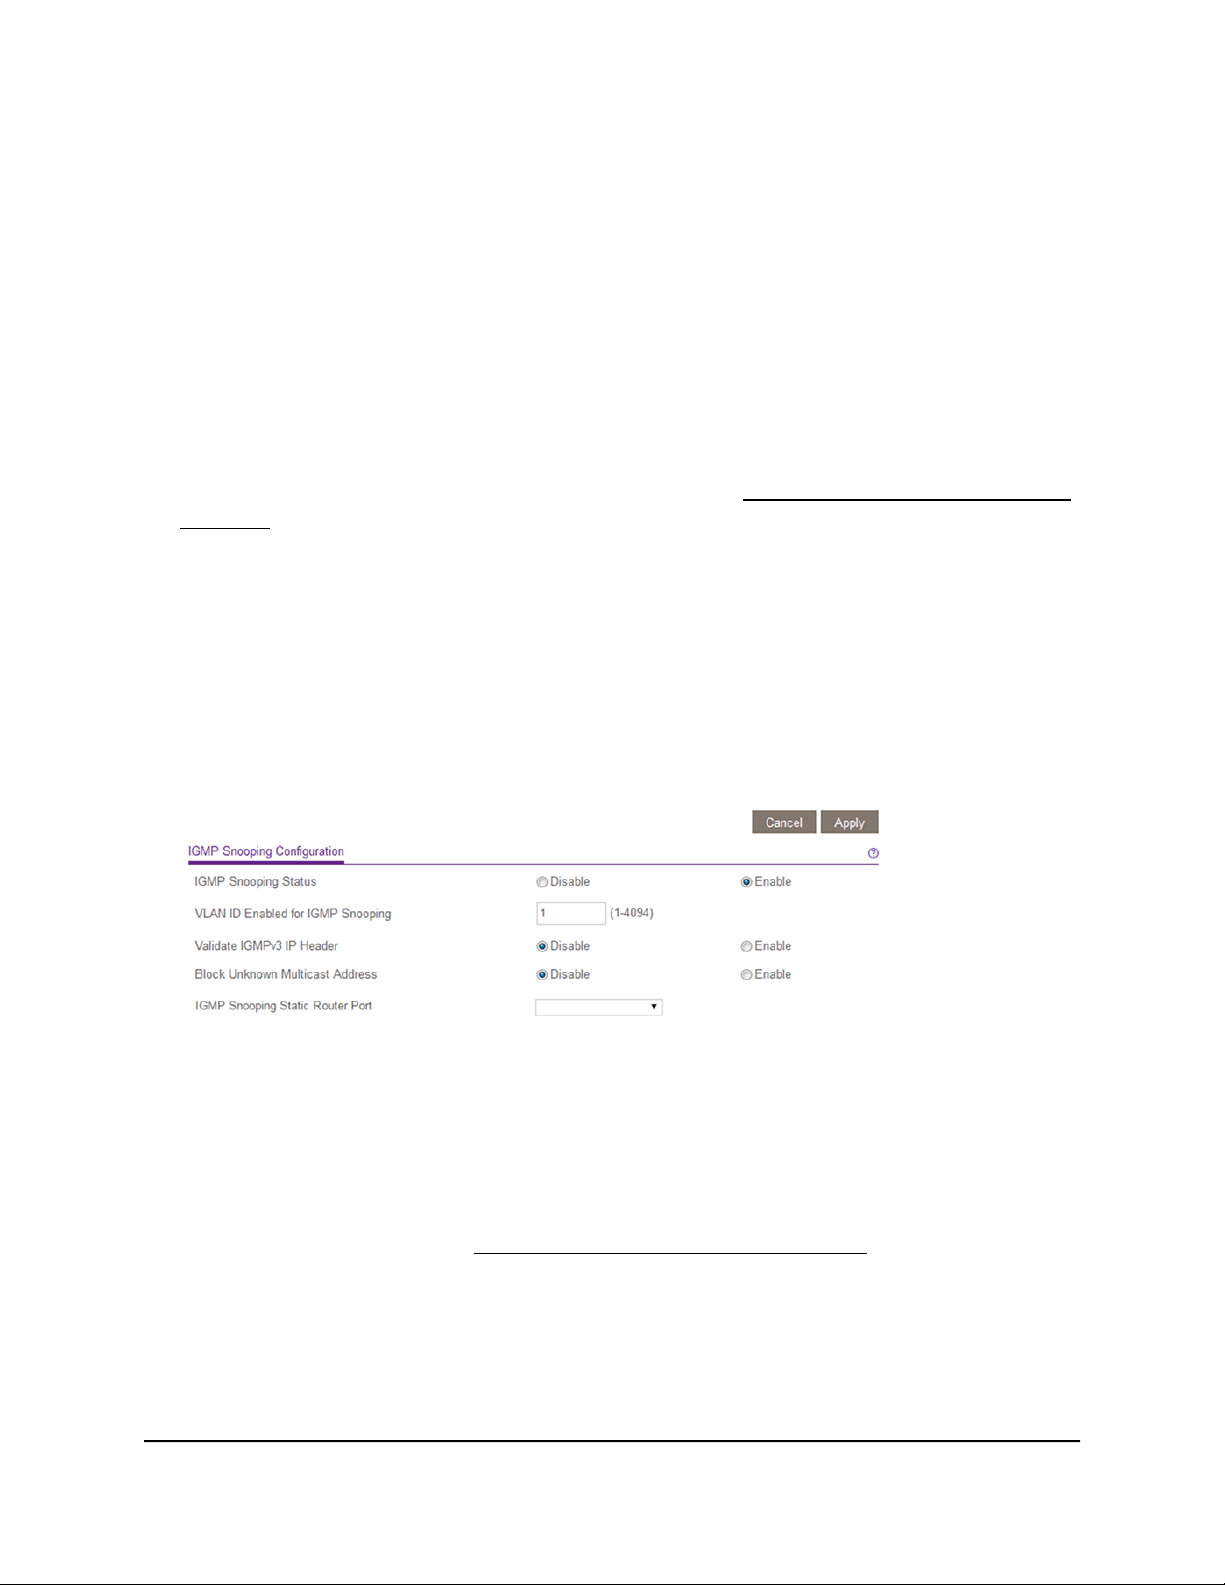
6. Make sure that the IGMP Snooping Status Enable radio button is selected.
7.
In the VLAN ID Enabled for IGMP Snooping field, enter a VLAN ID between 1 and
4094.
By default, the VLAN ID is 1.
You can specify a VLAN for IGMP snooping only if you enabled port-based or
802.1Q-based VLANs (see Use VLANS for Traffic Segmentation on page 28).
IGMP snooping functions only on the VLAN that is specified in the VLAN ID Enabled
for IGMP Snooping field.
8. (Optional) Select the Validate IGMPv3 IP header Enable radio button.
User Manual51Manage Network Settings
Gigabit Ethernet Plus Switches
Loading ...
Loading ...
Loading ...