Loading ...
Loading ...
Loading ...
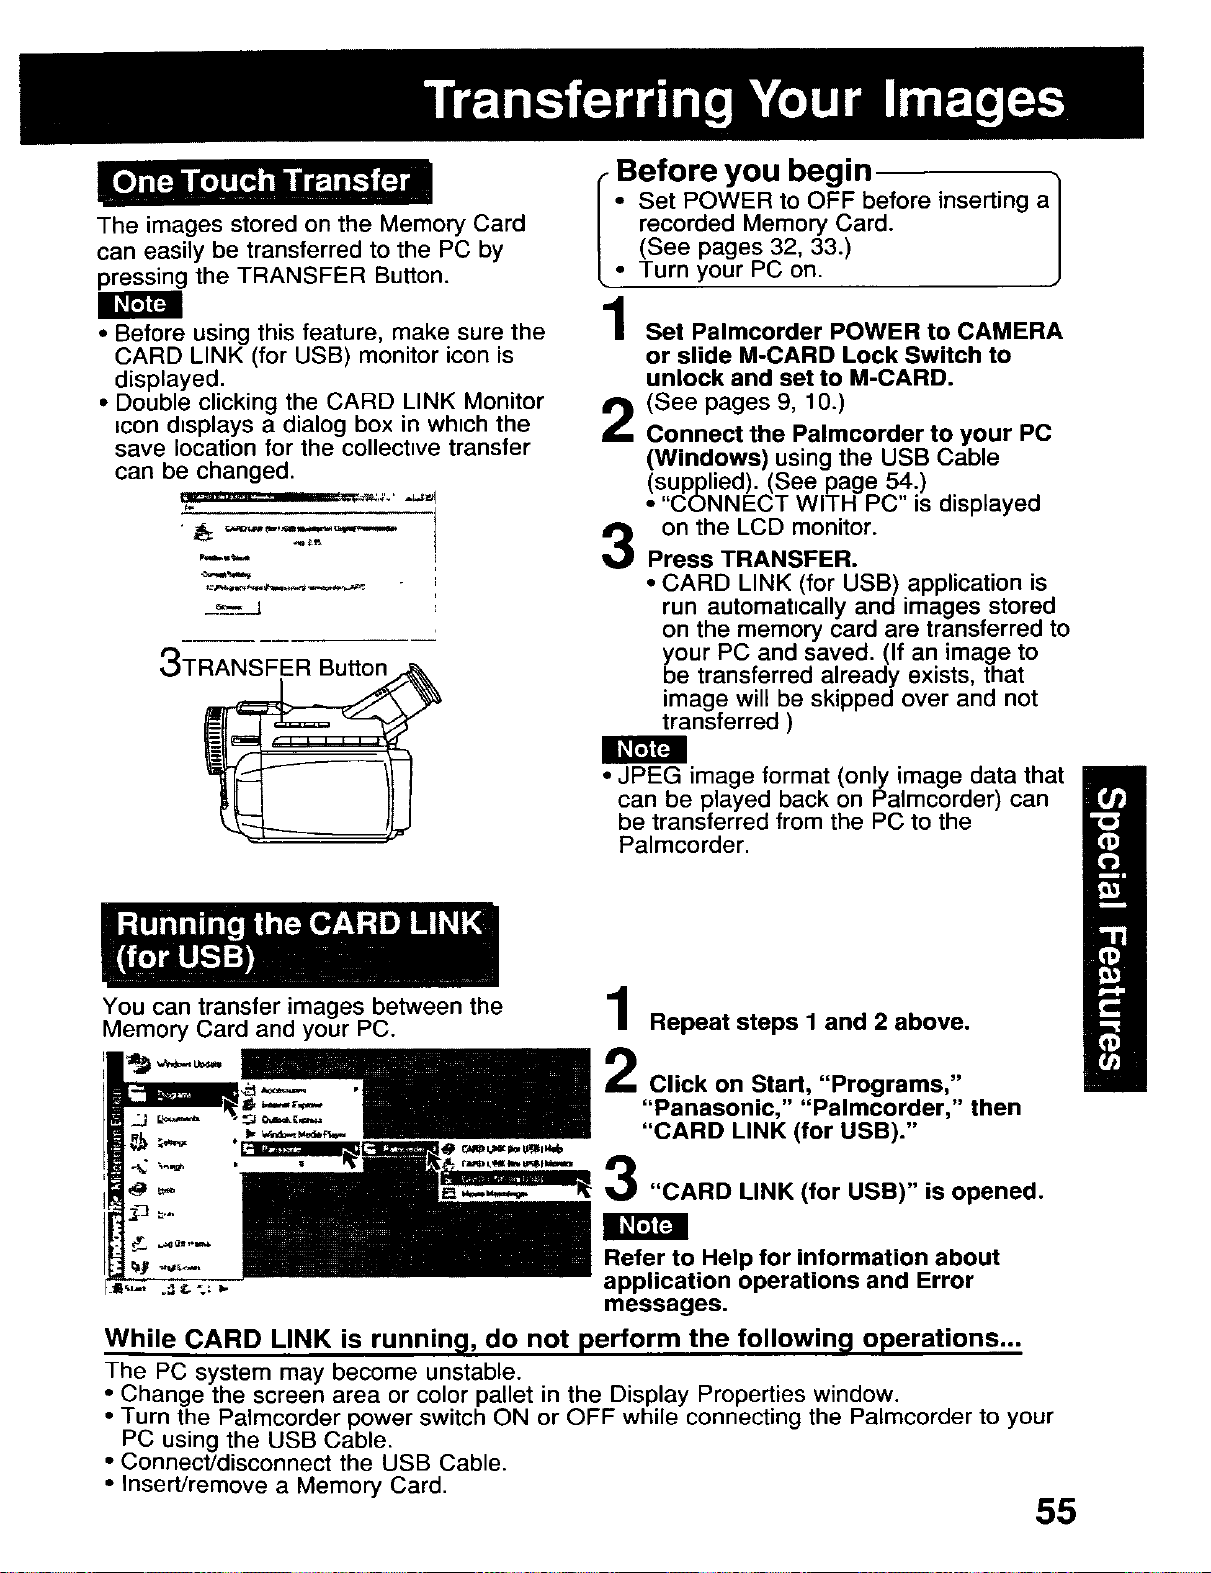
The images stored on the Memory Card
can easily be transferred to the PC by
pressing the TRANSFER Button.
• Before using this feature, make sure the
CARD LINK (for USB) monitor icon is
displayed.
• Double clicking the CARD LINK Monitor
icon displays a dialog box in which the
save location for the collecttve transfer
can be changed.
_.--J .... _,_,_ , ,._
=_..j
3TRANSFER Button
i Before you begin
Set POWER to OFF before inserting a/
recorded Memory Card. /
(See pages 32, 33.) /
• Turn your PC on. J
Set Palmcorder POWER to CAMERA
or slide M-CARD Lock Switch to
unlock and set to M-CARD.
(See pages 9, 10.)
Connect the Palmcorder to your PC
(Windows) using the USB Cable
(supplied). (See page 54.)
• "CONNECT WITH PC is displayed
on the LCD monitor.
3
Press TRANSFER.
• CARD LINK (for USB) application is
run automattcally and images stored
on the memory card are transferred to
your PC and saved. (If an image to
be transferred already exists, that
image will be skipped over and not
transferred )
I_FIF4
• JPEG image format (only image data that
can be played back on Palmcorder) can
be transferred from the PC to the
Palmcorder.
You can transfer images between the
Memory Card and your PC.
I
Repeat steps 1 and 2 above.
Click on Start, "Programs,"
"Panasonic," "Palmcorder," then
"CARD LINK (for USB)."
"CARD LINK (for USB)" is opened.
Refer to Help for information about
application operations and Error
messages.
While CARD LINK is running, do not perform the following operations...
The PC system may become unstable.
• Change the screen area or color pallet in the Display Properties window.
• Turn the Palmcorder power switch ON or OFF while connecting the Palmcorder to your
PC using the USB Cable.
• Connect/disconnect the USB Cable.
• Insert/remove a Memory Card.
55
Loading ...
Loading ...
Loading ...