Loading ...
Loading ...
Loading ...
Use the following features to add interest
and professionalism to your recordings or
playback. Select from eleven special
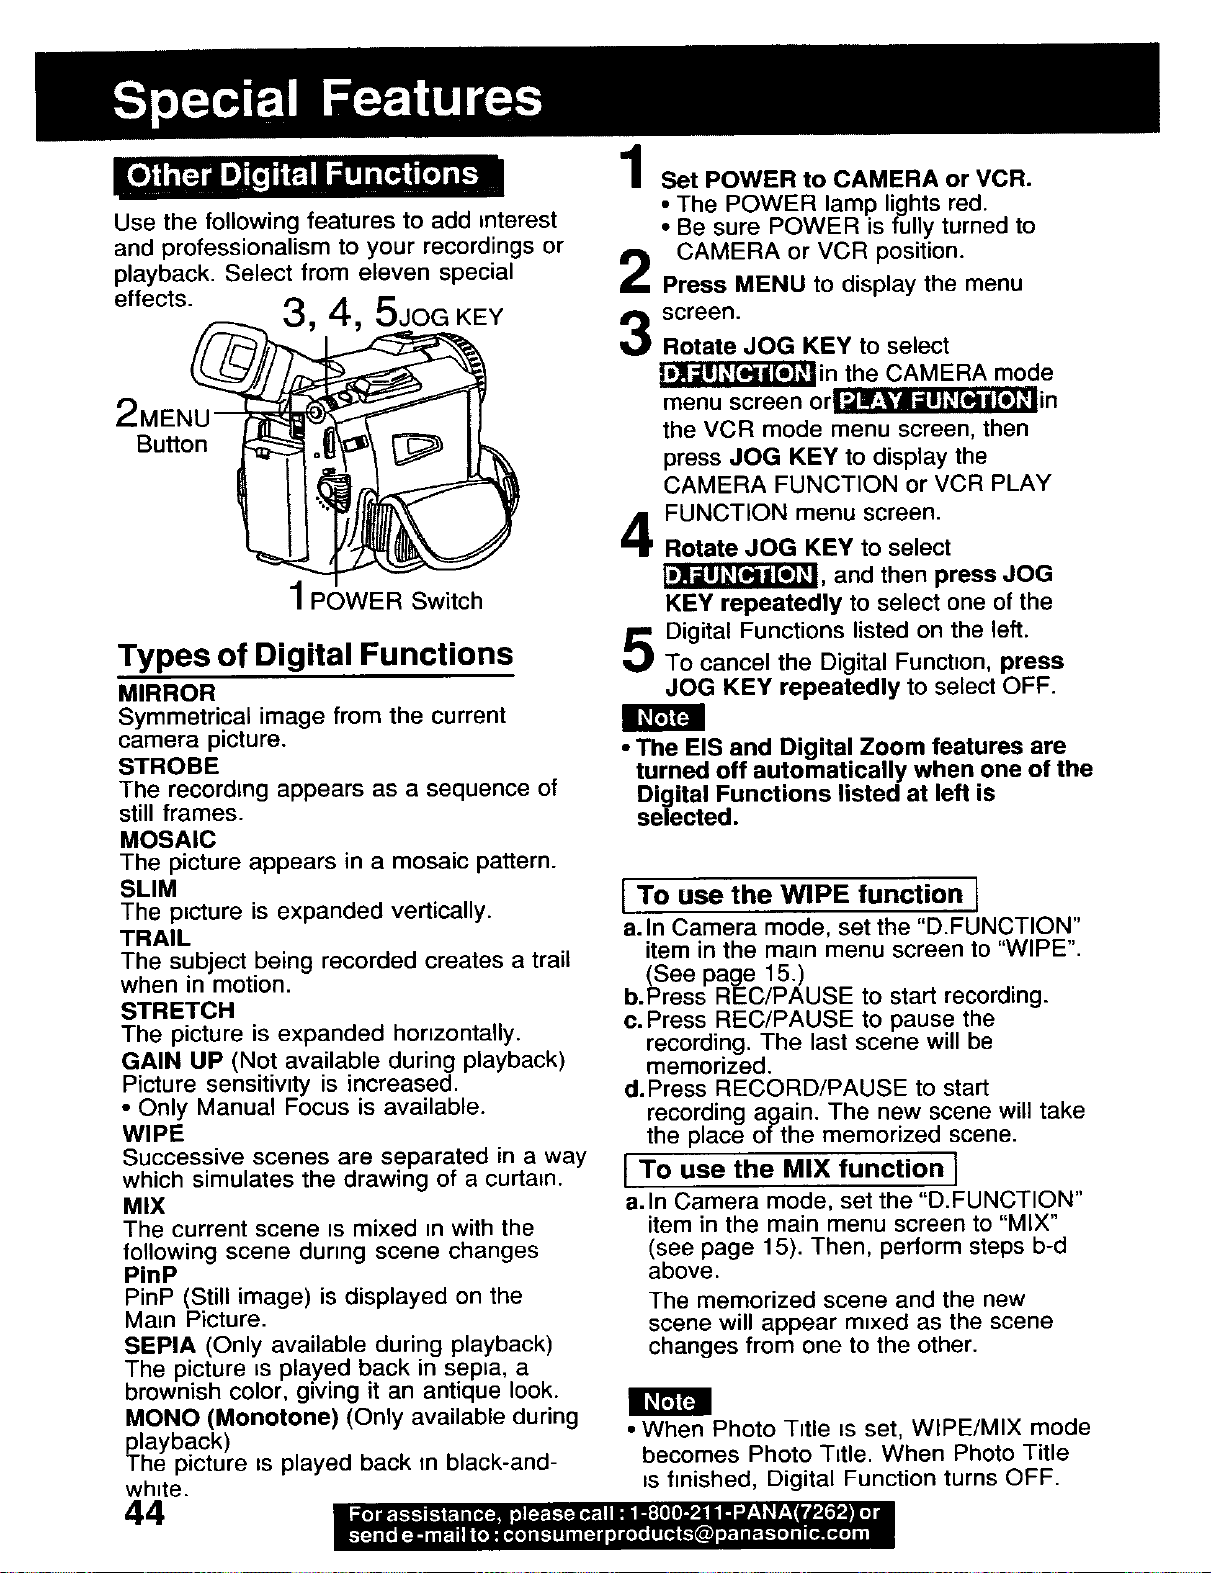
effects. 3, 4, 5JOG KEY
Bu_on
1POWER Switch
Types of Digital Functions
MIRROR
Symmetrical image from the current
camera picture.
STROBE
The recording appears as a sequence of
still frames.
MOSAIC
The picture appears in a mosaic pattern.
SLIM
The ptcture is expanded vertically.
TRAIL
The subject being recorded creates a trail
when in motion.
STRETCH
The picture is expanded horizontally.
GAIN UP (Not available during playback)
Picture sensitivity is increased.
• Only Manual Focus is available.
WIPE
Successive scenes are separated in a way
which simulates the drawing of a curtain.
MIX
The current scene is mixed _nwith the
following scene during scene changes
PinP
PinP (Still image) is displayed on the
Mam Picture.
SEPIA (Only available during playback)
The picture _splayed back in sepLa, a
brownish color, giving it an antique look.
MONO (Monotone) (Only available during
playback)
The picture is played back tn black-and-
whtte.
il_r;_
44
1
2
3
4
5
Set POWER to CAMERA or VCR.
• The POWER lamp lights red.
• Be sure POWER is fully turned to
CAMERA or VCR position.
Press MENU to display the menu
screen.
Rotate JOG KEY to select
_in the CAMERA mode
menu screen or_in
the VCR mode menu screen, then
press JOG KEY to display the
CAMERA FUNCTION or VCR PLAY
FUNCTION menu screen.
Rotate JOG KEY to select
r_, and then press JOG
KEY repeatedly to select one of the
Digital Functions listed on the left.
To cancel the Digital Funct=on, press
JOG KEY repeatedly to select OFF.
• The EIS and Digital Zoom features are
turned off automatically when one of the
Digital Functions listed at left is
selected.
I To use the WIPE function I
a. In Camera mode, set the "D.FUNCTION"
item in the main menu screen to "WIPE".
(See page 15.)
b.Press REC/PAUSE to start recording.
c. Press REC/PAUSE to pause the
recording. The last scene will be
memorized.
d.Press RECORD/PAUSE to start
recording again. The new scene will take
the place of the memorized scene.
I To use the MIX function I
a. In Camera mode, set the "D.FUNCTION"
item in the main menu screen to "MIX"
(see page 15). Then, perform steps b-d
above.
The memorized scene and the new
scene will appear m_xed as the scene
changes from one to the other.
• When Photo Title =s set, WIPE/MIX mode
becomes Photo Title. When Photo Title
=sfmished, Digital Function turns OFF.
Loading ...
Loading ...
Loading ...