Loading ...
Loading ...
Loading ...
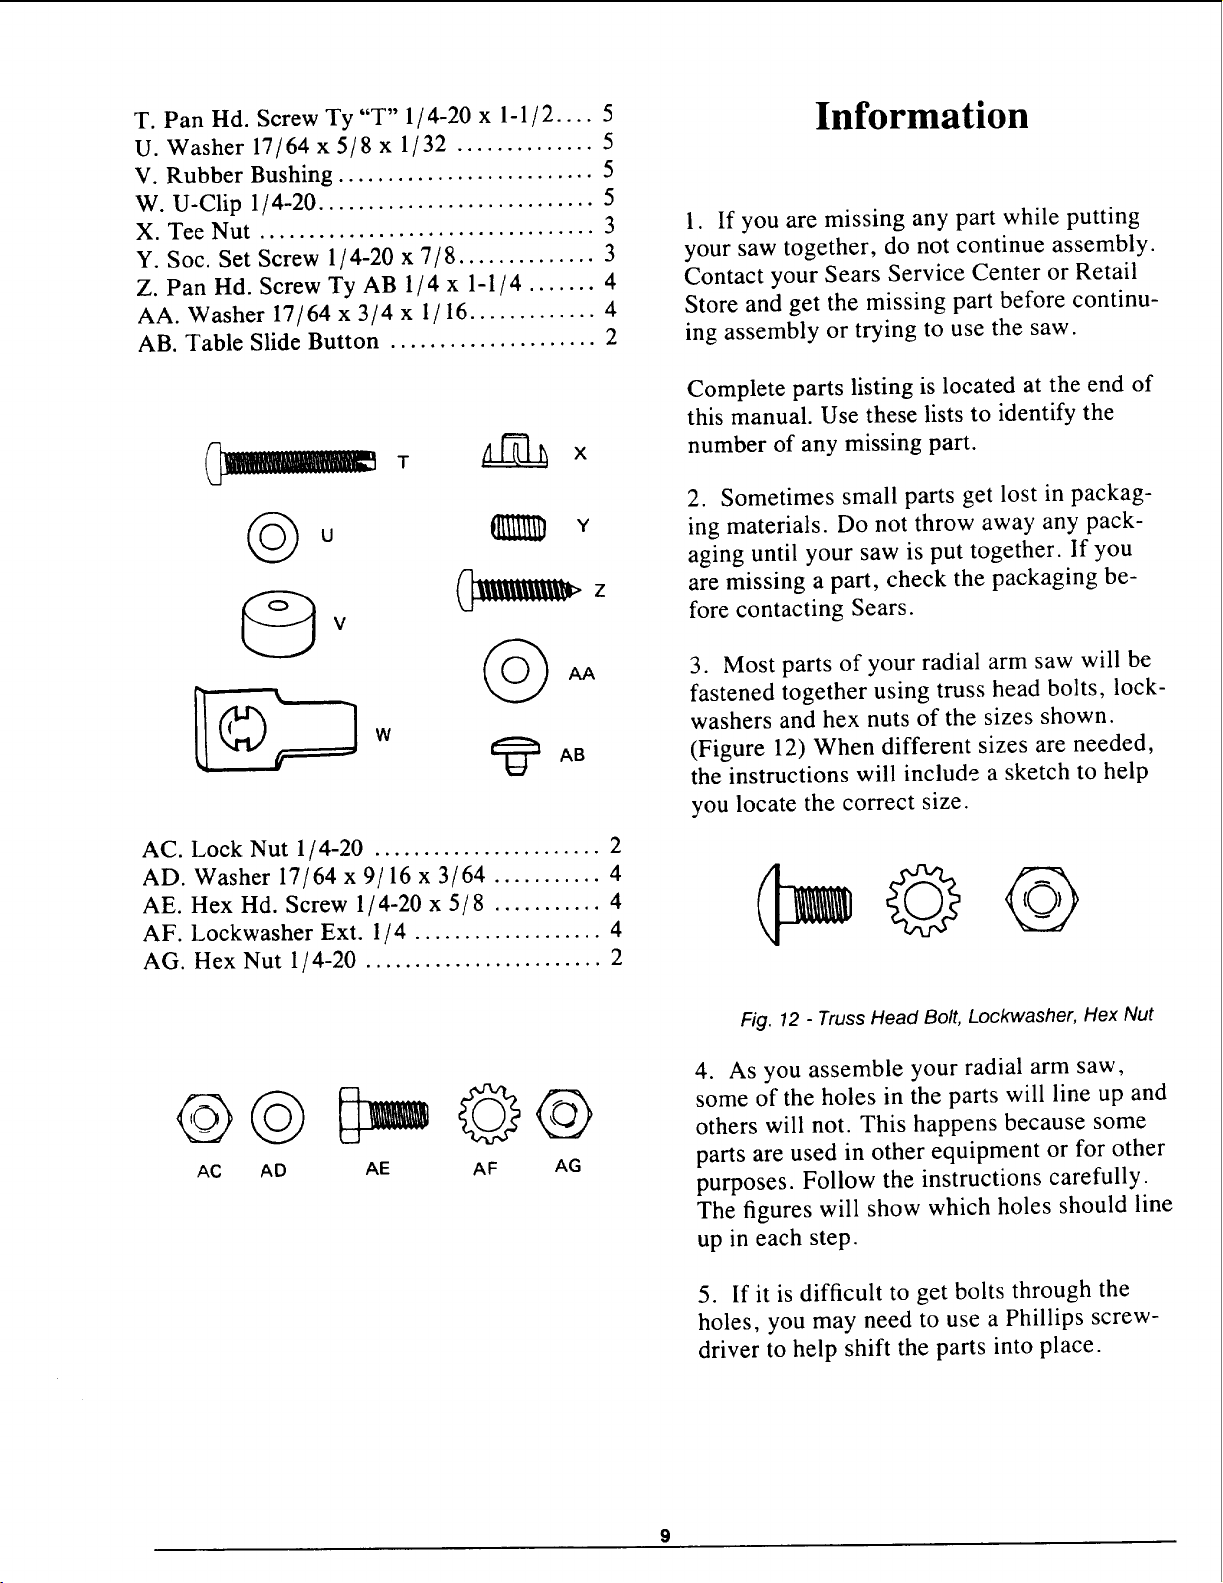
T. Pan Hd. Screw Ty "T" 1/ 4-20 x 1-1 / 2 .... 5
U. Washer 17/64 x 5/8 x 1/32 .............. 5
V. Rubber Bushing .......................... 5
W. U-Clip 1/ 4-20 ............................ 5
X. Tee Nut .................................. 3
Y. Soc. Set Screw 1/4-20 x 7/8 .............. 3
Z. Pan Hd. Screw Ty AB 1/4 x 1-1/4 ....... 4
AA. Washer 17/64 x 3/4 x 1/16 ............. 4
AB. Table Slide Button ..................... 2
Information
1. If you are missing any part while putting
your saw together, do not continue assembly.
Contact your Sears Service Center or Retail
Store and get the missing part before continu-
ing assembly or trying to use the saw.
©u
W
Z
y
iiiii. iiiUil z
AC. Lock Nut 1/4-20 ....................... 2
AD. Washer 17/64 x 9/16 x 3/64 ........... 4
AE. Hex Hd. Screw 1/4-20 x 5/8 ........... 4
AF. Lockwasher Ext. 1/4 ................... 4
AG. Hex Nut 1/ 4-20 ........................ 2
Complete parts listing is located at the end of
this manual. Use these lists to identify the
number of any missing part.
2. Sometimes small parts get lost in packag-
ing materials. Do not throw away any pack-
aging until your saw is put together. If you
are missing a part, check the packaging be-
fore contacting Sears.
3. Most parts of your radial arm saw will be
fastened together using truss head bolts, lock-
washers and hex nuts of the sizes shown.
(Figure 12) When different sizes are needed,
the instructions will include a sketch to help
you locate the correct size.
@@ ©@
AC AD AE AF AG
Fig. 12 - Truss Head Bolt, Lockwasher, Hex Nut
4. As you assemble your radial arm saw,
some of the holes in the parts will line up and
others will not. This happens because some
parts are used in other equipment or for other
purposes. Follow the instructions carefully.
The figures will show which holes should line
up in each step.
5. If it is difficult to get bolts through the
holes, you may need to use a Phillips screw-
driver to help shift the parts into place.
Loading ...
Loading ...
Loading ...