Loading ...
Loading ...
Loading ...
7. Hold the square in place and use the 9/16
inch wrench to turn the bolt until the square
is flush with the blade.
8. Hold the bolt firmly, and retighten the hex
nut using a 1/2 inch wrench.
9. Turn the blade several times and check to
see if the square is still flush with the blade.
10. If the square is flush with the blade after
each rotation, go to step 11, or
If there is a gap between the square and the
blade, go back to step 6 and repeat.
11. Unlock the rip lock and move the motor
as far back as it will go.
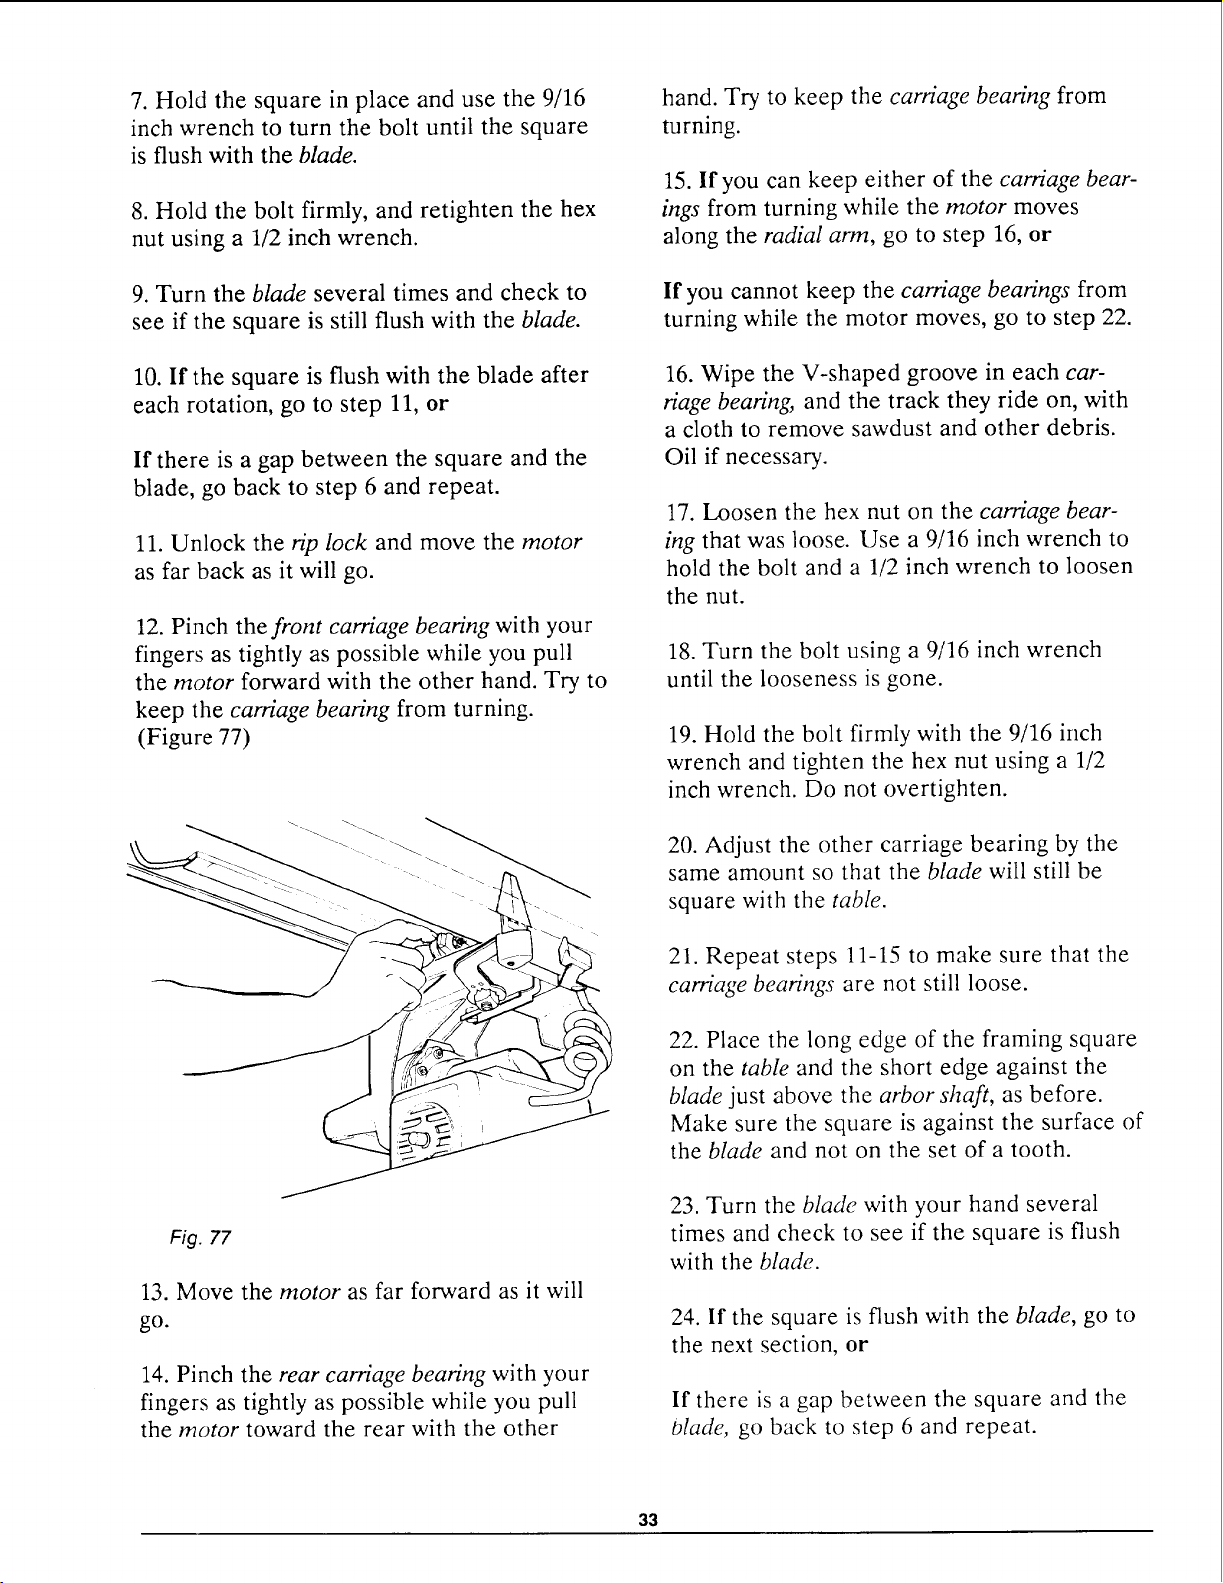
12. Pinch the front carriage bearing with your
fingers as tightly as possible while you pull
the motor forward with the other hand. Try to
keep the carriage bearing from turning.
(Figure 77)
Fig. 77
13. Move the motor as far forward as it will
go.
14. Pinch the rear carriage bearing with your
fingers as tightly as possible while you pull
the motor toward the rear with the other
hand. Try to keep the carriage bearing from
turning.
15. If you can keep either of the carriage bear-
ings from turning while the motor moves
along the radial arm, go to step 16, or
If you cannot keep the carriage bearings from
turning while the motor moves, go to step 22.
16. Wipe the V-shaped groove in each car-
riage bearing, and the track they ride on, with
a cloth to remove sawdust and other debris.
Oil if necessary.
17. Loosen the hex nut on the carriage bear-
ing that was loose. Use a 9/16 inch wrench to
hold the bolt and a 1/2 inch wrench to loosen
the nut.
18. Turn the bolt using a 9/16 inch wrench
until the looseness is gone.
19. Hold the bolt firmly with the 9/16 inch
wrench and tighten the hex nut using a 1/2
inch wrench. Do not overtighten.
20. Adjust the other carriage bearing by the
same amount so that the blade will still be
square with the table.
21. Repeat steps 11-15 to make sure that the
carriage bearings are not still loose.
22. Place the long edge of the framing square
on the table and the short edge against the
blade just above the arbor shaft, as before.
Make sure the square is against the surface of
the blade and not on the set of a tooth.
23. Turn the blade with your hand several
times and check to see if the square is flush
with the blade.
24. If the square is flush with the blade, go to
the next section, or
If there is a gap between the square and the
Olade, go back to step 6 and repeat.
33
Loading ...
Loading ...
Loading ...