Loading ...
Loading ...
Loading ...
8. Unlock the miter lock and swing the arm to
the right until the arbor shaft is over the right
line.
9. Mark the point on the line under the cen-
ter of the arbor shaft.
10. Move the arm and motor until the arbor
shaft is over the right line at the rear of the
front table.
11. Mark the point on the line under the cen-
ter of the arbor shaft.
12. Repeat steps 7-11 on the left side.
13. Label the points A, B, C, and D.
14. Move the arbor shaft over these points
again, and measure the distance between the
table and the bottom of the arbor shaft at
each. Do not change the elevation of the arm
as you move from point to point.
15. Determine which point has the largest dis-
tance between the table and the arbor shaft.
This is the lowest point.
16. Move the arbor shaft over the lowest
point.
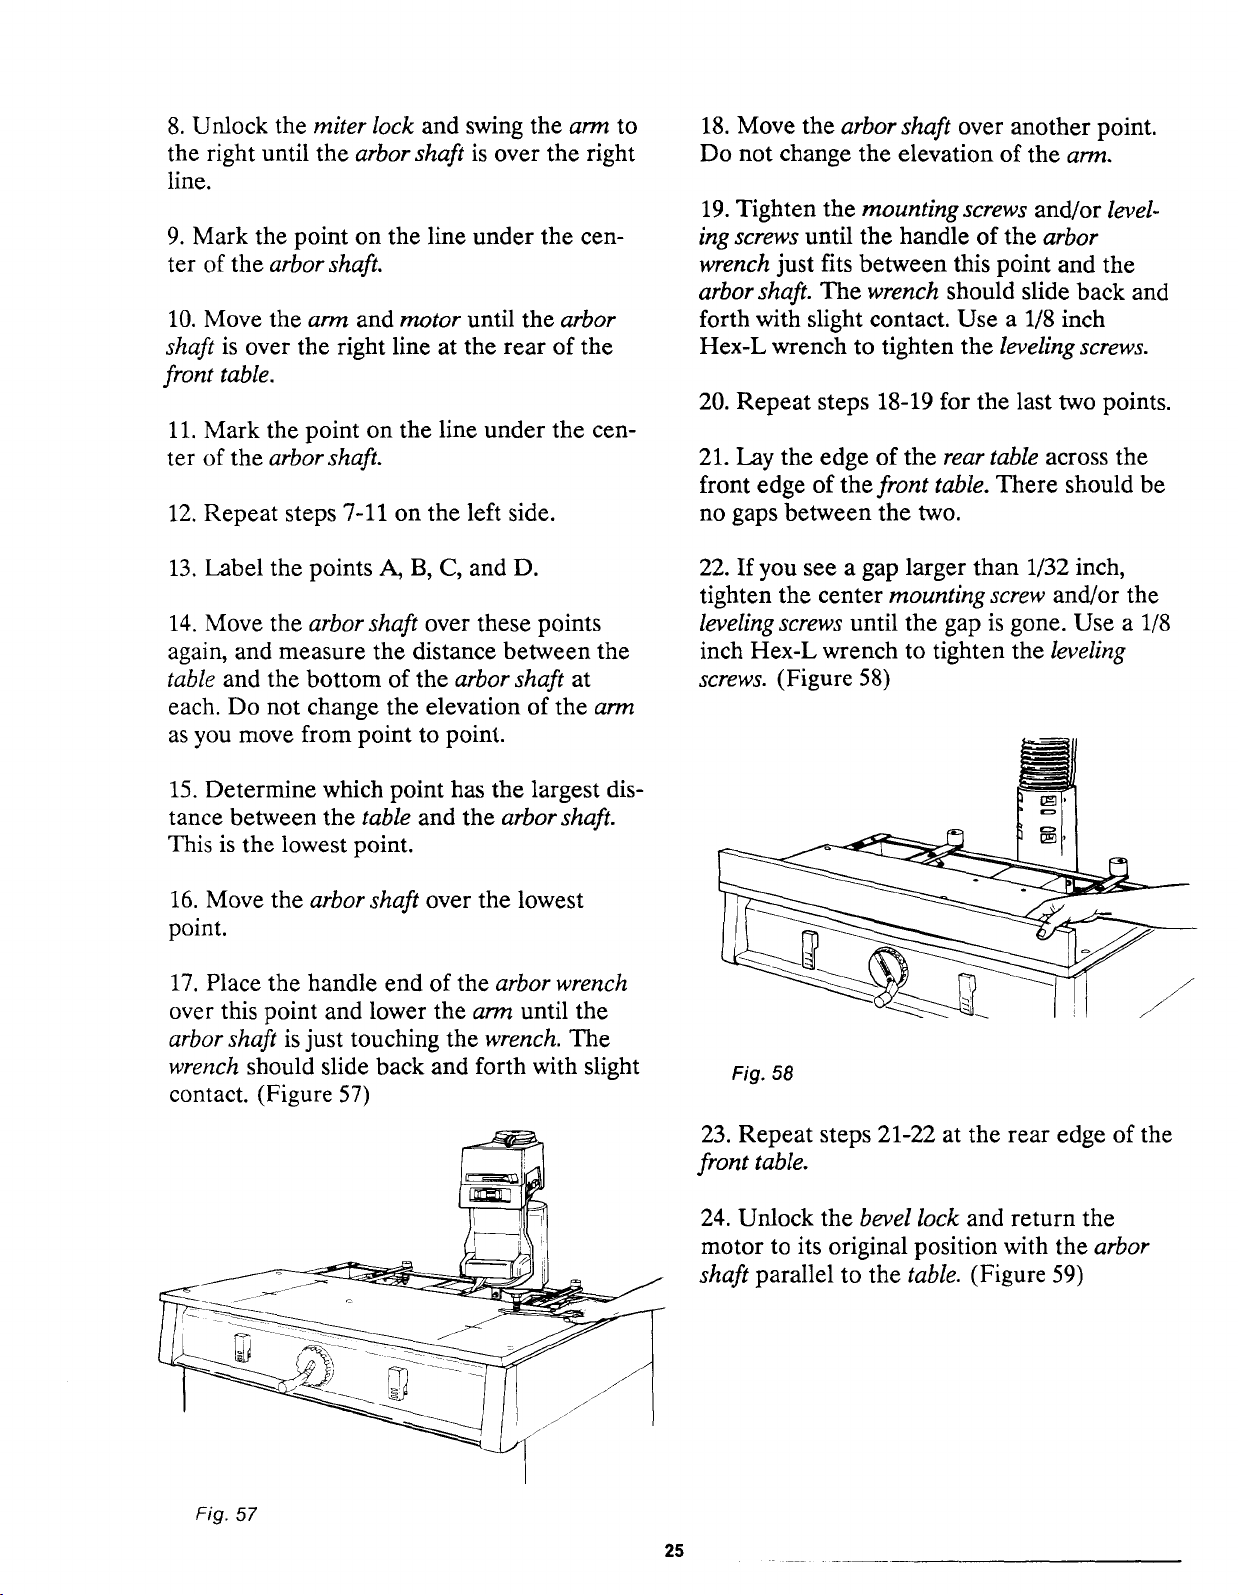
17. Place the handle end of the arbor wrench
over this point and lower the arm until the
arbor shaft is just touching the wrench. The
wrench should slide back and forth with slight
contact. (Figure 57)
18. Move the arbor shaft over another point.
Do not change the elevation of the arm.
19. Tighten the mounting screws and/or level-
ing screws until the handle of the arbor
wrench just fits between this point and the
arbor shaft. The wrench should slide back and
forth with slight contact. Use a 1/8 inch
Hex-L wrench to tighten the leveling screws.
20. Repeat steps 18-19 for the last two points.
21. Lay the edge of the rear table across the
front edge of the front table. There should be
no gaps between the two.
22. If you see a gap larger than 1/32 inch,
tighten the center mounting screw and/or the
leveling screws until the gap is gone. Use a 1/8
inch Hex-L wrench to tighten the leveling
screws. (Figure 58)
Fig. 58
23. Repeat steps 21-22 at the rear edge of the
front table.
24. Unlock the bevel lock and return the
motor to its original position with the arbor
shaft parallel to the table. (Figure 59)
Fig. 57
25
Loading ...
Loading ...
Loading ...