Loading ...
Loading ...
Loading ...
Making a Rip Cut Table Kerf
You will need to make a table kerf before a
rip cut can be made. Every time you move
the blade a new distance from the fence, you
will need to make a new kerf.
1. Put saw in desired rip position and lock the
saw arm in the 0° position.
2. Lock rip, swivel, miter, bevel and table
locks.
Blade Guard Adjustments
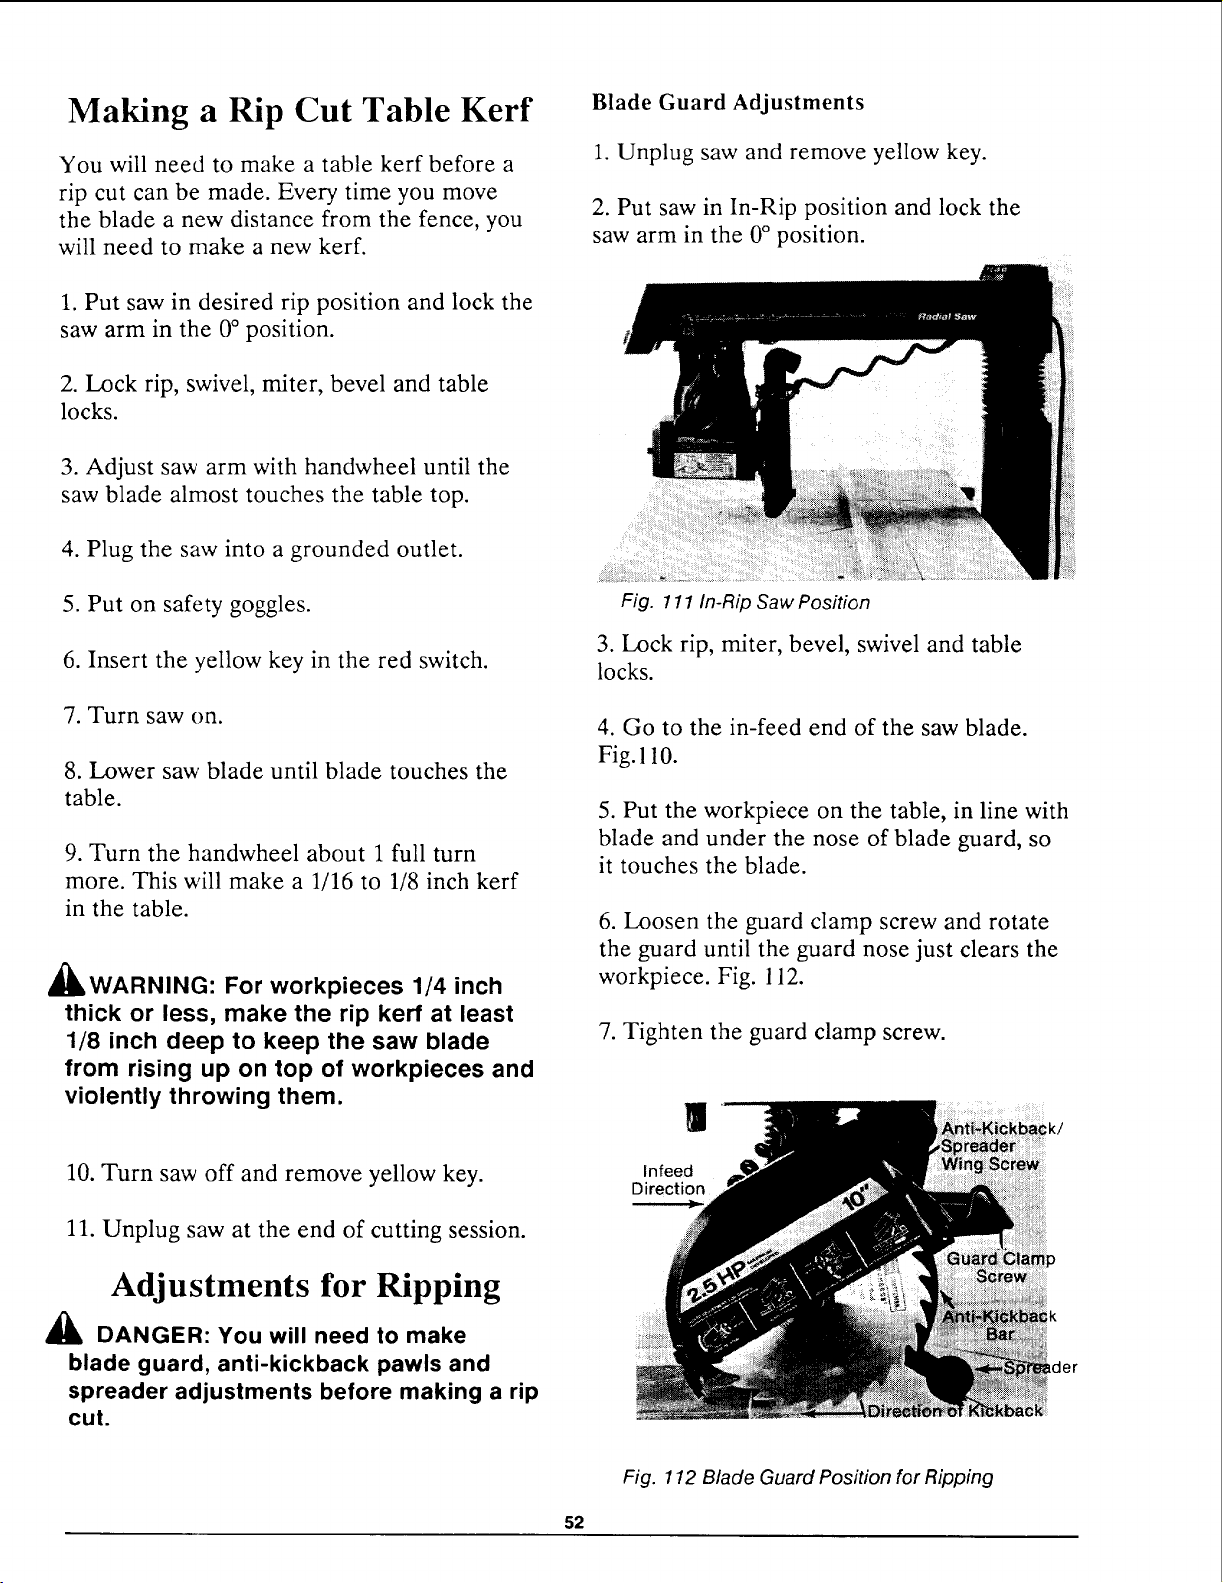
1. Unplug saw and remove yellow key.
2. Put saw in In-Rip position and lock the
saw arm in the 0° position.
3. Adjust saw arm with handwheel until the
saw blade almost touches the table top.
4. Plug the saw into a grounded outlet.
5. Put on safety goggles.
6. Insert the yellow key in the red switch.
7. Turn saw on.
8. Lower saw blade until blade touches the
table.
9. Turn the handwheel about 1 full turn
more. This will make a 1/16 to 1/8 inch kerr
in the table.
_WARNING: For workpieces 1/4 inch
thick or less, make the rip kerf at least
1/8 inch deep to keep the saw blade
from rising up on top of workpieces and
violently throwing them.
10. Turn saw off and remove yellow key.
11. Unplug saw at the end of cutting session.
Adjustments for Ripping
DANGER: You will need to make
blade guard, anti-kickback pawls and
spreader adjustments before making a rip
cut.
Fig. 111 In-Rip Saw Position
3. Lock rip, miter, bevel, swivel and table
locks.
4. Go to the in-feed end of the saw blade.
Fig. 110.
5. Put the workpiece on the table, in line with
blade and under the nose of blade guard, so
it touches the blade.
6. Loosen the guard clamp screw and rotate
the guard until the guard nose just clears the
workpiece. Fig. 112.
7. Tighten the guard clamp screw.
|
Infeed
Direction
Lder
Fig. 112 Blade Guard Position for Ripping
52
Loading ...
Loading ...
Loading ...