Loading ...
Loading ...
Loading ...
/k
WARNING: Kickback can occur if
the spreader is not in line with the
blade. You can be injured or killed. Al-
ways adjust the spreader and make sure
that it is directly in line with the blade.
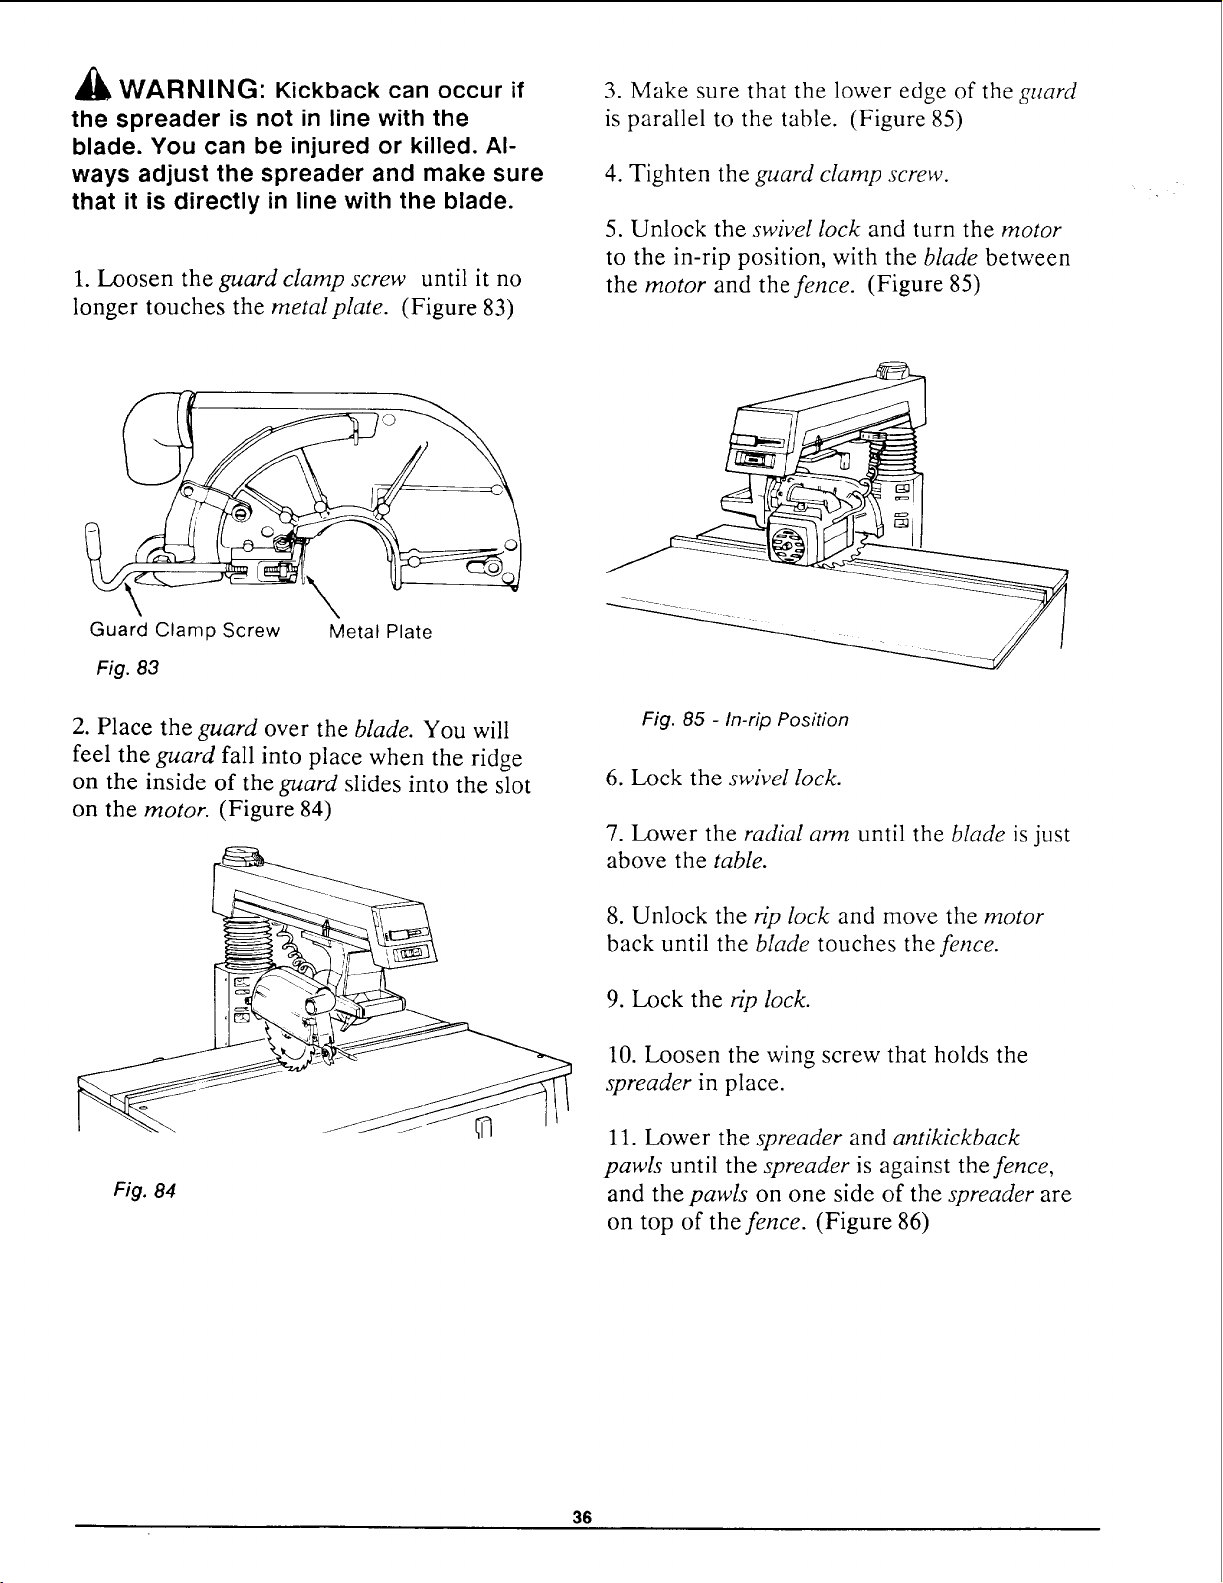
1. Loosen the guard clamp screw until it no
longer touches the metal plate. (Figure 83)
3. Make sure that the lower edge of the guard
is parallel to the table. (Figure 85)
4. Tighten the guard clamp screw.
5. Unlock the swivel lock and turn the motor
to the in-rip position, with the blade between
the motor and the fence. (Figure 85)
Guard Clamp Screw
Fig. 83
,\
Metal Plate
2. Place the guard over the blade. You will
feel the guard fall into place when the ridge
on the inside of the guard slides into the slot
on the motor. (Figure 84)
Fig. 85 - In-rip Position
6. Lock the swivel lock.
7. Lower the radial arm until the blade is just
above the table.
Fig. 84
8. Unlock the rip lock and move the motor
back until the blade touches the fence.
9. Lock the rip lock.
10. Loosen the wing screw that holds the
spreader in place.
11. Lower the spreader and antikickback
pawls until the spreader is against the fence,
and the pawls on one side of the spreader are
on top of the fence. (Figure 86)
36
Loading ...
Loading ...
Loading ...