Loading ...
Loading ...
Loading ...
6. Place the motor on the center channel of
the saw and remove the three table boards and
fence.
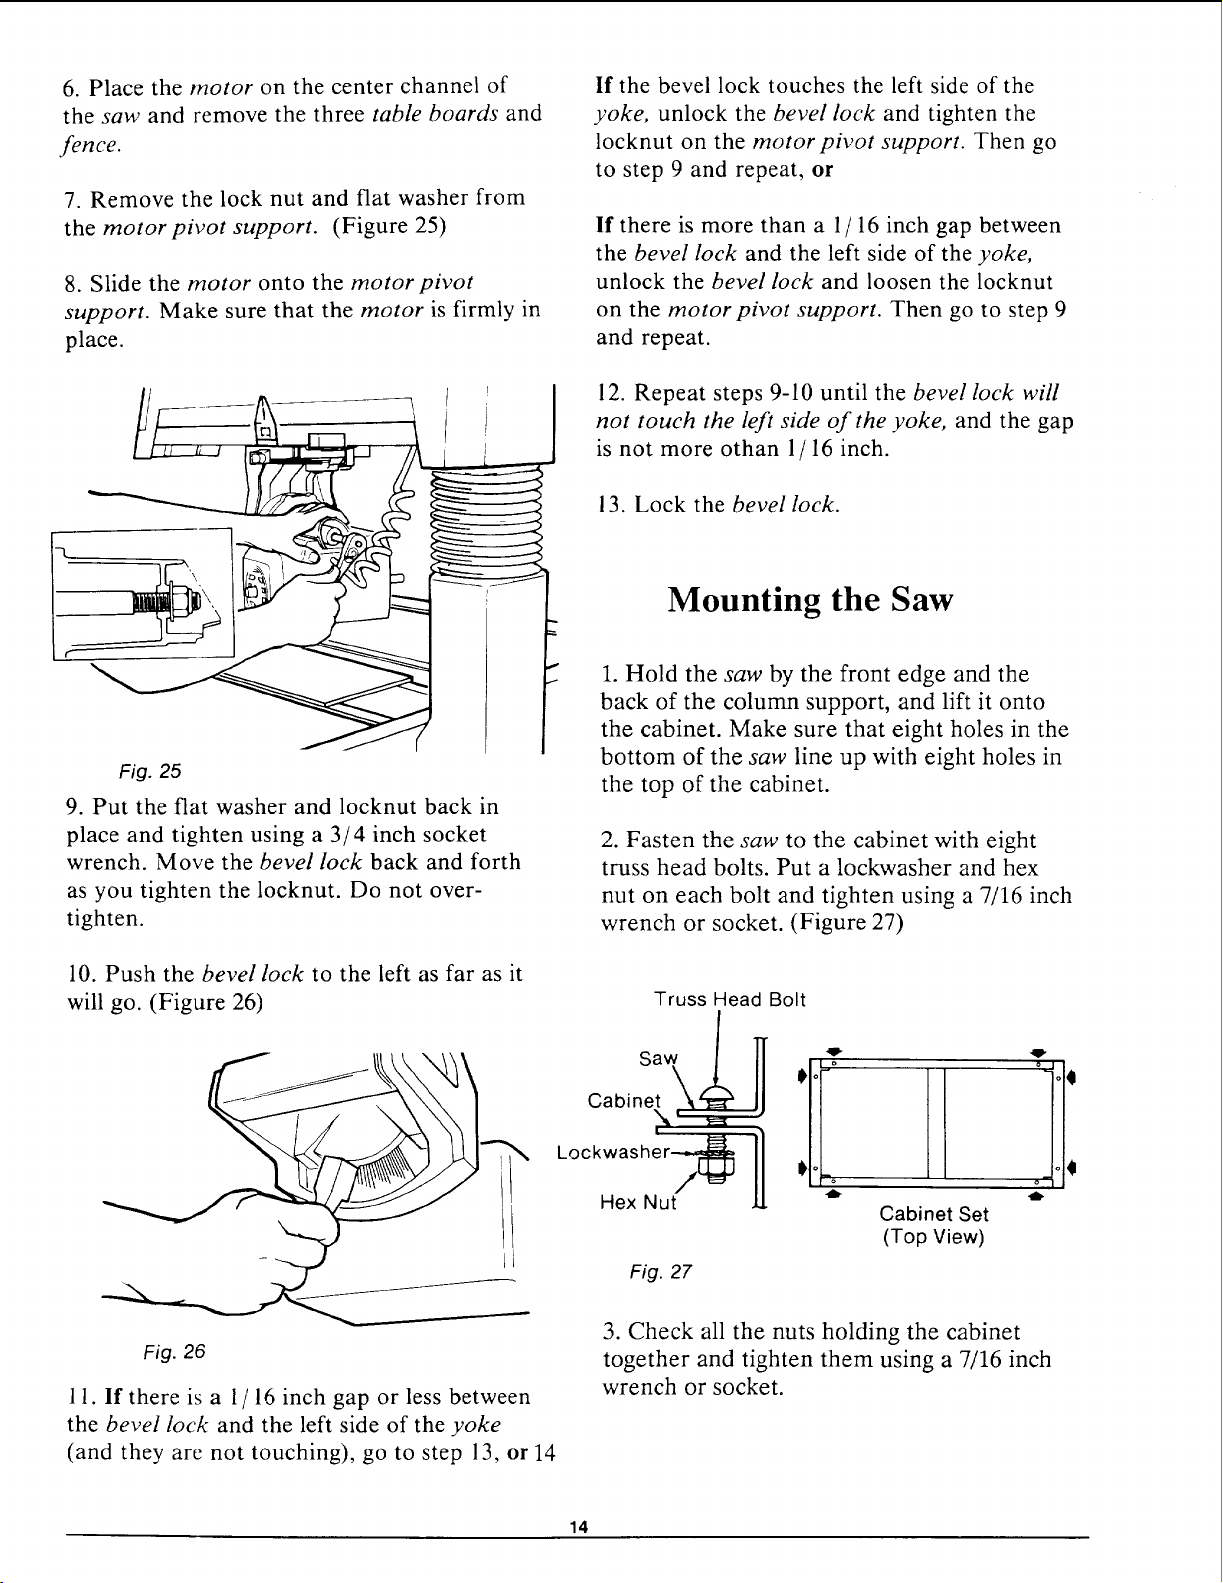
7. Remove the lock nut and flat washer from
the motor pivot support. (Figure 25)
8. Slide the motor onto the motor pivot
support. Make sure that the motor is firmly in
place.
Fig. 25
9. Put the flat washer and locknut back in
place and tighten using a 3/4 inch socket
wrench. Move the bevel lock back and forth
as you tighten the locknut. Do not over-
tighten.
5
10. Push the bevel lock to the left as far as it
will go. (Figure 26)
If the bevel lock touches the left side of the
yoke, unlock the bevel lock and tighten the
locknut on the motor pivot support. Then go
to step 9 and repeat, or
If there is more than a 1/ 16 inch gap between
the bevel lock and the left side of the yoke,
unlock the bevel lock and loosen the locknut
on the motor pivot support. Then go to step 9
and repeat.
12. Repeat steps 9-10 until the bevel lock will
not touch the left side of the yoke, and the gap
is not more othan 1/ 16 inch.
13. Lock the bevel lock.
Mounting the Saw
1. Hold the saw by the front edge and the
back of the column support, and lift it onto
the cabinet. Make sure that eight holes in the
bottom of the saw line up with eight holes in
the top of the cabinet.
2. Fasten the saw to the cabinet with eight
truss head bolts. Put a lockwasher and hex
nut on each bolt and tighten using a 7/16 inch
wrench or socket. (Figure 27)
Truss Head Bolt
Saw/
OaOnet\
"N,'
I
Lockwasher-_
Hex Nut
:11!iI1illl:
Cabinet Set
(Top View)
Fig. 27
Fig. 26
11. If there is a 1/ 16 inch gap or less between
the bevel lock and the left side of the yoke
(and they are not touching), go to step 13, or 14
3. Check all the nuts holding the cabinet
together and tighten them using a 7/16 inch
wrench or socket.
14
Loading ...
Loading ...
Loading ...