Loading ...
Loading ...
Loading ...
o o
Fig. 59
2. Lock the table locks. If you cannot lock the
table locks, go directly to step 5.
3. Pull up on the fence.
4. If the fence is held firmly, no change is
needed. Go to the next section, or
If the fence is loose and can be pulled out of
position, go to step 5.
5. Unlock the table locks.
6. Loosen the nuts under the circular clamps
using a 7/16 inch wrench or socket.
(Figure 60)
25. Lock the bevel lock, rip lock, swivel lock
and miter lock.
Adjusting Table Locks
The table locks are designed to hold the rear
table, spacer, and fence in place while cut-
ting. There are circular clamps at the back of
the table which are controlled by the table
locks. When locked, these clamps put pres-
sure on the rear table to hold it and the other
pieces in place. If the circular clamps are too
close to the rear table, the locks cannot be
locked. If they are too far from the table, the
locks will not hold the pieces firmly in place.
_llb WARNING: Workpiece, rear table,
fence, and/or spacer can shift during use
if table clamps are left loose. Your hands
may slip, and could be cut off by blade
contact. Table locks must be adjusted to
hold rear table, fence and spacer firmly in
place.
1. Put the fence in the front position, and the
spacer and rear table behind it.
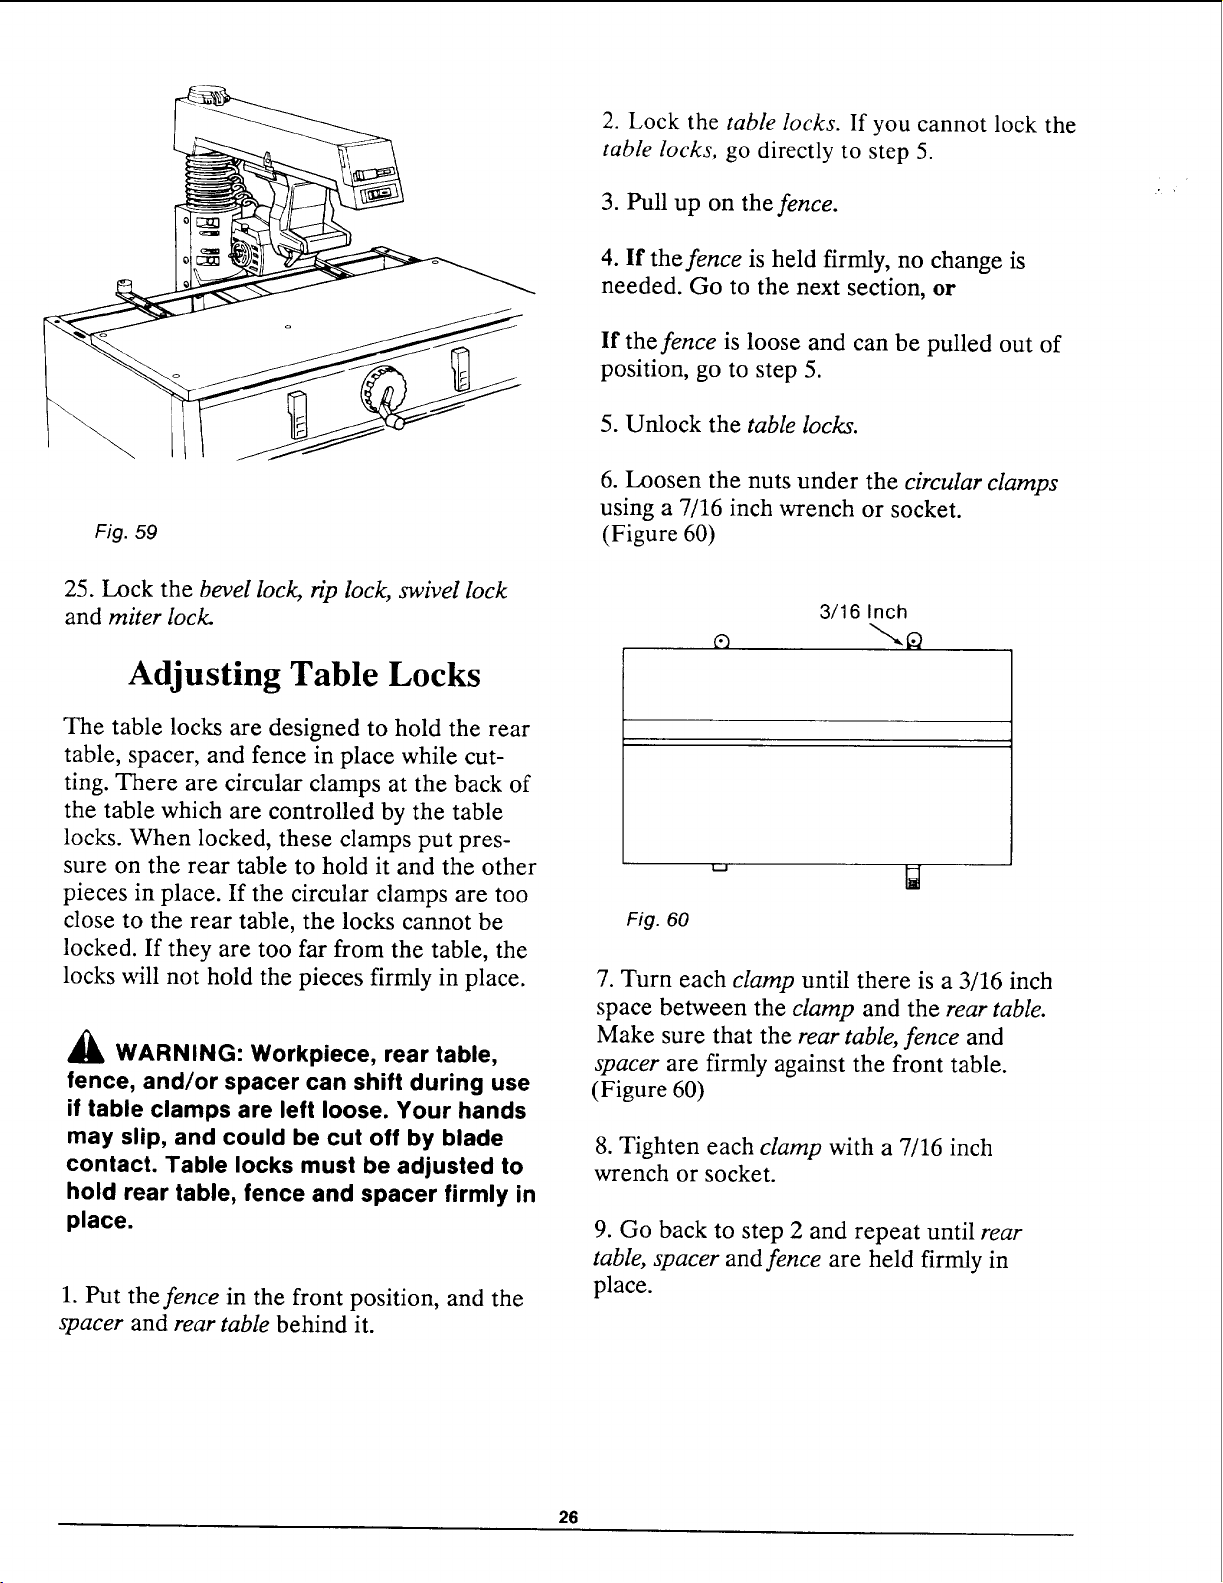
3/16 Inch
Fig. 60
7. Turn each clamp until there is a 3/16 inch
space between the clamp and the rear table.
Make sure that the rear table, fence and
spacer are firmly against the front table.
(Figure 60)
8. Tighten each clamp with a 7/16 inch
wrench or socket.
9. Go back to step 2 and repeat until rear
table, spacer and fence are held firmly in
place.
26
Loading ...
Loading ...
Loading ...