Loading ...
Loading ...
Loading ...
4-47
FACSIMILE
Contents
Specifying the original scan size (by paper size)
If the size of the placed original is different from the displayed original size or you wish to change the original size, you
must touch the [Original] key and directly specify the original size. Place the original in the document feeder tray or on
the document glass and follow the steps below.
1
Touch the [Original] key.
The original size set in the system settings appears to the right of the [Original] key.
☞ IMAGE SETTINGS (page 4-44)
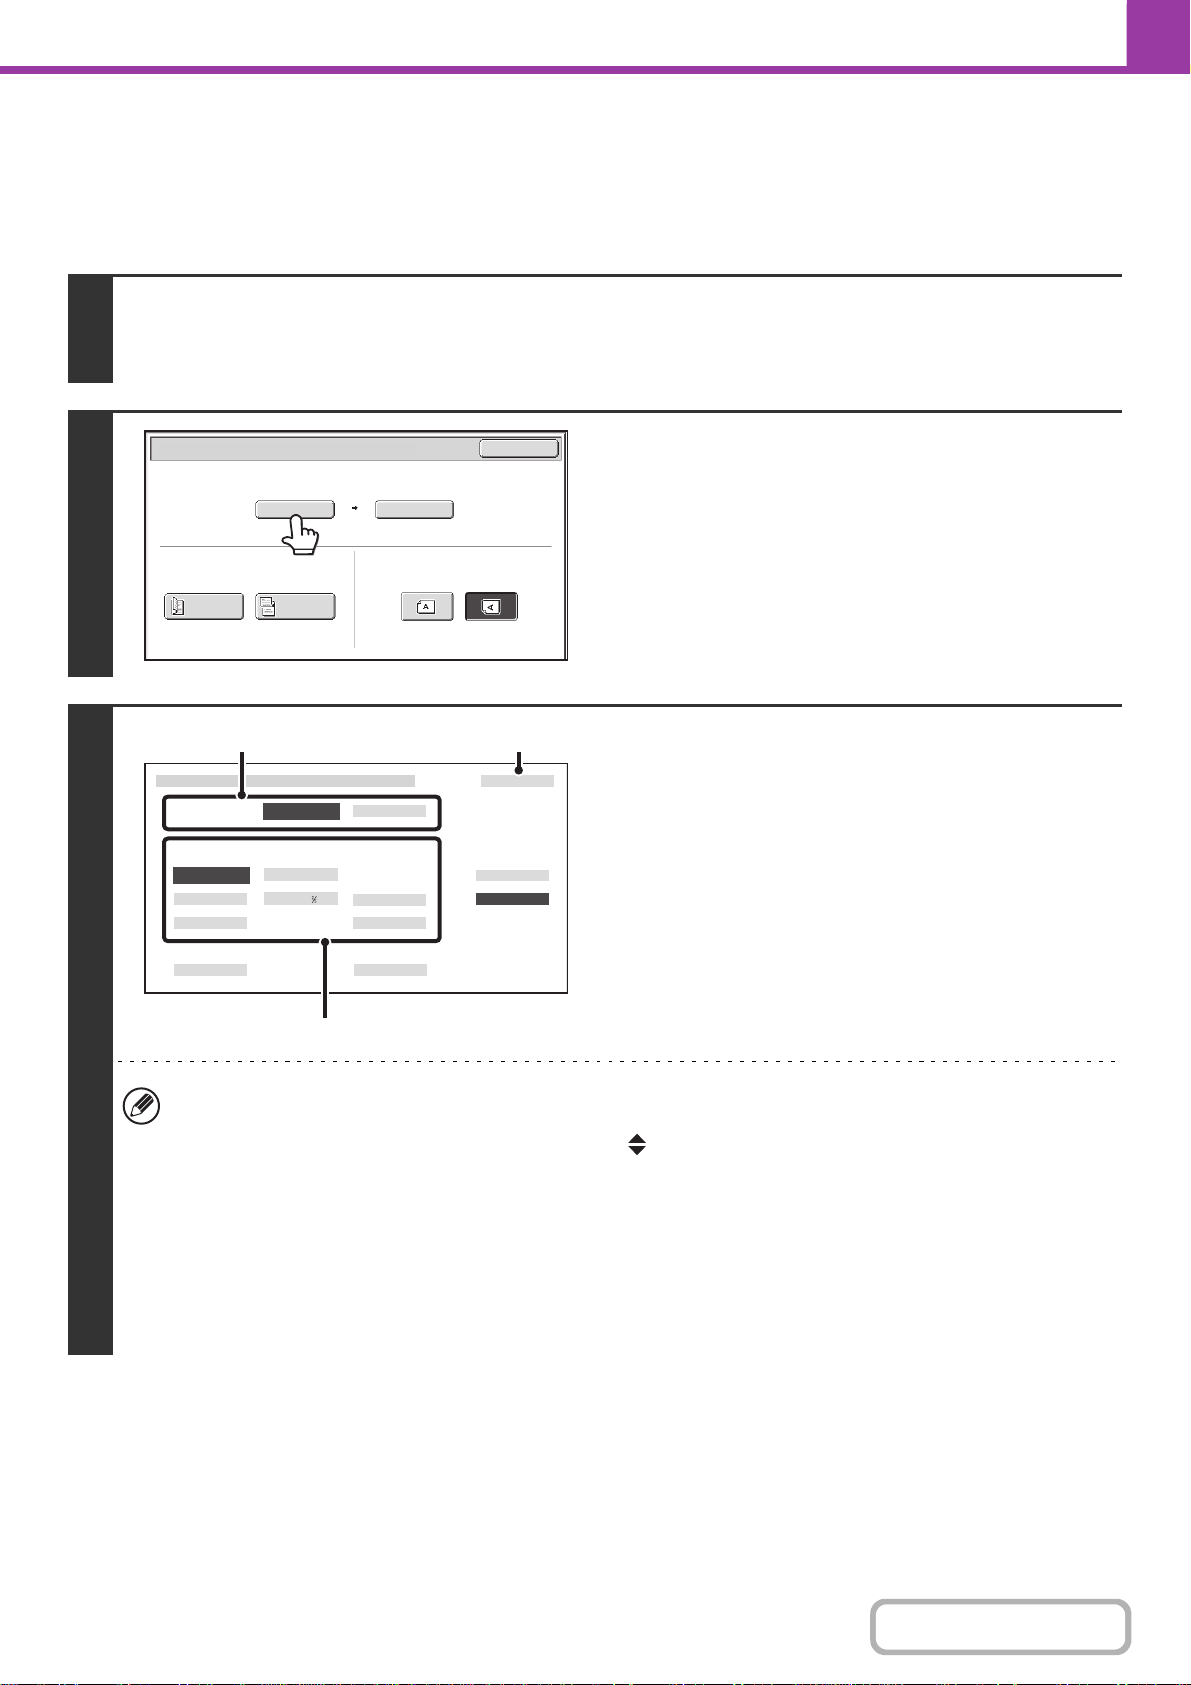
2
Touch the [Scan Size] key.
3
Specify the scan size.
(1) Touch the original output destination.
(2) Touch the appropriate original size key.
(3) Touch the [OK] key.
• If you are sending a long original, touch the [Long Size] key. Use the automatic document feeder to scan a long
original. The maximum length that can be scanned is 19-5/8" (500 mm) (the maximum height is 8-1/2" (216 mm)).
• To specify an AB size for the scan size, touch the [AB Inch] key to highlight the [AB] side and then specify the
scan size.
• In the situations below, the original exit place is fixed to the heavy exit.
- When "Card Size" is selected
-When the original guide is set to 2 7/8" (74 mm) or lower (Except when "Check Size" is selected)
-When the automatic document feeder is scanning an original with an X (horizontal) value of 4 1/8" (105 mm) or
less
• When "Card Size" is selected, you cannot copy if the original guide is set to 2 7/8" (74 mm) or higher.
Auto
8½x11
Scan Size Send Size100%
Fax/Original
OK
2-Sided
Booklet
2-Sided
Tablet
Image Orientation
8½x14
Fax/Original
8½x13 Long Size
Check Size
Heavy Exit
OK
Inch
AB
Size Input Card Size
8½x13
5½x8½
8½x11
Original Exit
Place
Original Size
5½x8½
Upper Exit
8½x14
8½x13
(3)(1)
(2)
Loading ...
Loading ...
Loading ...