Loading ...
Loading ...
Loading ...
1-97
BEFORE USING THE MACHINE
Contents
5
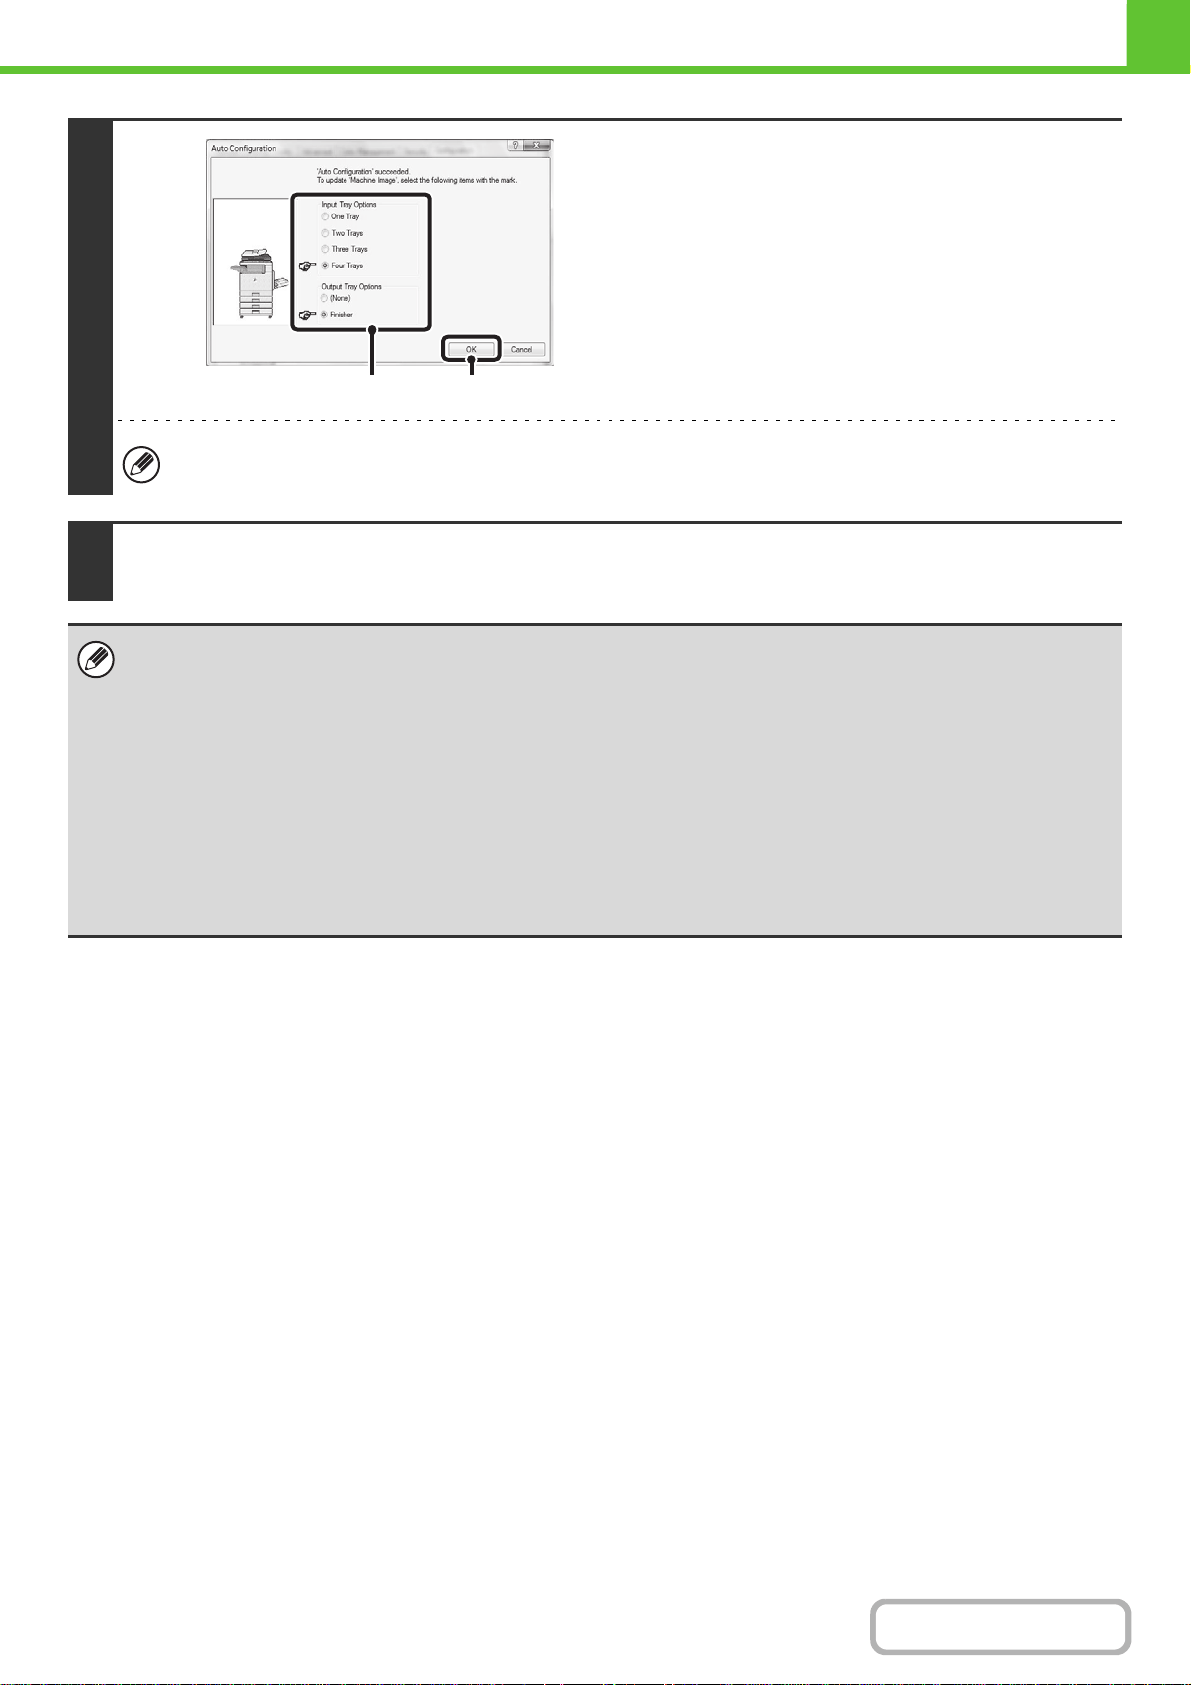
Configure the image of the machine.
An image of the machine is formed in the printer driver
configuration window based on the options that are installed.
(1) Select the options that are installed on the
machine.
(2) Click the [OK] button.
To cancel the image settings, click the [Cancel] button.
6
Click the [OK] button in the printer properties window.
If automatic configuration fails
• You can check the options that are installed and the tray settings by printing out the "All Custom Setting List" in the system
settings of the machine. (However, note that "Input Tray Options" must be set to the number of trays on the machine.)
Follow these steps to print out the "All Custom Setting List": Press the [SYSTEM SETTINGS] key, touch the [List Print
(User)] key, and then touch the [Print] key of "All Custom Setting List".
• Click the [Set Tray Status] button, the [Paper Type Name] button, and the [Set Tandem Print]* button to check the settings
of each.
Set Tray Status: The "Tray Settings" in "Paper Tray Settings" in system settings of the machine are reflected in the
settings shown here. Specify the size and type of paper loaded in each tray.
Paper Type Name: The "Paper Type Registration" settings in "Paper Tray Settings" in the system settings of the machine
are reflected in the settings shown here. If a user type name (1 to 7) was changed, enter the changed
name.
(1) (2)
Loading ...
Loading ...
Loading ...