
Loading ...
Loading ...
Loading ...
CHAPTER 18: Taking Photos and Videos
367
Autofocus cameras change the focus by using software and hardware adjustments. The
biggest difference you’ll notice as a user is that you can focus on things very near the
camera lens, such as bar codes. It also means you’ll have more out-of-focus pictures,
since the autofocus might not always work quite as well as you’d hoped, but the overall
picture quality will be better. Your DROID camera comes with autofocus, but some
settings can use fixed focus benefits. Some settings, such as portrait mode, can also
take advantage of tap-to-focus. Just tap the screen to focus on that portion of the image.
Zoom
Zoom is another popular feature. There are two types of zoom: optical and digital.
Optical zooms use the camera’s lens (the camera optics) to magnify part of the photo
frame. You can still get a high-resolution photo from an optical zoom. Digital zoom is
just a software solution in which the camera makes part of the picture look bigger. It’s
the illusion of zoom without adding any detail to the picture, and this is the type of zoom
you find on phones. When possible, it’s best to ignore digital zoom and just stand closer
to the subject of your photo or video. However, that’s not always practical or possible,
and that’s where digital zoom is handy.
Taking a Picture
A lot of this chapter is going to depend on which phone you use. Not only are there
differences in physical hardware, but the interface is different between the DROID and
DROID 2/X camera and galleries.
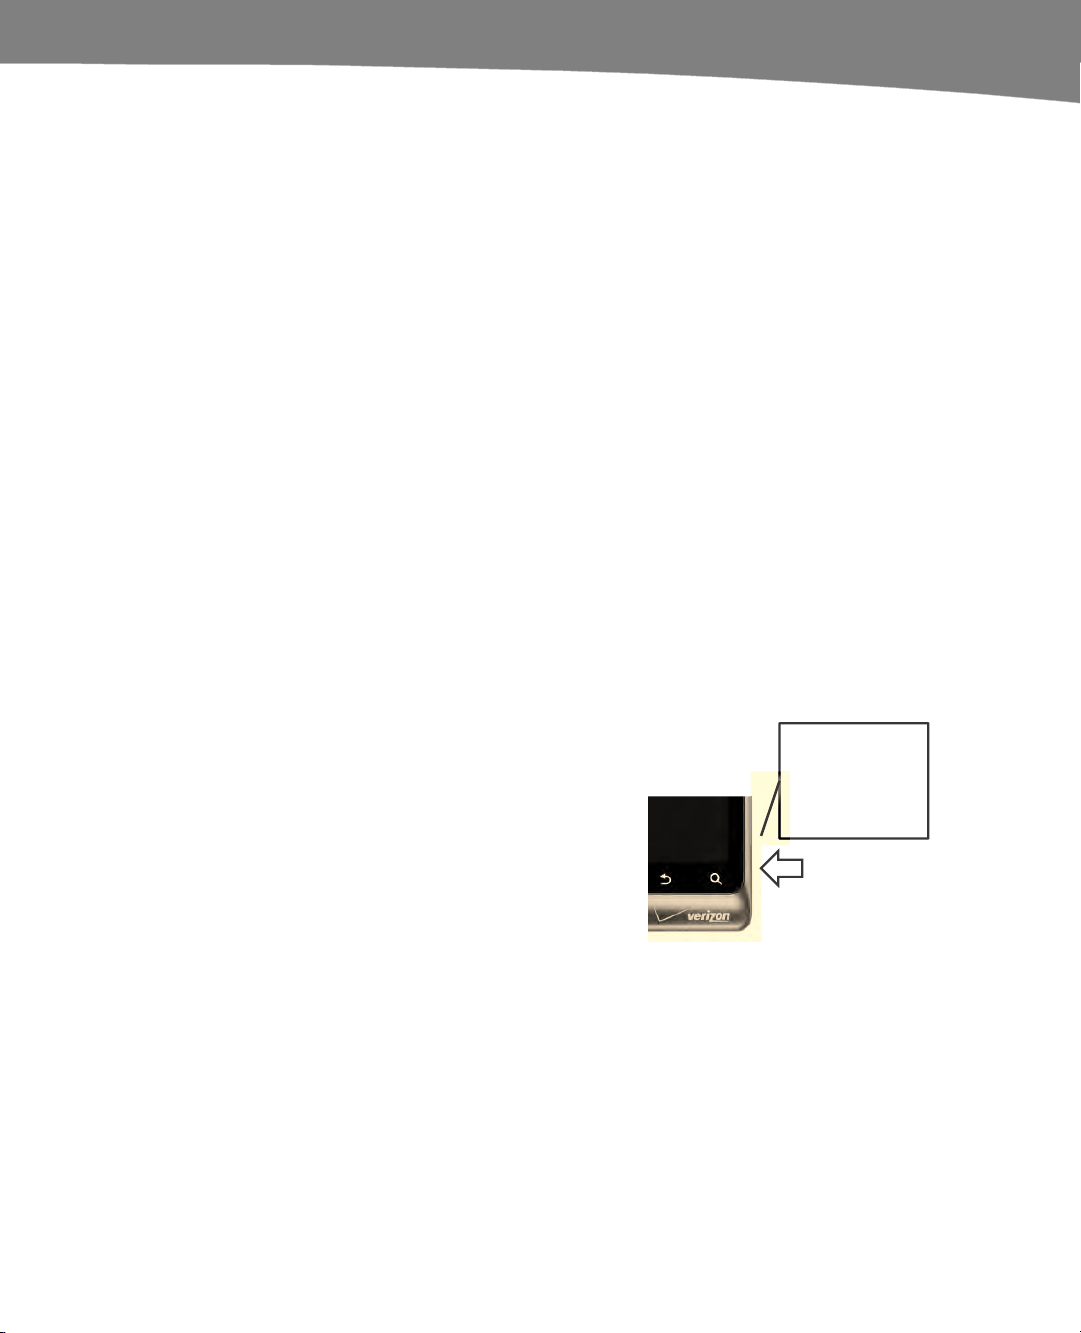
To take a picture, press the physical Camera button
on your phone as shown here. You can also launch
the Camera app from the app tray or an icon on your
Home screen, but the button is the easiest shortcut.
Other software may also allow you to use your
phone’s camera, and we’ll cover some of it in this
chapter.
Camera button.
Press to start the
Camera app or
take a picture.
When taking pictures, you can hold your phone horizontally or vertically, but the
interface tends to work best when the phone is held on its side for a horizontally framed
photo. Unlike with some apps, the position of the buttons on the screen will not change
as you rotate the phone orientation. (This isn’t true if you’re using an original DROID.)
Figure 18–1 shows a typical screen.
To take a photo, tap the shutter button on the screen or press the physical Camera
button on the side of your phone again. Using the Camera button may prove to be less
shaky than trying to hold your phone steady as you poke at the screen, but either
method will shoot your picture.
Loading ...
Loading ...
Loading ...