Loading ...
Loading ...
Loading ...

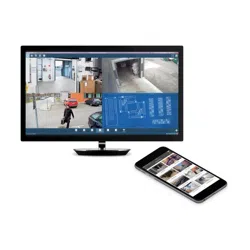
AXIS Camera Station
Recordings Workspace
Use the mouse wheel to zoom in and out in the timeline. To move to a different day, use the arrows next to the date.
Playback Control Panel
The playback control panel is displayed below the timeline.
Play — Start playback
Pause — Pause playback
Speed control — Hover the mouse pointer over the Play/Pause button to display the speed control. Use the needle or the
mouse wheel to adjust playback speed.
Jump to previous — Jump to the start of the ongoing or previous recording.
Jump to next — Jump to the start of the next recording.
Jump backward — (Displayed during playback) Jump 5 seconds back.
Jump forward — (Displayed during playback) Jump 5 seconds forward.
Step to previous frame — (Displayed when paused) Step to previous frame in the selected recording.
Step to next frame — (Displayed when paused) Step to next frame in the selected recording.
Mute — Mute audio. Use the slider to control audio volume.
Image enhancement — Image enhancement can make details in the image more visible. Click the button to enable and use the
slider to adjust the amount of enhancement. Applied enhancement will be included in snapshots but not in exported video. When
zooming in, image enhancement will be disabled temporarily. When zooming out, enhancement is re-applied automatically.
Smart Search
Smart search is a motion search used to quickly locate important events in recorded video. Instead of going through hours of recorded
video manually, smart search nds the points in time when there is movement in a selected area in the recorded video.
To use smart search:
1. In the Recordings workspace, select a view that contains the recordings that you want to search.
2. Click on the recording in the timeline or select the camera in its split view.
3. Click
to expand Smart Search.
4. If required, adjust the area of interest to reduce or increase the number of hits. See below.
5. Click on the current date shown in the timeline to specify a time interval for the search results.
6. Click Search.
7. When the search result is displayed, click on the thumbnail image to move the playback marker to the time when motion
was detected.
The area of interest is the area in which moving objects will be detected. The area is a polygon displayed on top of the recorded
video. The polygon can have 3 to 20 corners. Use the mouse to move and resize the area. To add a new corner, click on the line
between two corners. To remove a corner, right-click on the corner.
21
Loading ...
Loading ...
Loading ...