Loading ...
Loading ...
Loading ...
Configure System Information
31
NETGEAR 24-Port Gigabit Smart Managed Pro Switch with PoE+ and 2 SFP Ports Model GS724TPv2
8. To refresh the page, click the Update button.
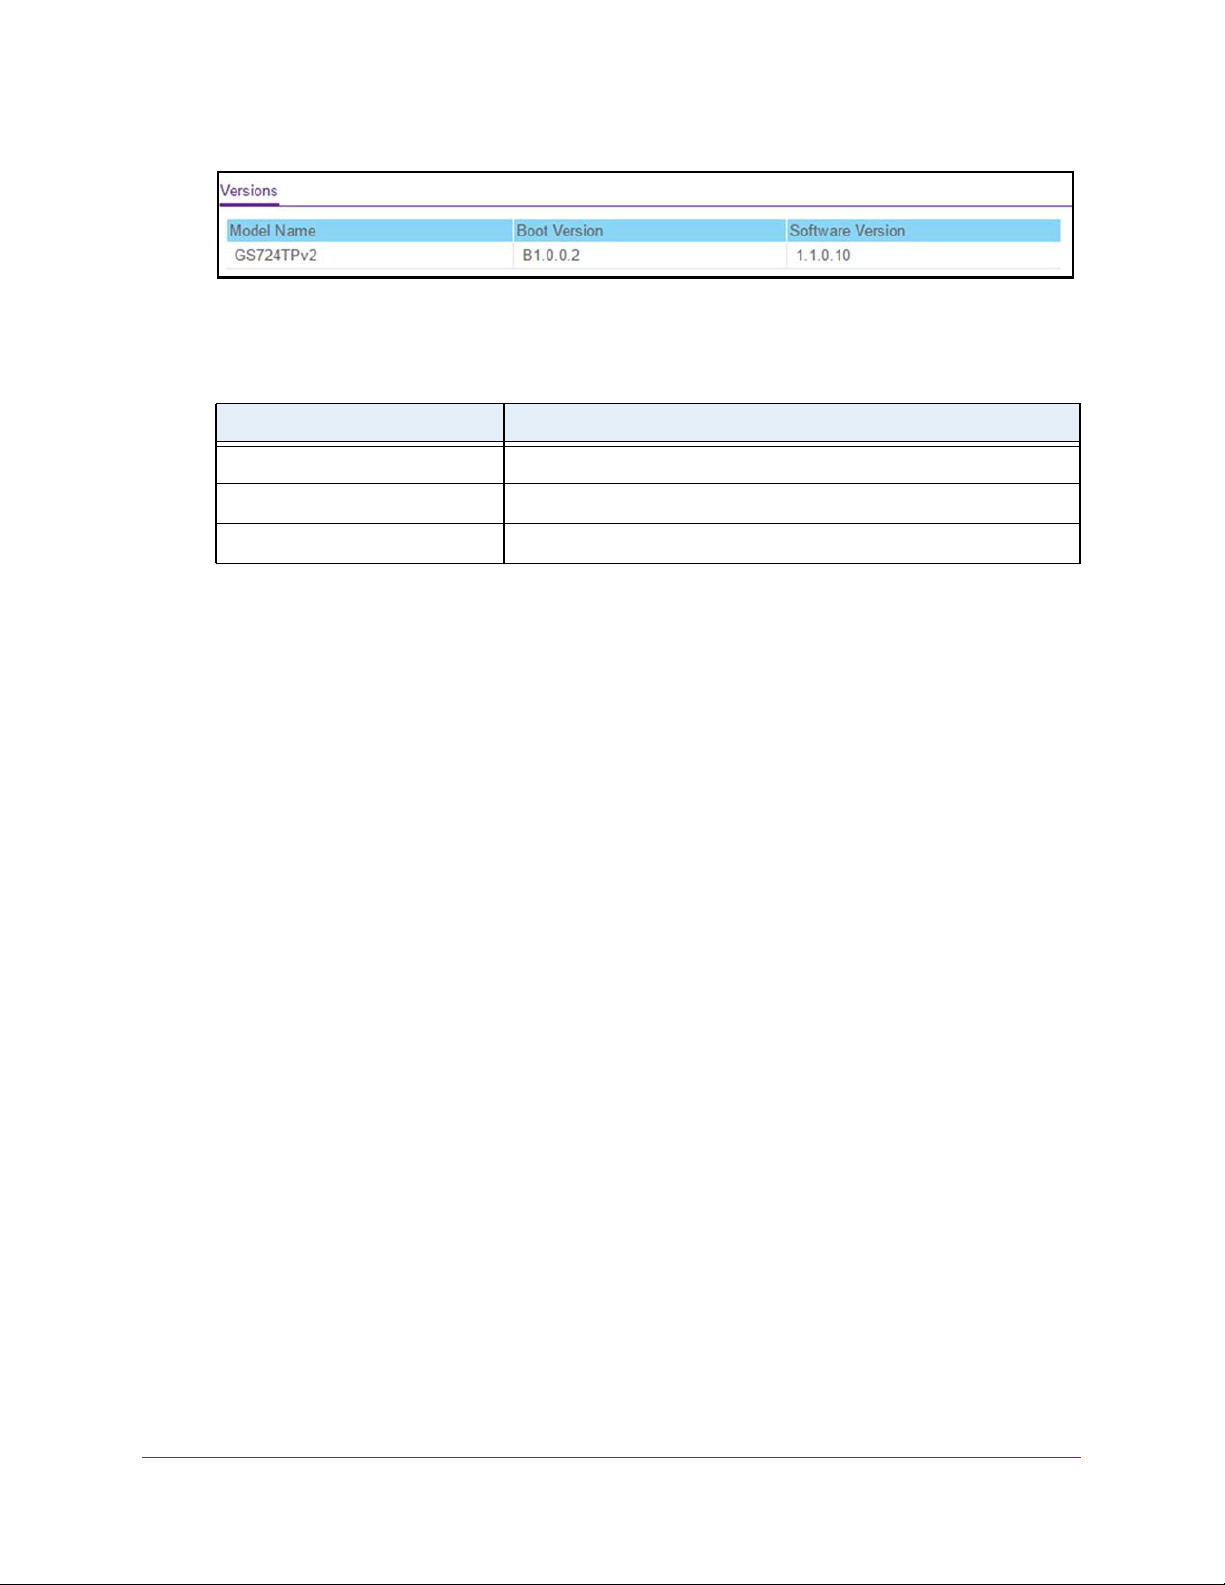
The following table describes the nonconfigurable information displayed in the Versions
section of the System Information page.
Configure the Switch IP Settings
You can configure network information for the management interface, which is the logical
interface used for in-band connectivity with the switch through any of the switch’s front-panel
ports. The configuration parameters associated with the switch’s network interface do not
affect the configuration of the front panel ports through which traffic is switched or routed.
To configure the network information for the management interface:
1. Connect your computer to the same network as the switch.
You can use a WiFi or wired connection to connect your computer to the network, or
connect directly to a switch that is off-network using an Ethernet cable.
2. Launch a web browser.
3. In the address field of your web browser, enter the IP address of the switch.
If you do not know the IP address of the switch, see
Change the Default IP Address of the
Switch on page 9.
The login window opens.
4. Enter the switch’s password in the Password field.
The default password is password.
The System Information page displays.
5. Select System > Management > IP Configuration.
The IP Configuration page displays.
6. Select the appropriate radio button to specify how to configure the network information for
the switch management interface:
• Dynamic IP Address (DHCP). Specifies that the switch must obtain the IP address
through a DHCP server.
Field Description
Model Name The model name of the switch.
Boot Version The version of the bootloader software of the switch.
Software Version The version number of the code currently running on the switch.
Loading ...
Loading ...
Loading ...