Loading ...
Loading ...
Loading ...
Manage Device Security
204
NETGEAR 24-Port Gigabit Smart Managed Pro Switch with PoE+ and 2 SFP Ports Model GS724TPv2
Manage Port Authentication
You can enable and configure port access control on one or more ports.
Configure 802.1X Settings for a Port
To configure 802.1X settings for a port:
1. Connect your computer to the same network as the switch.
You can use a WiFi or wired connection to connect your computer to the network, or
connect directly to a switch that is off-network using an Ethernet cable.
2. Launch a web browser.
3. In the address field of your web browser, enter the IP address of the switch.
If you do not know the IP address of the switch, see
Change the Default IP Address of the
Switch on page 9.
The login window opens.
4. Enter the switch’s password in the Password field.
The default password is password.
The System Information page displays.
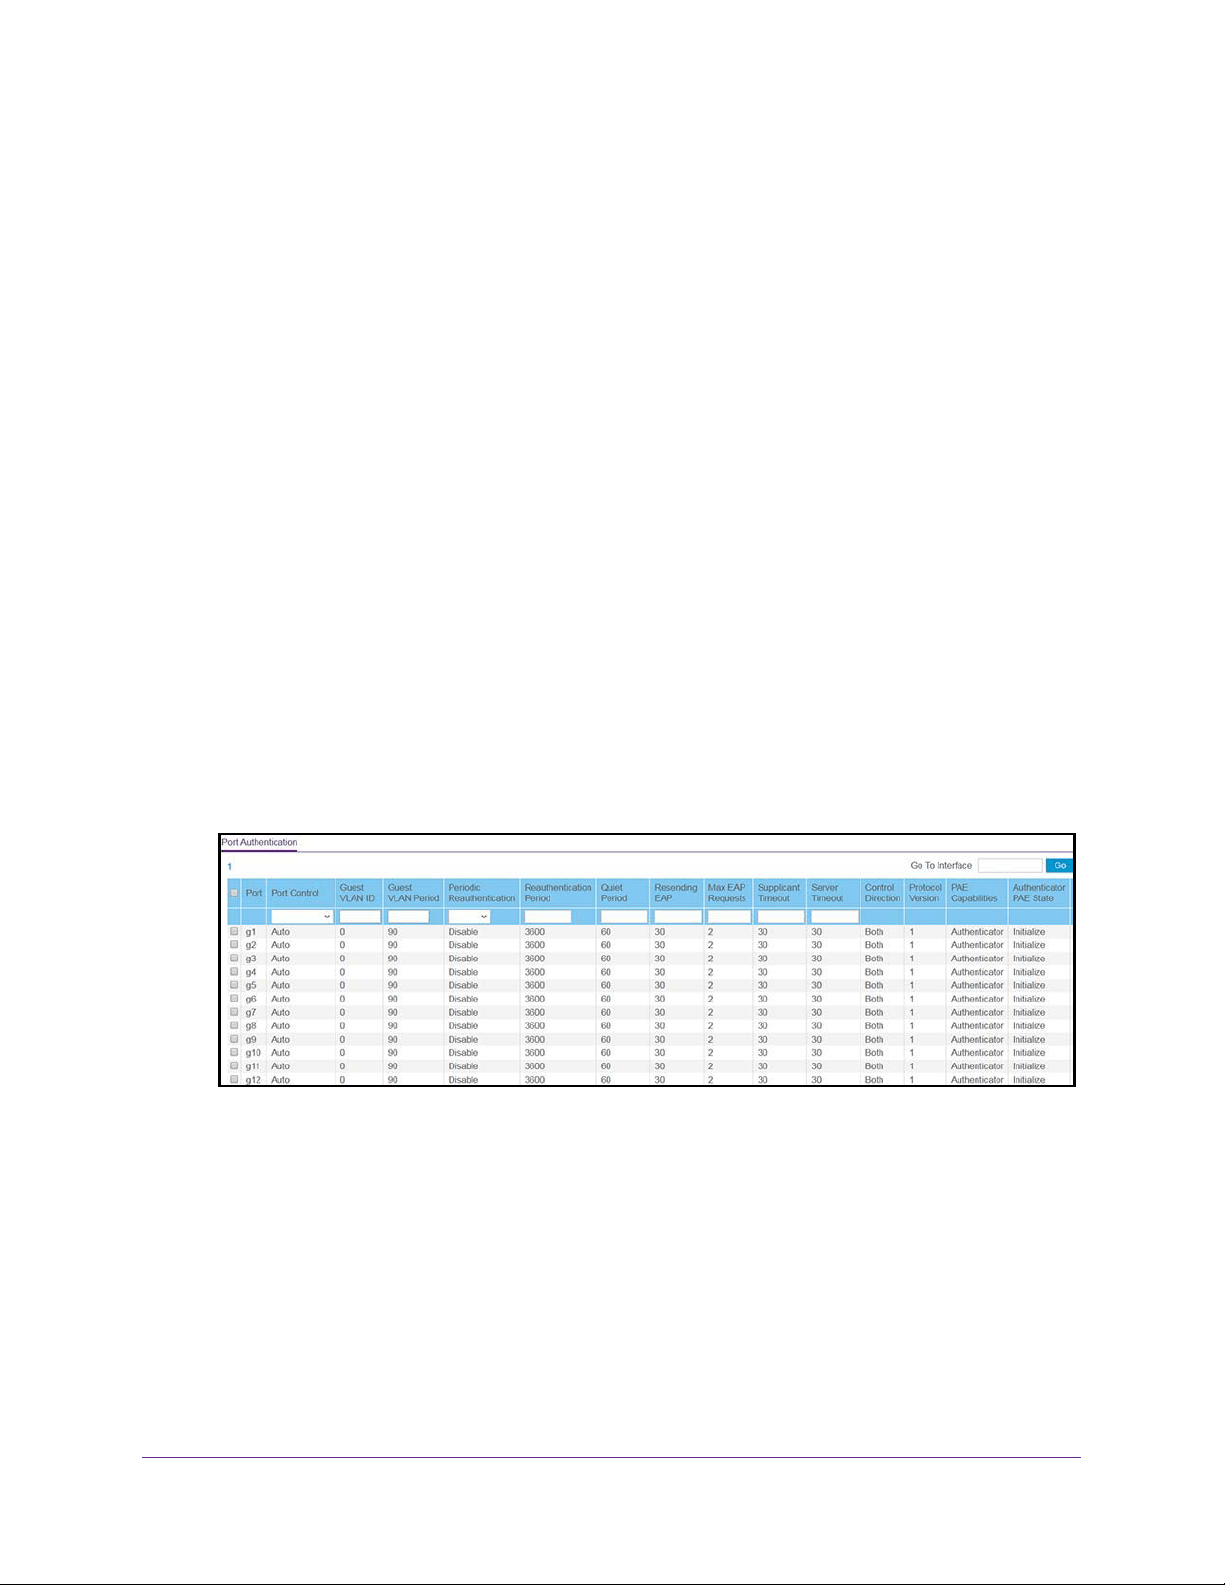
5. Select Security > Port Authentication > Advanced > Port Authentication.
The following figure does not show all columns on the page.
6. Select the check box next to the port.
You can also select multiple check boxes to apply the same settings to the selected ports,
or select the check box in the heading row to apply the same settings to all ports.
7. Specify the following settings:
• Port Control. Defines the port authorization state. The control mode is set only if the
link status of the port is link up. Select one of the following options:
- Auto. The system automatically detects the mode of the interface.
- Authorized. The system places the interface into an authorized state without
being authenticated. The interface sends and receives normal traffic without client
port-based authentication.
Loading ...
Loading ...
Loading ...