Loading ...
Loading ...
Loading ...
Replacing the Pad Assy
455
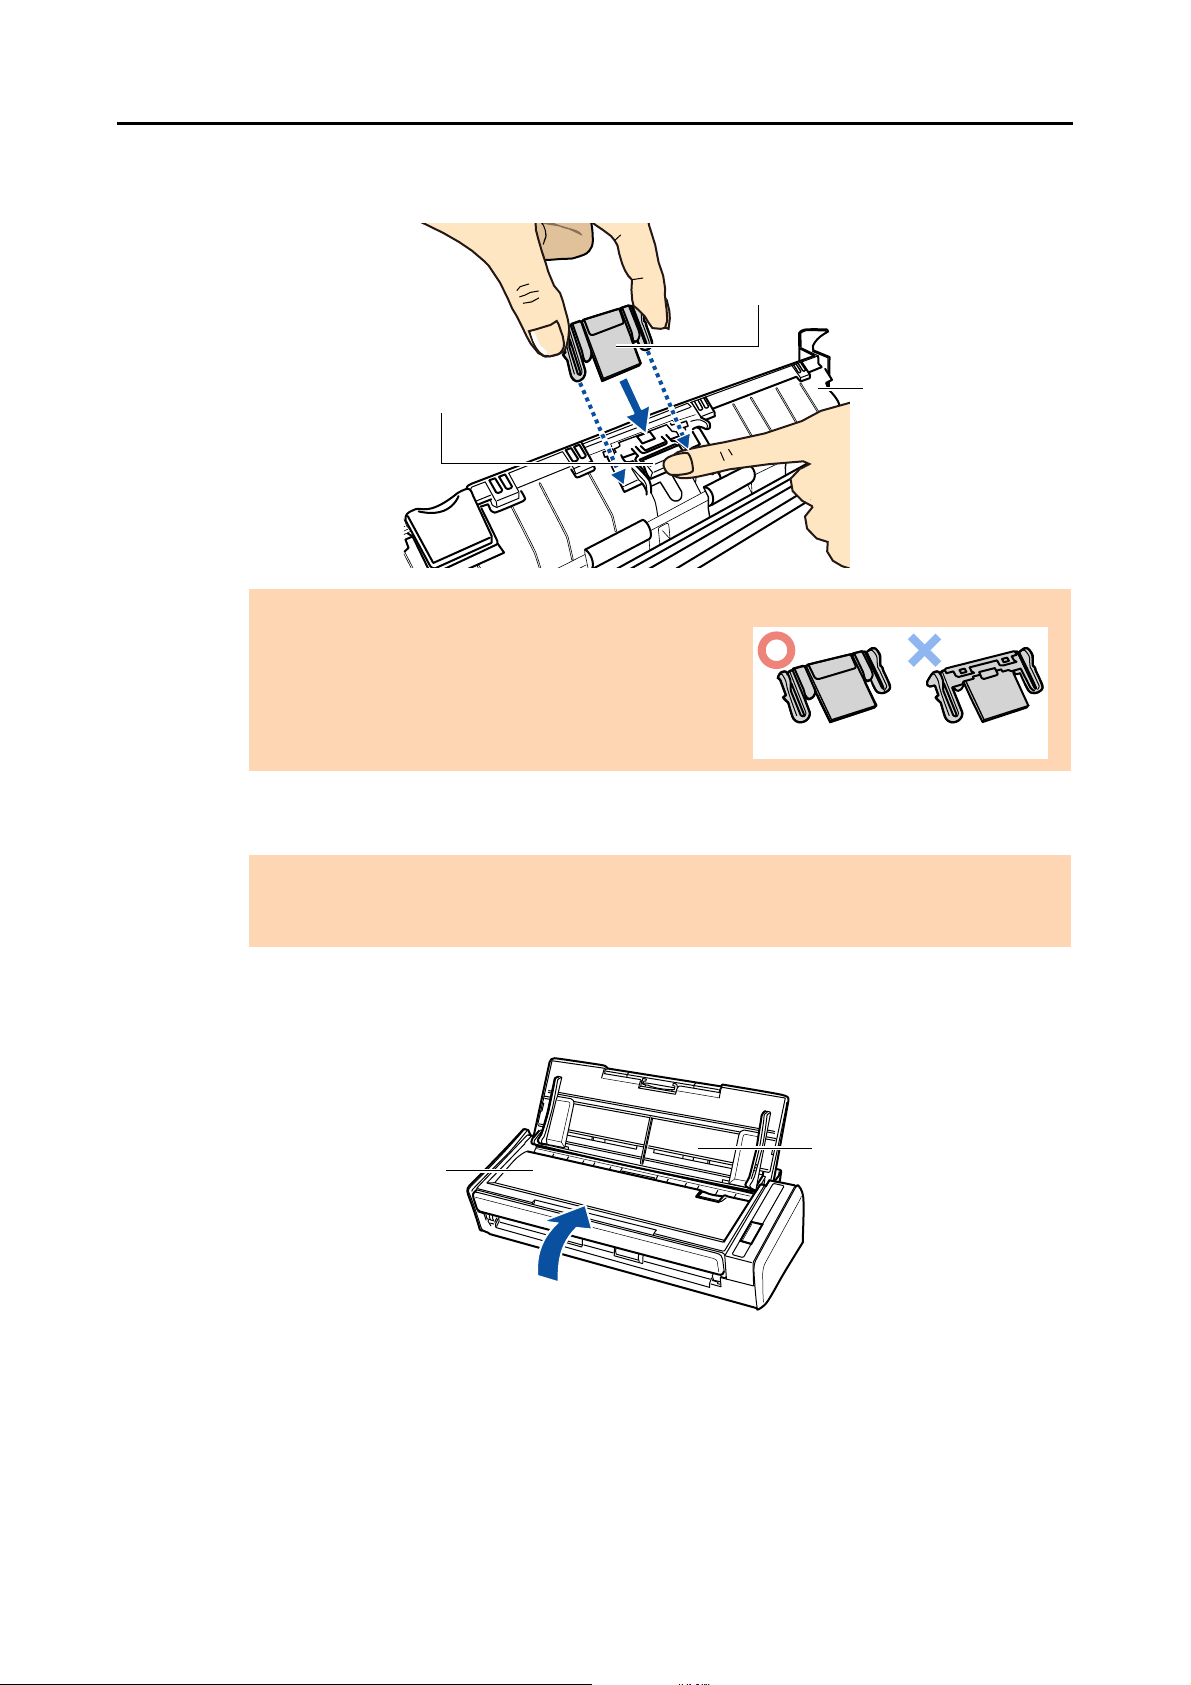
5. Attach the new pad assy while pushing the pad plate down.
6. Confirm that the pad assy is completely locked into the retaining hooks.
7. Close the ADF top section.
D It clicks when it returns to its original position.
8. Connect the power cable or the USB bus power cable, and turn on the
ScanSnap.
ATTENTION
Make sure to install the pad assy with its front side facing up.
Otherwise, paper jams or other feeding errors may occur.
ATTENTION
Confirm that the pad assy is attached properly. Otherwise, paper jams or other feeding errors may
occur.
ADF top section
Pad assy
Pad plate
Front Back
ADF paper
chute (cover)
ADF top section
Loading ...
Loading ...
Loading ...