Loading ...
Loading ...
Loading ...
Actions (for Windows Users)
110
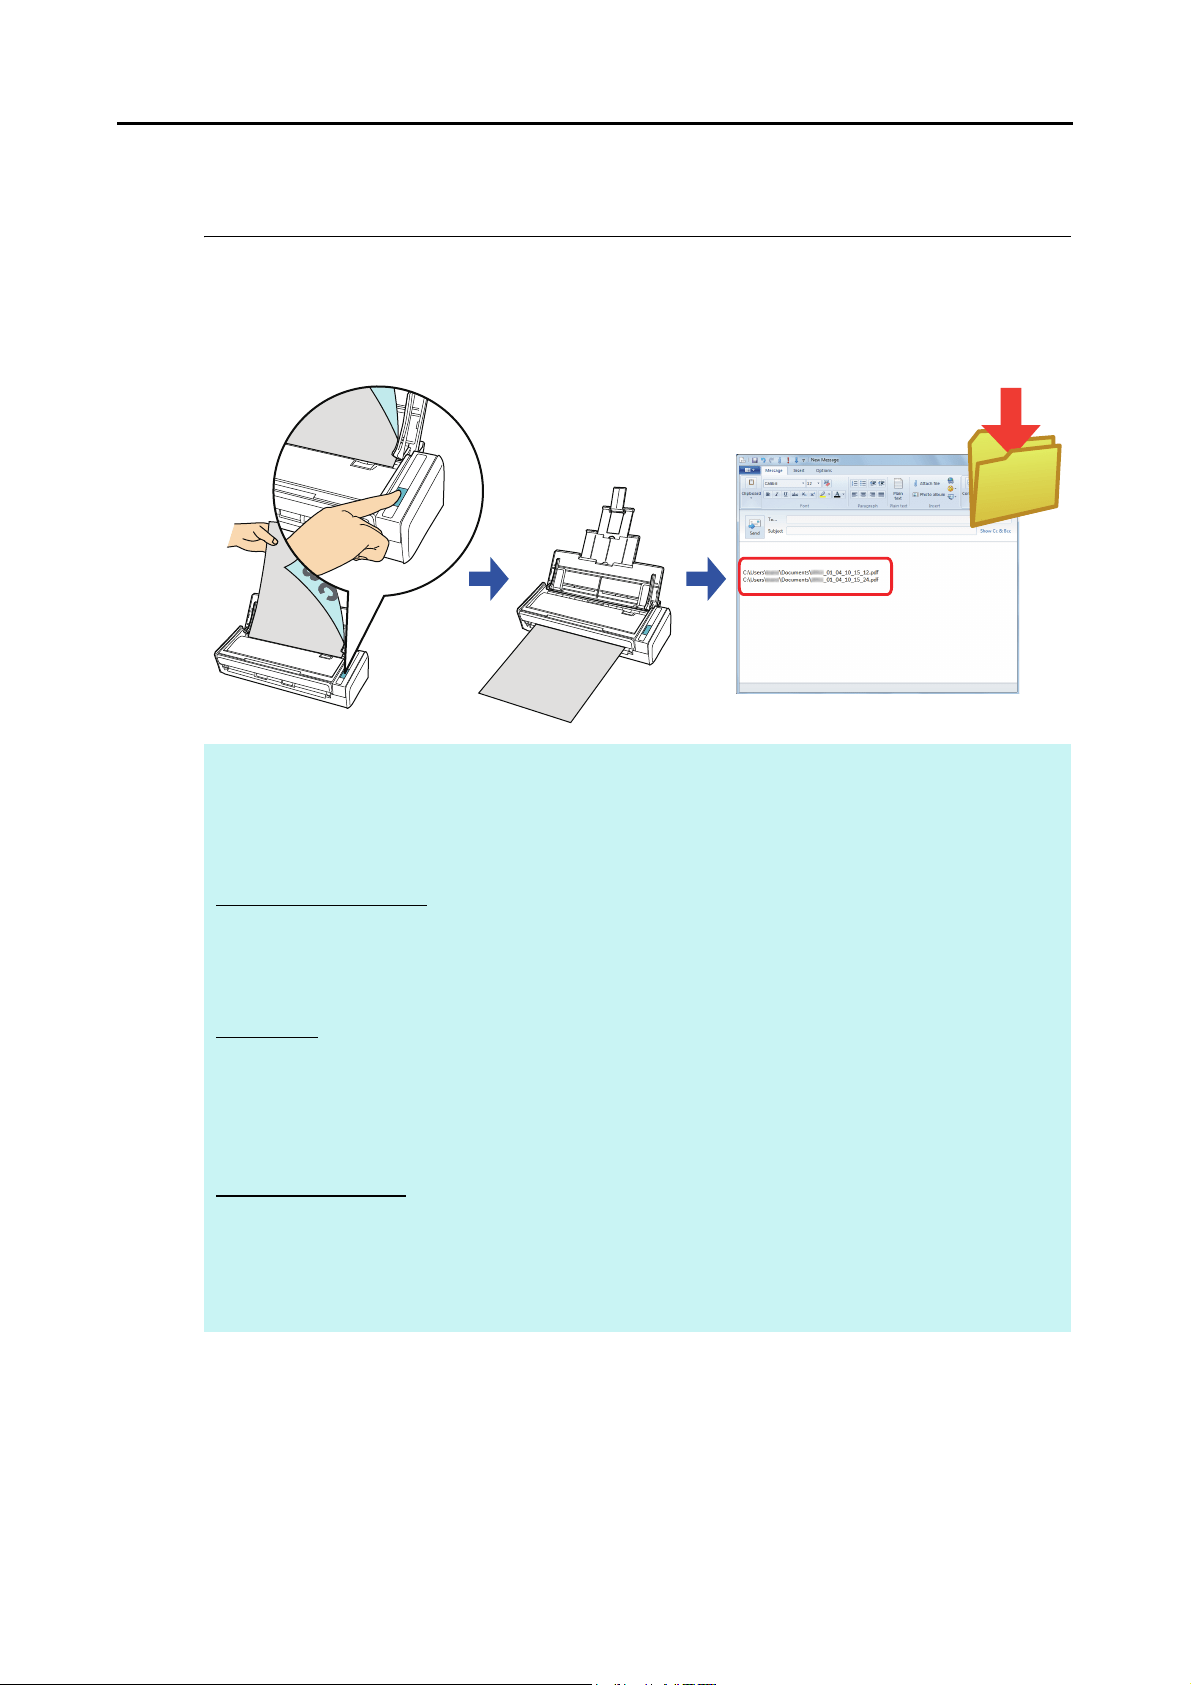
■ Saving Data in a Specified Folder
This section explains how to save the scanned image file in a specified folder.
You can save the scanned image file in a shared folder on the network and share it with
others. In addition, you can inform others of the destination folder path by an e-mail message
automatically created with the path stated.
For details about the procedure to scan and save the scanned image in a specified folder
using or without using the Quick Menu, refer to the following:
z Using the Quick Menu (J page 111)
z Without Using the Quick Menu (J page 114)
HINT
The default e-mail program is used as the e-mail program to link with.
The e-mail program may not properly link with ScanSnap Manager even if it is the default e-mail program.
In this case, contact the manufacturer of the e-mail software.
Configure e-mail program settings in the following procedure.
Windows 7/Windows Vista
1. Select [Start] menu J [Default Programs] J [Set your default programs].
D The [Set your default programs] dialog box appears.
2. Select an e-mail program to link with ScanSnap Manager from [Programs].
3. Select [Set this program as default] and click the [OK] button.
Windows XP
The e-mail program selected in Internet Explorer [Tools] menu J [Internet Options] J the [Programs]
tab J [E-mail] drop-down list is used to link with ScanSnap Manager.
If no e-mail program is selected, select an e-mail program to link with ScanSnap Manager in the [E-
mail] drop-down list. E-mail programs that cannot be selected here cannot be set to link with ScanSnap
Manager.
Tested e-mail programs
- Windows Live Mail
- Windows Mail (Windows Vista)
- Outlook 2010 / 2007 / 2003
- Outlook Express 6
- Thunderbird version 9.0.1
Loading ...
Loading ...
Loading ...