Loading ...
Loading ...
Loading ...
How to Perform a Scan (for Mac OS Users)
278
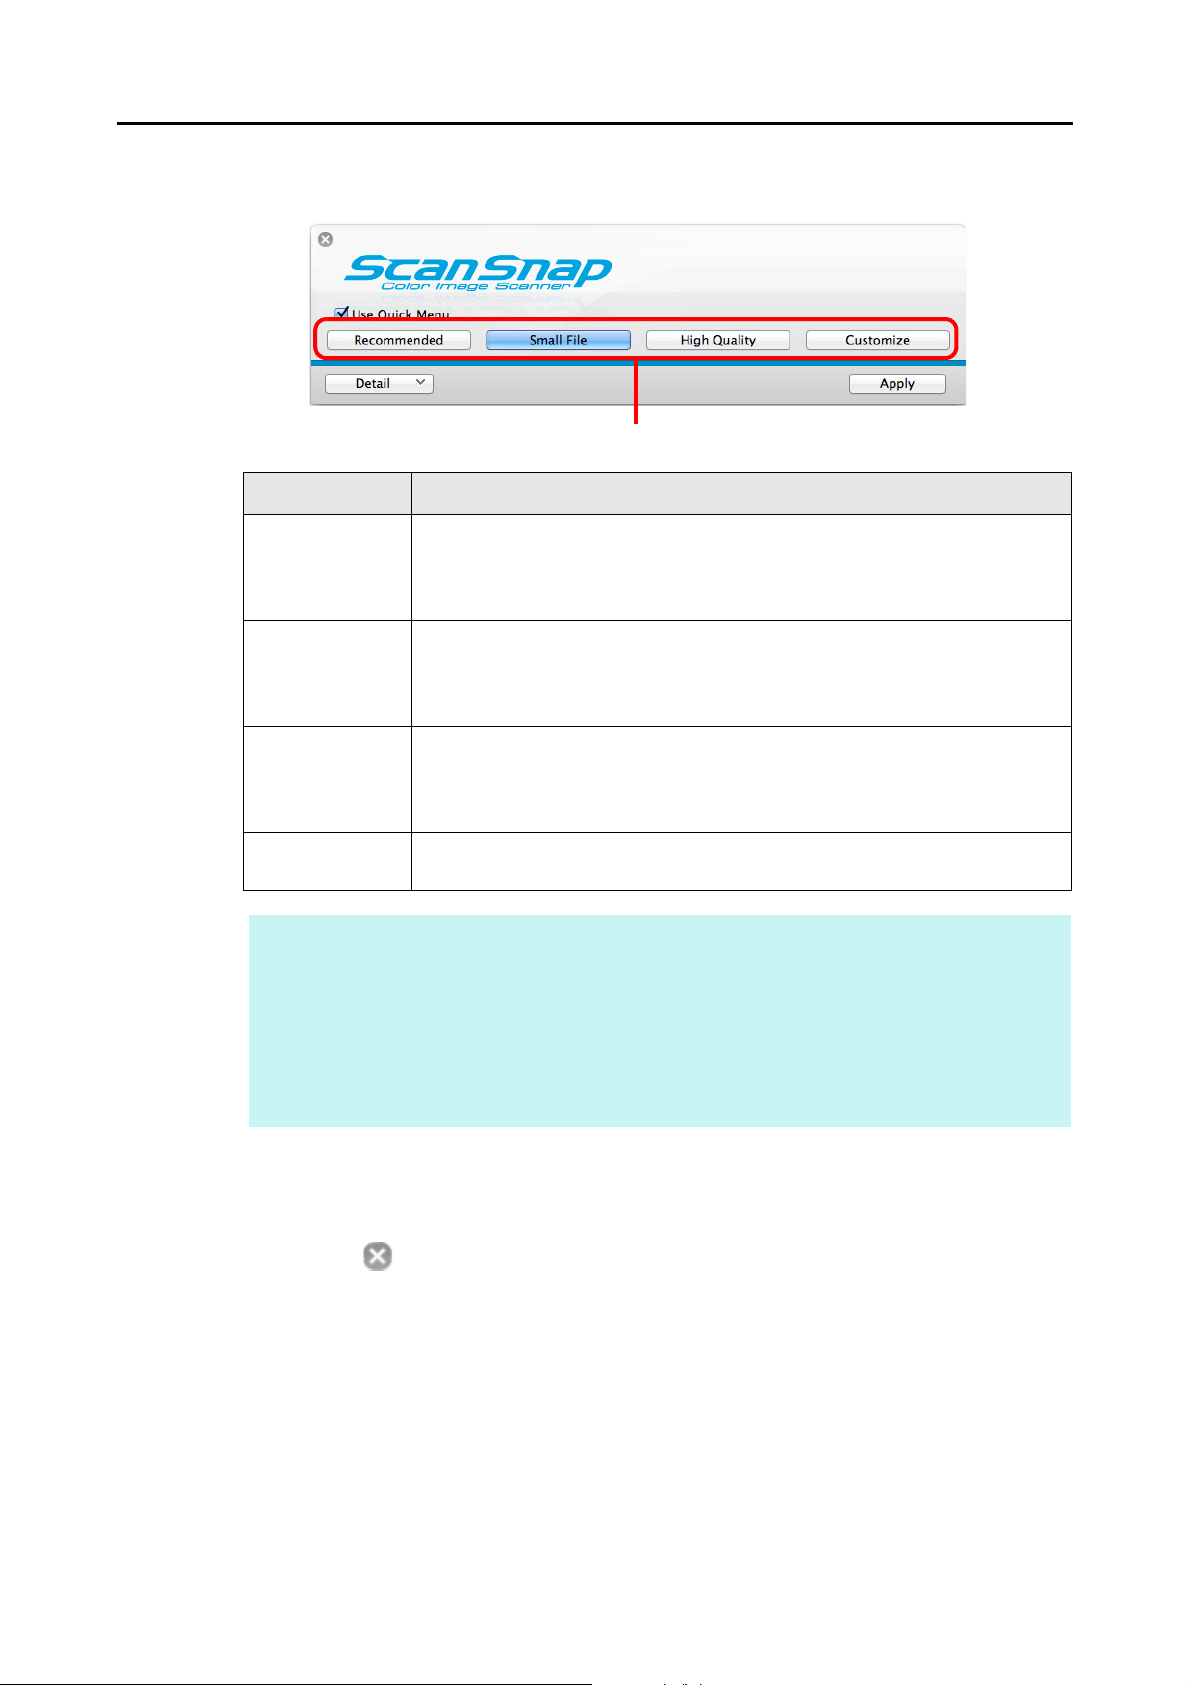
3. Click one of the profile buttons.
4. Click the [Apply] button.
5. Click the [ ] button in the upper left corner to close the ScanSnap
setup window.
6. Load a document in the ScanSnap.
For details about how to load documents, refer to "How to Load Documents" (page 33).
Profile Button Description
[Recommended]
button
Settings are [Automatic resolution] for [Image quality] in the [Scanning] tab in the
ScanSnap setup window and default for other settings.
It is recommended that you select this button when you want to scan documents
in optimum quality suitable for the paper size of the document.
[Small File] button Settings are [Normal] (Color/Gray: 150 dpi, B&W: 300 dpi) for [Image quality] in
the [Scanning] tab in the ScanSnap setup window and default for other settings.
It is recommended that you select this button when you want to reduce the file
size.
[High Quality]
button
Settings are [Best] (Color/Gray: 300 dpi, B&W: 600 dpi) for [Image quality] in the
[Scanning] tab in the ScanSnap setup window and default for other settings.
It is recommended that you select this button when you want to scan documents
in high quality.
[Customize]
button
Default settings are the same as the [Recommended] settings.
Scan settings can be changed depending on your scanning purpose.
HINT
z The [Small File] button is selected in default.
z For details about the default settings when using the Quick Menu, refer to the ScanSnap Manager
Help.
z You cannot change the settings for the [Recommended], [Small File], and [High Quality] buttons.
If you change any of these settings, the profile automatically switches to [Customize].
For details about how to change scan settings, refer to "How to Configure Scan Settings" (page
290).
Profile Button
Loading ...
Loading ...
Loading ...