Loading ...
Loading ...
Loading ...
Initial setup
Before you begin
Confirm the following before you begin.
– Make sure you have installed the [HomeHawk] app on your mobile device
– Make sure your wireless router and the access point are turned on and the access point’s LED
indicator is lit in amber or green
– Make sure your access point is connected to your wireless router with an Ethernet cable
– Make sure your mobile device is connected to the same wireless router as your access point
– Make sure your mobile device can connect to the Internet
Note:
R If you have completed this procedure and want to register another mobile device to the access point,
see “Registering other mobile devices to the access point”, Page 15.
R If you experience trouble while performing this procedure, refer to the information in “Sometimes I
cannot connect while at home”, Page 87.
R For information about the setup for HD cameras, see page 57.
Initial setup
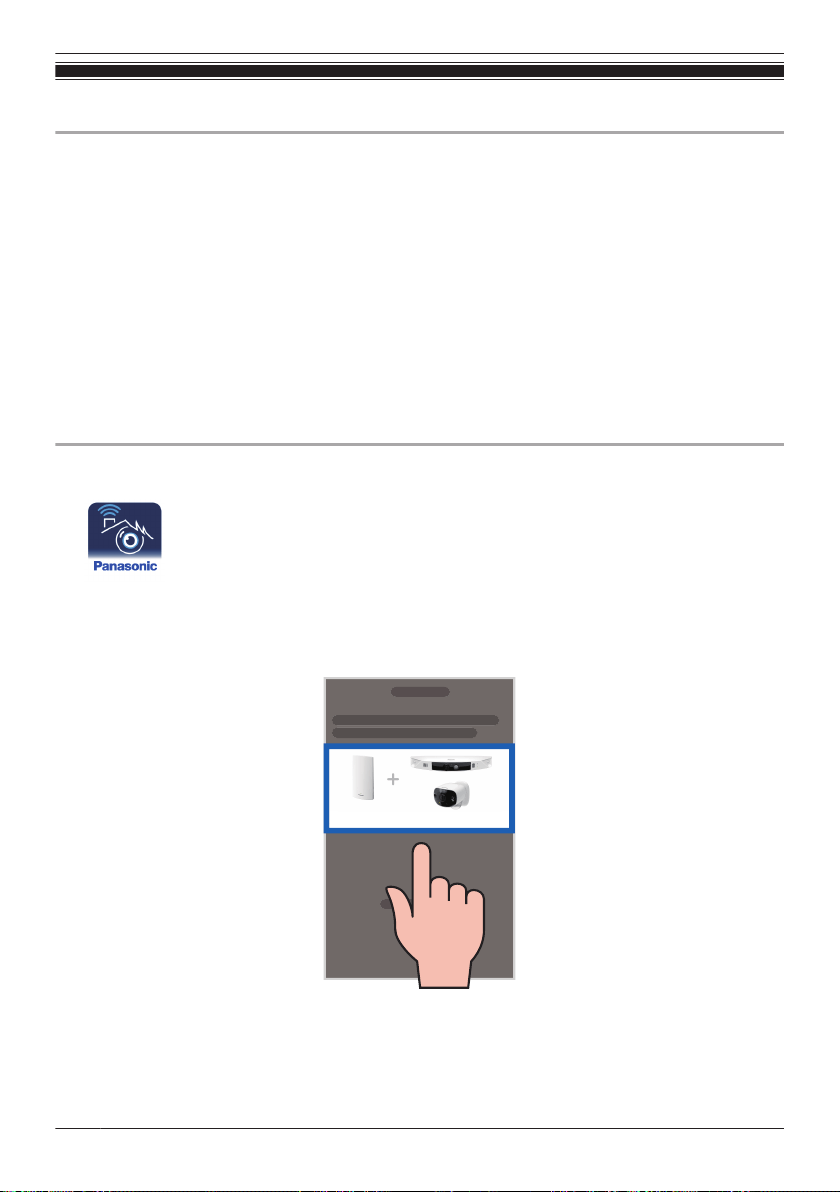
1 Start the [HomeHawk] app by tapping its icon (shown below).
R The end-user license agreement is displayed the first time you start the app.
2 Follow the on-screen instructions.
3 Tap [Access Point + Front Door/Outdoor Camera(s)] wait for a while, and then follow the
on-screen instructions.
Access Point + Front Door/Outdoor Camera(s)
R If the access point’s LED indicator lights in green, tap the green lit button, and then go to step 4.
R If the access point’s LED indicator blinks in amber, tap the amber blinking button, and then
connect the Ethernet cable between the access point and router. Next, follow the on-screen
instructions, wait for a while, and then check the color of the LED lights again.
14
System setup
Loading ...
Loading ...
Loading ...